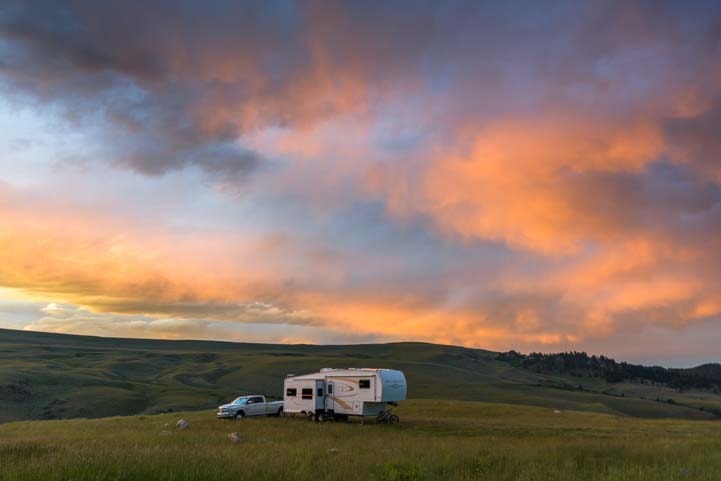
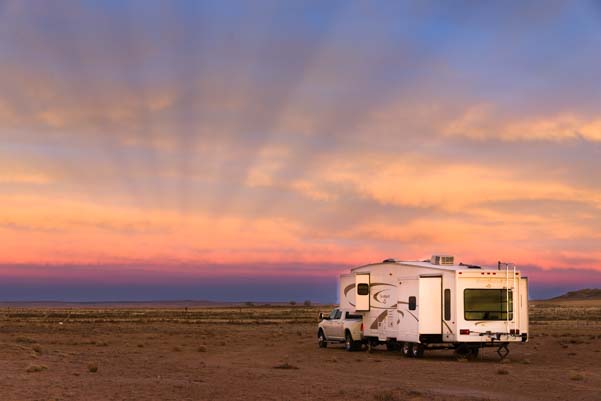
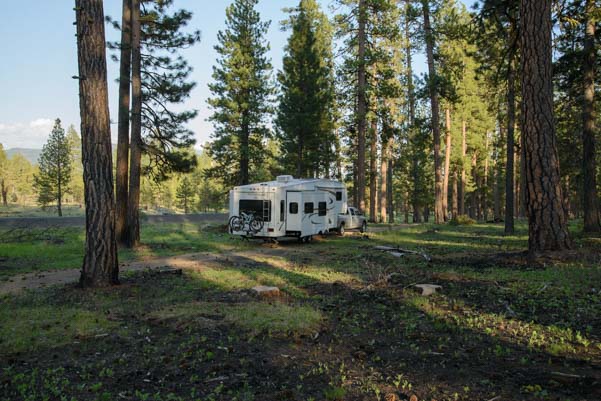
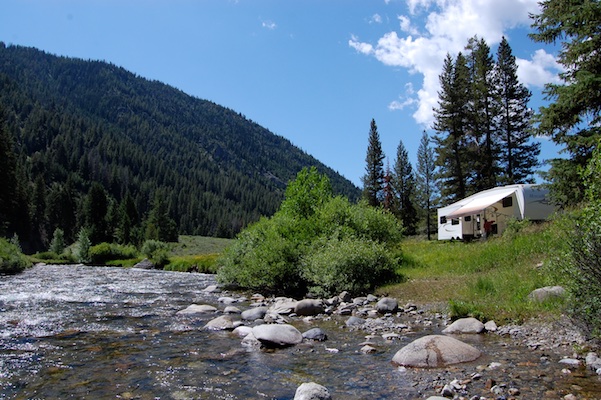
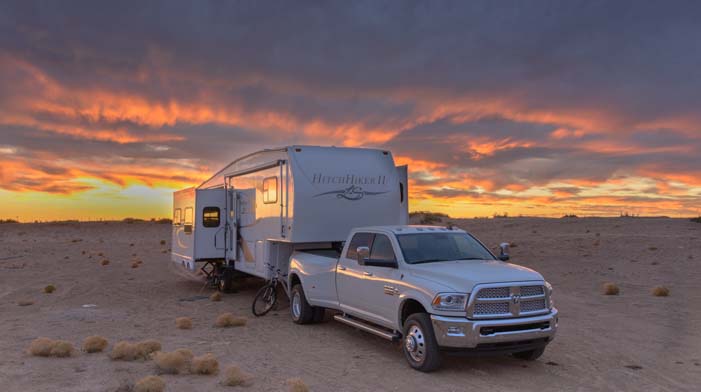
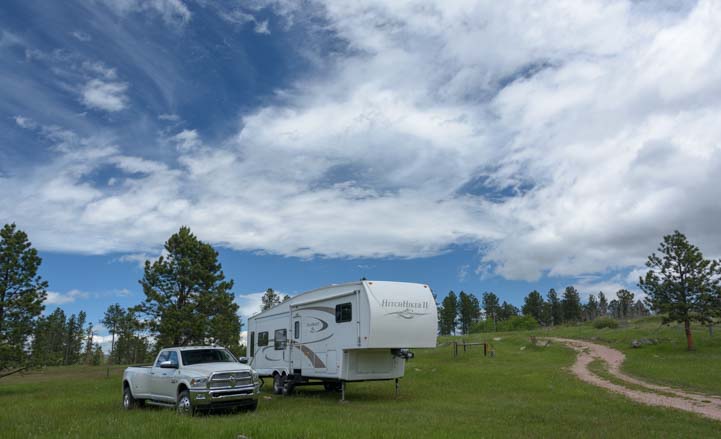
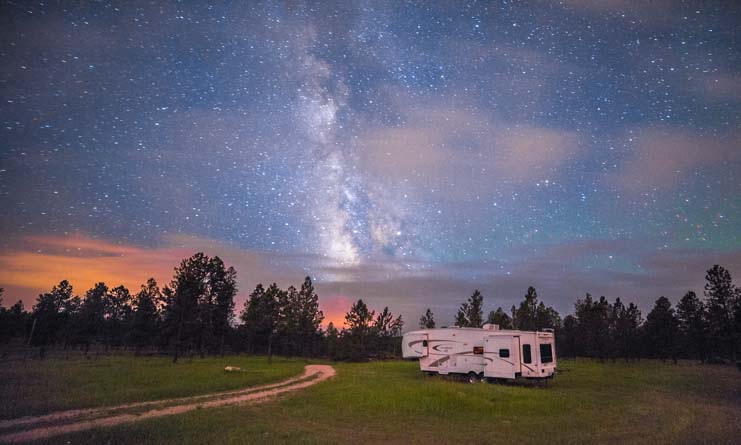
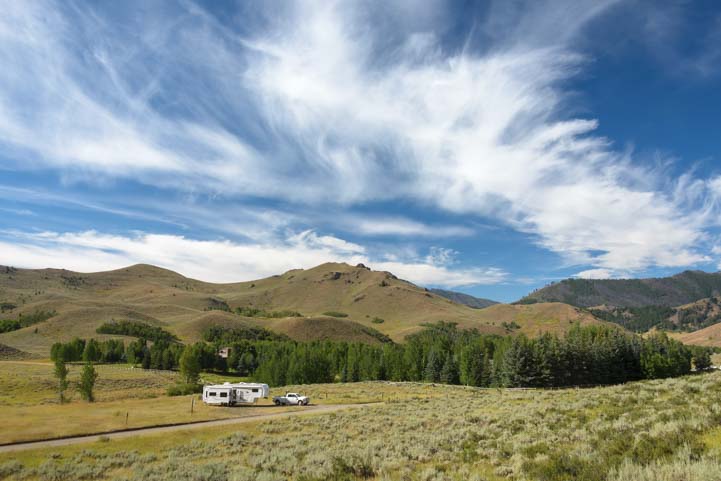
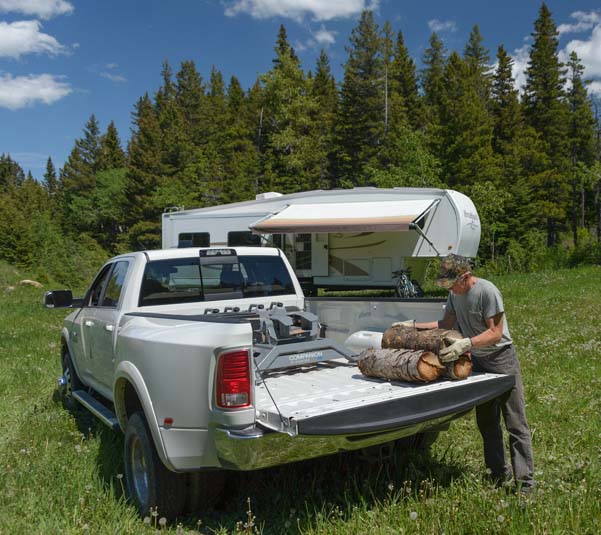
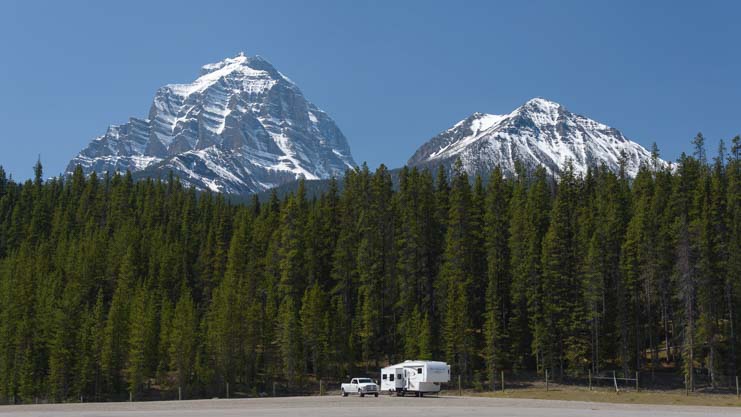
Camping out in nature on beautiful public lands and living off the grid in our RV are the very foundation of our lives today. Other than the weeks we spent transitioning on and off of our sailboat during the years we sailed Mexico’s west coast, we have lived exclusively on solar power and self-contained plumbing in our trailers and sailboat since we started this crazy full-time traveling lifestyle in 2007.

Enjoying nature out in the boondocks
Since we started in 2007, as of June 2020, we have spent over 4,300 nights living off the grid in our RV and sailboat. We’ve lived within the electrical constraints of a house battery bank and dealt with funky RV and marine toilets that flush into holding tanks.
In the process, we have learned a lot about “dry camping” (or “boondocking” or “wild camping” or “free camping” or “dispersed camping”) as well as “anchoring out.” And we’ve figured out how to do it comfortably.
Is it fun to live this way, even though there are limits on electricity and water consumption? OMG – yes! We have no plans to return to a life on the grid anytime soon.
Is it hard or primitive? Not at all. We don’t feel we have to compromise any aspect of our lives to live this way.
This page explains how we have lived this very independent and free spirited lifestyle.
For tips on how to find free camping spots, see our page: Boondocking – How to find Free RV Campsites. And if your love of adventure is enticing you further into the outback, you’ll find great tips for overlanding at: Overland Site.
This is a long post and you can use the following links to skip further down the page:
1. Electricity Basics
2. How to Conserve Electricity
3. Water Capacity and How to Conserve Water
4. Waste Water Tanks, Propane and Communications
5. Safety
ELECTRICITY BASICS
Return to top
Solar Power – The Foundation of RV Boondocking
In order to boondock efficiently, you need to equip your rig to supply its own electrical power for extended periods. A generator is okay if your stay is going to be just a few days or even a week or two once in a while. However, generators require fuel, and it won’t take long to run up a big fuel bill. They are also noisy, they require maintenance, and they insist that you stay home when you operate them. We carry a Yamaha 2400i portable gas generator, but we use it only 5-10 times a year, if that.

Solar power makes it easy to life off the grid in comfort.
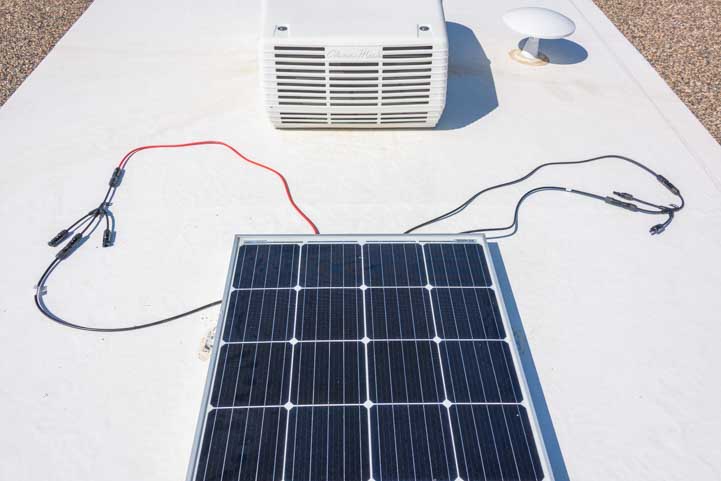
A solar power system is silent, doesn’t need expensive or messy fuel to run, doesn’t need any kind of maintenance, and works all day long, whether you are out sightseeing or shopping or hiking or at home taking a nap. Solar power is also very affordable, and for the same approximate cost as a similarly sized generator, you can put solar power on your rig.
We have lots of pages on this site that explain the components and parts that make up a solar power system. We show you how to design a system to suit your needs, and offer pointers on installation. These pages are all accessible at this link:
Solar Power Articles for RVs and Boats.
For an easy-to-read overview of how to install solar power on an RV, visit this link:
RV Solar Power Made Simple!
While we have always installed a custom solar power installation on our rigs that connects solar panels on the roof to batteries and an inverter in the basement, another option is to connect the panels to a solar generator.
Understanding Electricity – Counting Amps
Before we get into the details of how to conserve electricity, it helps to understand just a little about terms like “amps” and “bulk charge state.” This section and the next cover that. You don’t have to know anything about electricity or weird terms like these to conserve and live off the grid. However, I reference them a few times in this post, and I don’t want to lose you, so here are some quickie notes.
- An “amp” is a measure of electrical current flow
- An “amp-hour” is one amp of current flowing for one hour

Picture in a picture on the laptop!
As a reference, here are the approximate amps required to run some common appliances. For more specific numbers, check your owner’s manual spec sheet for the number of watts an appliance uses and divide by 10 to get the approximate number of amps the batteries will have to deliver to run the appliance.
Some of these appliances fluctuate or turn on and off as they operate, so these numbers are very rough. Multiply the amps by how many hours you use each item to find out how many amp-hours the batteries will have to provide for them each day:
- Laptop running => 3 to 6 amps
- 36″ LED TV => 5 to 7
- RV furnace blower => 10
- Coffee maker => 10
- Microwave (small) => 10
But who wants to do all that math? Here are two more little facts:
- Most full-time RV off-the-grid households use 80-200 amp-hours per day
- It is possible to live on much less (we lived on 30 amp-hours per day for a year)
Understanding Batteries – Battery Charging Stages
When living off the grid, it helps to know a little about the stages the batteries go through as they get charged.
Starting with tired, worn out, “discharged” batteries, a solar charge controller (or a generator or a converter or an inverter/charger or an alternator) gets things rolling by putting the batteries into a Bulk charging state. In the Bulk state, the charge controller allows a maximum amount of current to flow into the batteries (from whatever source — from the solar panels, from shore power, from the motorhome engine).
This slowly raises the battery voltage up to 14.4 – 14.8 volts (the amount depends on the type of battery; more sophisticated charge controllers let you program the value, otherwise a default of 14.4 is typical).
Once the batteries reach that voltage, they enter the Absorption charging state, and the charge controller changes its charging strategy. Rather than allowing a maximum amount of current to flow into the batteries, it allows just enough current to flow to keep the batteries at the Absorption voltage for a specified amount of time (usually 3 hours by factory default — again, sometimes programmable).
During this Absorption period, as the voltage is held constant, less and less current needs to flow into the batteries to keep them there while they slowly get charged.
At the end of the specified Absorption time, the charge controller enters the Float charging state. Now it holds the batteries at a lower voltage (13.3 – 13.8 volts, depending on battery type), gradually reducing the amount of current flowing from the panels into the batteries even further. When the batteries are in the “Float” stage, they are considered to have become fully charged.

Enjoying the views in Utah
HOW TO CONSERVE ELECTRICITY
Return to top
If your battery bank and solar power array are big enough, you don’t have to scale back at all in your use of electricity. However, there may be times when you need to conserve a little if you don’t have a generator for backup, or if you don’t want to drag it out and set it up. When a big storm rolls in and darkens the skies for a few days, or in January when the days are short and the sun is low in the sky, you may decide to conserve a bit for a day or two.
Monitor Your Batteries
There are many ways to stay on top of how your batteries are doing, and there are all kinds of price tags for getting this info. At the cheap end, for a few dollars, you can get a simple car battery volt meter that plugs into a cigarette lighter in the coach. We have one of these and it’s a good quick-and-dirty way to see what’s going on. Ours reads a consistent 0.1 volts low, compared to a better quality meter, so we just keep that in mind when we use it.

Outback FlexMax FM60 MPPT charge controller on our RV
Batteries at 14.5 volts with 28.7 amps going to them.
Another method is to look at the battery voltage being reported on your solar charge controller, if the display shows it.
Our Outback FlexMax FM60 MPPT charge controller in our trailer has a four line LCD display that shows the battery voltage and current going to the batteries from the panels.
Our Xantrex XW-MPPT60-150 charge controller in our boat has a one line display you can scroll through.
The Morningstar TriStar TS-60 solar charge controller doesn’t have an LCD display on it. However, you can purchase an additional display module for it which has 2 lines of text.

Our Xantrex XW MPPT60-150 charge controller on our sailboat
Another method is to get a clamp-on current meter. We use ours from Sperry Instruments all the time.
The most elaborate method is to install a dedicated battery monitor in the coach somewhere so you can see what’s going on without making too much effort.
[As a side note, although some folks consider a battery monitor mandatory equipment for boondocking or anchoring out without shore power, we have never installed a battery monitor in any of our rolling or floating homes.]
All of these are valid methods that get you an approximation of what’s going on with your batteries. But none are scientifically “perfect,” because the “real” state of charge of the batteries is not indicated by its current voltage.
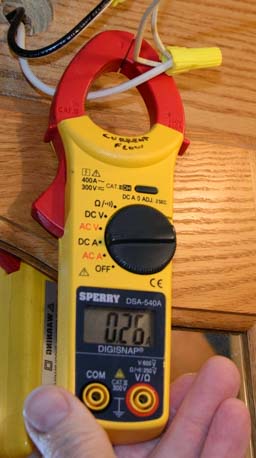
Checking the DC current flow on our new LED light bulbs.
For instance, when the panels are charging the batteries, they are held at an artificially high voltage of 14.4 to 14.8 volts during the Absorption stage. Even after the sun goes down, if there’s nothing using electricity in the motorhome or trailer, they have a “surface charge” that keeps them at an elevated voltage. Likewise, at night, when the TV is blaring, the computers are going and a bunch of lights are on, the voltage will be drawn down artificially low because of the temporary load from all these appliances.
If you really care about the exact status of the batteries, and you have wet cell batteries, monitor them with a battery hydrometer.
But scientific precision doesn’t really matter. You just need to know if you’re okay or not.
We simply check the batteries in the morning before the solar panels start raising the voltage. If they are on the low side (12.2 – 12.3 volts or less), then we check again in the afternoon to see if they are in the Float stage.
If they are really low in the morning and clouds are predicted, or if they don’t reach the Float stage for a few days in a row, then we think about using the generator to get them fully charged up again.

Can a Generator Work with Solar?
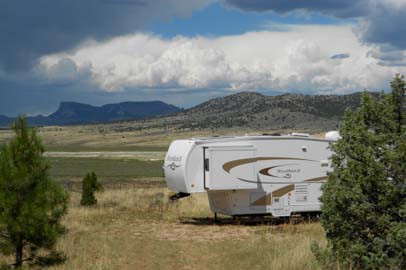
A summer storm rolls in
We have used solar power in conjunction with both our generator and our boat’s engine 100 amp alternator, and in both cases, the two charging systems worked fine together and shared the load.
On our boat, we used our clamp-on current meter to measure the current going from both the solar charge controller to the batteries and from the alternator to the batteries. As soon as we turned on the engine, the current from the solar charge controller dropped from 20 amps to 6, while the current from the alternator jumped from 0 amps to 14. So a total of 20 amps was still going to the batteries, but the solar system backed off and let the alternator do the lion’s share of the work.
Similarly, on our trailer we have seen the generator and solar panels trade off the load as heavy clouds came and went..
Bottom line: They work it out between themselves.
Pick the Best Time to give the Solar Panels a Generator Boost
When the solar panels aren’t quite keeping up with their task of charging the batteries, you’ll have to use a generator to get the batteries back into a fully charged state (or go to an RV park or campground to plug in). You can run the generator at any time, but if you are looking to run it as little as possible, running it in the morning is best.
Why? Because first thing in the morning the sun is very low in the sky, greatly limiting the panels’ ability to produce power. So, even though the charge controller puts the batteries in a Bulk charge state at dawn, the panels just can’t deliver.
A generator, however, can. It will produce maximum current flow to the batteries as soon as it is plugged in. In our case, we’ll see 20 amps going from the generator to the batteries at sunrise. After a little while, sun will be higher in the sky and the solar panels can take over and bring the batteries all the way through the Absorption stage to the Float stage by afternoon.
If you wait to use the generator until the end of the day, however, the batteries will already be fairly well charged from the panels working all day. When you turn on the generator, it will quickly switch from the Bulk stage to the Absorption stage and begin reducing the amount of current it puts into the batteries.
In our case, it will drop from 20 amps to 10 or less in about 5 minutes, and it will then slowly drop (and “trickle charge”) for hours as it wraps up the Absorption stage and goes into Float.

Beautiful afternoon light
To make this clearer, say the ticket to getting the batteries fully charged on a given day is about 20 amp-hours.
If you run the genny at dawn, they’ll get that in an hour. If you run it in the evening, it may take two or three hours. That’s wasted fuel — not a huge amount, but it’s still wasted.
How do you know you need another 20 amp-hours to get to full charge? It doesn’t take long to get a feel for what your daily consumption is. On the days the batteries reach full charge, you’ll see how much the solar panels delivered for the day. Then you’ll be able to compare one day to the next as you use your favorite appliances more or less.

Replace incandescent and halogen bulbs with LED bulbs or fluorescent lights
New rigs are being built with LED lighting, however in older rigs, it is helpful to swap out the most frequently used bulbs for modern, efficient ones. Both fluorescent and LED lights are energy efficient. Fluorescent lights are cheap. LED bulbs can run from $6 to $18 apiece, so pick and choose which ones to replace.
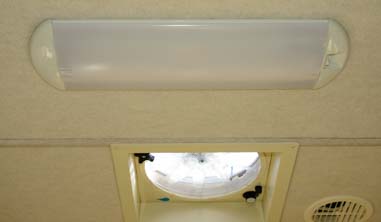
We use our fluorescent lights overhead lights the most.
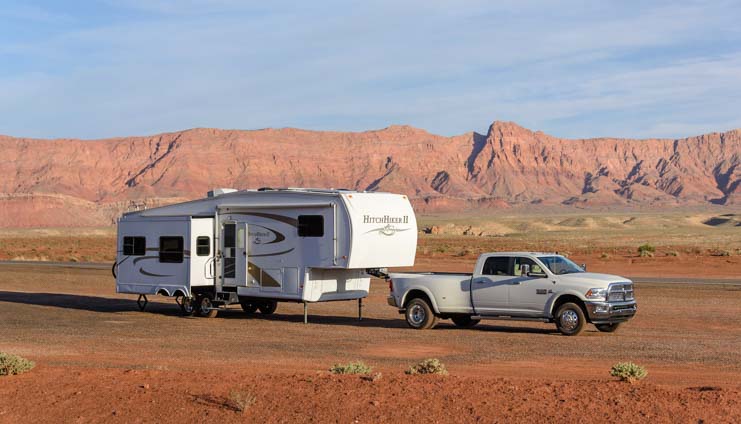
Our 2007 Hitchhiker fifth wheel came with three very large fluorescent lights in our kitchen and living area, so we did not replace any incandescent bulbs with LED bulbs for the first six years we owned it. We boondocked all that time with no problem.
We did replace a few 120 volt AC sconce bulbs with LED bulbs early on, but the light was so dim and cold that we ended up never using those lights!
The technology has come a very long way since then, however, and we recently swapped out those old LED sconce bulbs for new ones that cast a wonderful warm light. Now we use those sconce lights a lot for soft evening lighting!
So, think about which lights you want to use and where it makes sense to spend money on LED bulbs. There’s no no need to drain your bank account replacing every bulb in your RV with LEDs!
.
Choosing the Right LED Bulb
There are a gazillion LED lightbulbs on the market, and it is dizzying to figure out what to buy. In the end, there are just 3 things to consider:

Different types of 12v LED bulbs
1. The style and base of the bulb
2. The brightness
3. The color (warmth or coolness)
A great resource for buying LED lights is superbrightleds.com, but you may be happiest buying from a place where you can take your old bulbs in for comparison and keep trying different bulbs until you get the exact kind of lighting in your RV that you want.
Bulb Base Type and Shape
120 volt AC bulbs have either a standard screw on base or a narrow one like you find in chandelier and sconce bulbs.
12 volt DC bulbs come in more shapes and sizes. There may be two long prongs, or a bayonet mount with two nubs sticking out of a cylindrical base, or there may be a “wedge” base. Most incandescent DC bulbs have a number on them, and you look for an equivalent replacement LED bulb that references that number.
Besides the base, the other consideration is the overall shape of the bulb. If the light fixture casts light 360 degrees around it, then a cylindrical shape is good. If it is an overhead light that only casts light downwards, then a flat panel with LED pads only on one side makes more sense.
Brightness
Historically, light bulbs have been rated in terms of watts, and we all have a “feel” for what kind of light a 25 watt, 40 watt or 60 watt bulb produces. LED bulbs are rated in terms of lumens, which is a measure of brightness. Where it gets confusing is that both incadescent bulbs and LED bulbs require a certain amount of watts (power) to run. The difference is that incandescent bulbs require many more watts than LED bulbs for the same degree of brightness.
So, for a given amount of brightness (lumens) how many watts does an LED bulb require versus an incandescent bulb? We haven’t found a strict mathematical relationship given anywhere.

We put LED bulbs in our AC (120v) ceiling fan.
The Department of Energy has a Lumens and Lighting Fact Sheet that shows:
Incandescent -> LED
60 watts -> 800 lumens
40 watts -> 450 lumens
Manufacturers put widely varying claims on their packaging about incandescent bulb watts and their own LED bulb equivalent. But all that really matters in an RV is how much light you get per amp of drain on the batteries.
In terms of brightness, we have found:
- A single 300-350 lumen bulb is “mood lighting” or “accent lighting”
- A pair of 300-350 lumens bulbs generates enough to “see well”
- A total of 800 lumens or more is what we want for bright overhead lighting.
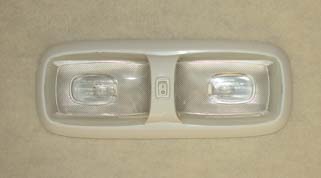
For overhead lighting, two 400+ lumen LED bulbs (or one 800 lumen bulb) works well
in this fixture.
We measured the amps used by both the DC and AC LED bulbs we have installed in our trailer. The very rough relationship we found between lumens and amps turned out to be:
It takes ~1 amp DC to get ~1000 lumens of light
So, a 300 lumen bulb will use roughly 0.3 amps DC, and a pair of bulbs totaling 700 lumens will use approximately 0.7 amps DC.
Color (Warmth)
Perhaps the most important factor with LED bulbs is the color, or warmth, of the light they produce. There is nothing worse than that harsh blue-white light so many LED bulbs generate.
The warmth is is given in degrees Kelvin. Higher numbers are cooler. We’ve found the following:
- 2700-3200K is a good number for a bulb that will match the warmth, or yellowness, of an incandescent bulb
- 4,000 is just a little too white for our personal taste (although we have a few)
- >4,500 starts getting into the glaring blue-white range
Use LED Rope Lights
Another fun lighting idea is to use LED rope lights. A bright white variety can be strung across the ceiling for overhead lighting. A warm white variety can be strung behind the crown molding on the slide-outs to create indirect mood lighting (great for watching TV).
More Mood Lighting Ideas that don’t use the House Batteries
There are several ways to get wonderfully romantic mood lighting at night. During our first year of minimal solar power in our travel trailer, we relied on hurricane oil lamps at night. We hung them from the slide-out trim molding using long decorative s-hooks. I loved those!
A sailing friend of ours introduced us to an even better idea using LED Pillar Candles that are flame free. These are made of wax and they flicker, so they look and feel like a real candle. She places them in teak drink holders that gave her boat’s cabin a fantastically nautical flare. I’ve used mine every night in our boat and trailer for five years! The batteries in them last about two years.
I place them on the tops of our window valences and carry them around. If one of us goes to bed before the other, we leave this flameless LED candle flickering in the bedroom to make it easier for the other person to find their way into bed without tripping in the dark! They also work really nicely as background lighting when we’re watching TV/videos or are on our computers at night.
Use lights only where you need them
The more lights you have running, the more juice you’re using. The pesky ones are the ones in places you can’t see. Make sure you turn off the lights in the basement areas and closets. We’ve accidentally left lights on overnight. It’s not a big deal, but it is wasted electricity!
Operate laptops on their own battery power. Charge them when not in use.
We each have a 13″ Macbook Pro laptop that uses about 1.6 amps when turned off and charging. However, these laptops use anywhere from 3 to 8 amps apiece when they are turned on and running, depending on what applications we are using and whether we are accessing large, powered external hard drives.
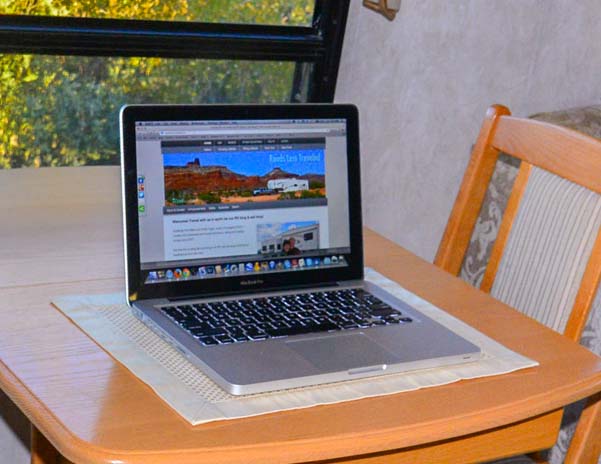
Run laptops on their own batteries.
They average about 5 amps or so when in use, and they can run for 3-5 hours on battery power before they need to be charged up again.
It takes the same length of time to charge up the laptops whether they are closed and turned off or turned on and actively in use. So, it is more energy efficient to charge them when they are turned off and to run them on their own batteries.
For instance: if one laptop runs on battery power for 3 hours and is charged later, it uses a total of 4.8 amp-hours for that 3 hours of use (3 hours x 1.6 amps).
However, if it is plugged in for 3 hours as we use it, it gobbles up around 15 amp-hours (3 hours x 5 amps)!
Multiply that computer activity by two people using their laptops for 3 hours, and the consumption can be as low as 10 amp-hours if we’re conservative, or 30 amp-hours if we’re not. That’s a huge difference!
Make coffee manually

Great coffee without a coffee maker.
(Mug: “Home is where the Heart is!”)
Rather than using an electric coffee maker, which can draw 10 amps or more, we use a plastic Melitta coffee filter with cone filter inserts to brew coffee. Coffee aficionados actually consider this method to be the best way to make coffee!
The overall process is similar to a coffee maker, but you manually pour near-boiling water over the grounds to make drip coffee rather than relying on a machine to do the work for you. There is no mess, and it is very easy and quick.
If you are patient, the best method is to moisten the grounds with the hot water first, and let them soak up the water for a minute. Then pour the rest of the water over the grounds slowly. A lot of times, though, I’m not that patient, and I just pour and go!
Mark doesn’t drink coffee, so I use a single-cup Melitta coffee filter (and paper cone insert) to pour my own drip coffee, one fresh cup at a time.
A bigger version of this filter (and cone inserts) is perfect for brewing two cups of coffee at once.
Another non-electric alternative is a French Press. This method has the advantage of preserving the bean oils in the coffee. The only difficulty in the RV lifestyle is that you have to dispose of the grounds before washing the French press so they don’t go down the drain. It can be a challenge to get all those tiny grounds out with limited water. I used a French press when I lived on a boat at a dock in New England years ago, and it was easy to rinse out the grounds over the side of the boat in the ocean (brrrrr in January!). But that’s not possible in an RV. I find it’s much easier to lift out the paper cone filter and toss it.
Keep the volume down on the TV/DVD and stereo
We don’t watch much TV, but we’ve found that the volume makes a huge difference in the amount of current it draws. We measured a difference of 1.5-2.0 amps on a 19″ LCD TV if we turned the volume way up. A TV attached to a large sub-woofer and a four speaker surround-sound system is going to have an even bigger difference at high versus low volume.

Life’s a Beach in Florida
Of course, you’ve gotta be happy too, and watching an action flick at low volume just doesn’t cut it. That’s where more batteries and more solar power makes life better.
Use small inverters, and charge more than one item when you turn an inverter on

150 watt portable inverter
Inverters convert 12 volt DC power (battery power) to 120 volt AC power (like the power in a house). They come in all sizes. Most RV boondockers have one big inverter that supplies power to all the AC outlets in the rig. We also have a few small portable inverters.
All inverters use battery power just to run. This is noted as the “no load draw” on the specs. A few examples of small portable inverters we’ve measured:
Our Exeltech XP 1100 watt pure sine wave inverter that powers all our AC outlets in our RV uses 2 amps to run!
Some of the larger pure sine wave inverters, like the Exeltech XP 2000 and Xantrex ProWatt 2000 have a “no load” draw of less than an amp. This must be due to an increased efficiency in the design of the larger size inverters. Check your specs!
As long as any inverter is on, you might as well make the most of it and charge everything up at once, from toothbrushes to power tools to cameras and phones, so you don’t have to keep it turned on for as long.
For an amusing tale of inverter use gone awry, check out our post, How Much Inverter Is Enough?
Charge laptops and other devices in the car or truck when you do errands
If you really want to conserve, another option is to plug a cheap, small inverter into the cigarette lighter of your car or truck and to charge everything up as you drive around town doing errands or going on sightseeing excursions.
We don’t do this any more, because we don’t have to be that frugal with our electricity, but during our first year in our travel trailer we had a small solar power system — 130 watts of solar power and 220 amp-hours of battery capacity — and we frequently chauffeured our electronic devices around town as we did errands so they could get charged up! (See our page RV Solar Power Made Simple to learn more about the solar power installations we have done on our RVs).
WATER CAPACITY and HOW TO CONSERVE WATER
Return to top
Holding Tank Capacities
Larger rigs can carry bigger holding tanks, making boondocking easier. Our fifth wheel trailer’s tank capacities are the following:

Holding tanks in a 5th wheel frame at the factory.
Fresh Water: 70 gallons of water, including the 10 gallon hot water heater
Gray Water: 78 gallons
Black Water: 50 gallons
Plus:
4 6-gallon jugs of fresh water in the bed of the truck.
10 1-gallon bottles of filtered drinking water under the kitchen sink.
This gives us a total of 106 gallons of fresh water capacity.
How Much Do You Have To Conserve Your Water?
The thing to keep in mind with water conservation is that you can be as conservative or wasteful as you want, depending entirely on when you next plan to dump/refill. The day before a dump/refill run is a great time to take a long shower. If we arrive somewhere and stay for two days days and then decide to leave (and dump/refill) in two more days, we no longer need to conserve. Bring on the long showers and truck washing project! We typically dump/refill about once every 7-10 days, but we’ve been known to do it after just 2 or 3 days too.
Driving – Tanks Full or Empty?

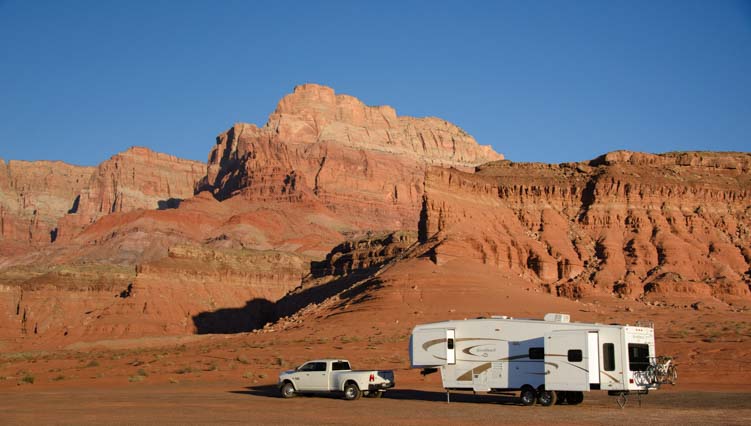
We love camping in the red rocks.
We like to arrive at a new location with everything ready to go so we can enjoy our stay and not have to look for water right away.
When we leave a place, we dump the waste water tanks and fill the fresh water tanks. We do all our towing to new locations with full fresh water tanks and empty waste tanks.
At 8.3 lbs per gallon, that is about 900 lbs of water — quite a drag on our gas mileage! But that is one of the trade-offs we are happy to make, as it means we can always begin enjoying our new location without worrying about the status of the tanks.
Topping off the Water Tanks
If we stay in one spot for a while, we top off the fresh water tanks using the 6-gallon jerry jugs. We keep a drinking water hose in the back seat of the pickup so we can refill our water jugs any time we find a spigot, if we need to. We refill our fresh water tanks whenever we go to an RV dump station, which is usually once every 3 days to 3 weeks (we don’t drink the water from our fresh water holding tanks).
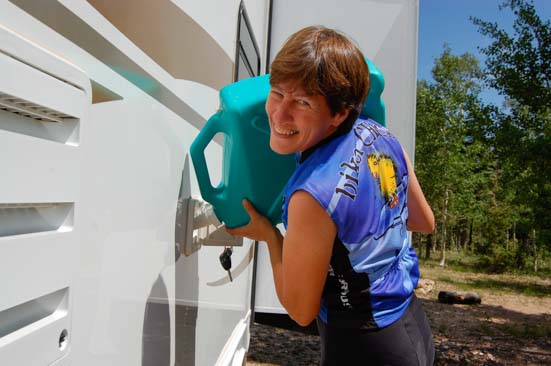
Adding water to the trailer is a good upper body workout!
We used the Reliance water bottles for years. Other water jerry jugs are made by Igloo and Scepter.
We replaced these bottles every other year because they deteriorated from the sun’s UV rays as they sat in the bed of the truck. The plastic seams would split.
In February, 2016, we switched to Reliance Rhino 5.5 gallon Bottles. The spout is the same, but the plastic on the body is thicker, so they are much more rugged and should last longer. They have a better air hole for breathing as they pour, and they lock together when standing side by side.
Some people get a huge 55-gallon water tank (or even larger) that they keep in the bed of the pickup. They use a12 volt water pump to pump the water from the tank to the fresh water intake on the trailer.
The positioning of the fresh water intake on your rig may make it impossible to pour jugs of water into the tanks, so the water pump system may be the best option in that case. For us, so far we don’t mind getting a bit of an upper body workout using our individual water jugs and manual pouring system!
Drinking Water
We fill our 1-gallon drinking water bottles at reverse-osmosis water kiosks or water stores. These are usually found outside supermarkets, and the cost is typically 15 to 40 cents a gallon. When we are in areas that don’t have these filtered water stations, we use an inline water filter to filter the water at a regular water spigot.

Reverse osmosis water has been stripped of the trace minerals that drinking water usually contains. We often add trace minerals to our 1 gallon water jugs of drinking water to put those minerals back into the water to be healthy.
Some people drink the water from their fresh water holding tanks. They may install a water filtration system on the kitchen faucet, and/or use either an inline filter or larger water filter (with cartridges) to filter all the water they put into the trailer’s holding tanks from wherever they get their water (RV dump station, RV park, or city park water spigot).
For a few years we carried two 7-gallon plastic water jugs to carry filtered drinking water in the bed of the truck. Eventually we stopped using that method, as it was easier just to load up the individual gallon jugs we keep under the kitchen sink.
Water Usage – Conserving Water
We use a total of about 9-11 gallons of water a day. The rough breakdown is:
- Drinking water: 1-2 gallons (I cook with it too)
- Showers: 4-5 gallons
- Washing dishes: 2-3 gallons
- Bathroom vanity: 1 gallon
- Toilet: 1 gallon
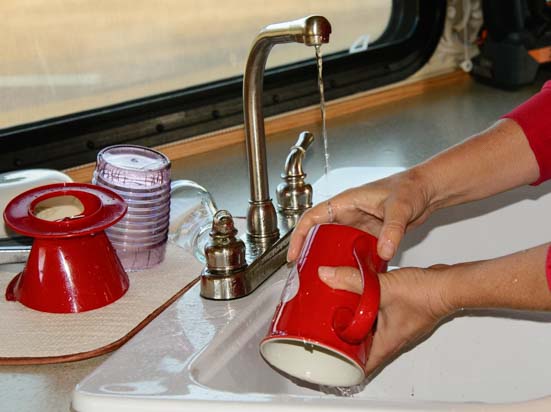
Wash dishes in a thin stream of water!
Some folks are concerned that flushing the toilet wastes a lot of water, and some even install a composting toilet to save water. We find that our toilet uses too small a percentage of our fresh water capacity (~10%) to warrant such a big expense and installation project. Here are a few more things to consider when installing a composting toilet in an RV.
Our biggest trick to conserving water is not to run the faucets at full blast and not to leave them running unless we are actively using the water.
Washing Dishes
Rather than filling the whole sink with water, fill a bowl or small washtub with water. Make sure the dish detergent is well mixed with the water so no soapy residue is left on the dishes that requires a lot of water to rinse off. Use just a fine trickle of water to rinse.
We often leave a little sudsy water in the sink so we can wash our hands easily later in the day without turning on the faucet, except to rinse.
Showering
This may sound silly, but if you’re wondering how to live for years on 2 gallon showers, here’s what we do:
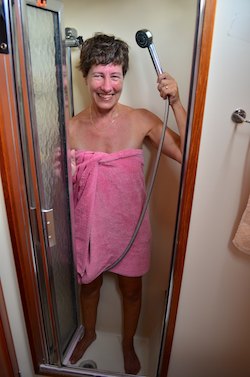
Since the water comes out cold at first, start by washing your feet and lower legs which can handle the cold. If you and your spouse can shower back to back, the second person gets warm water right away. Then go from the top down, shampooing first. Use the button on the shower wand to turn off the water when you lather up.
Again, like the other faucets. we keep the water pressure low in the shower. We can hear the surges of the water pump as it cycles on and off, and that gives us a sense of how much water we’re using. If the water pump starts going non-stop, then we know we’re using water up too quickly.
There are special shower wands that claim to use less water because they infuse the water with air. We tried one and found that it didn’t work well at the low water pressures we use, so it actually forced us to use more water for showering than we usually do.
Friends of ours who use hookups all the time love that shower wand, so we gave it to them. We use the simple shower wand that came with the rig because it has a nice flow that works well at low pressure.
If you need a laugh, check out our post on what it’s like to shower on a sailboat at sea!!
Washing the Rig
Just like learning to shower in 2 gallons of water, we’ve learned to wash the truck and trailer in about 10 gallons each. We go into a little detail about that in this post: How to wash your RV in the boondocks.
For a giggle, check out this post: What To Do in the Rain While Boondocking? Wash the Rig!
WASTE WATER TANK MANAGEMENT
Return to top
If you are dry camping continuously, without going to an RV park in between that has sewer hookups, then you’ll need to empty the holding tanks at an RV dump station. There are RV dump stations in many different kinds of places: state and regional parks, rest areas, truck stops, gas stations and RV parks. Some are free, some cost anywhere from $5 to $10. We find RV dump stations using sanidumps.com and rvdumps.com.
To learn our secrets for easy and painless RV dumping, click on this link RV Dump Station Procedures and Waste Tank Tips. For hints on what the Wifey can do while the Hubby is fighting with the sewer hose, see our post: What’s A Girl To Do at the RV Dump Stataion?
Many people ask us about composting toilets. Here are our thoughts about whether you should install a composting toilet in your RV.

PROPANE
Many things in an RV run on propane, although it varies a lot from rig to rig. The more you boondock, the more you will appreciate the appliances that run on propane, because if those appliances ran on electricity, you would burn through your battery capacity far faster than you could replenish it with solar power.
Electric refrigerators are the most challenging culprits, because they have to run 24/7. We had an electric fridge on our boat, and at just 3.75 cubic feet, it consumed as much as half of our solar charging capacity each day.

Propane appliances: fridge, stove/oven & vent-free heater.
RV furnace and hot water heater not shown!
The propane appliances in our rig are:
- Refrigerator
- Hot water heater
- Stove/oven
- RV furnace
- Vent-free propane heater
Our fifth wheel has two 7 gallon (30 lb.) propane tanks that are connected to each other with a valve that automatically switches from one tank to the other when one tank is empty. This way the fridge doesn’t quit working whenever a propane tank is empty. We monitor the tanks each day, so we see when one tank is empty and needs to be filled.
We generally find that in the summertime we have to refill one of the propane tanks every three weeks. In the coldest part of winter, we have to refill a tank once every 7-10 days.
Install a Vent-Free Propane Heater
Long-term boondockers usually install some kind of vent-free propane heater because they use propane so much more efficiently than a conventional RV furnace. For more information, visit the page: Vent-Free Propane Heater Installation.
Insulate the Hot Water Heater
Cover the hot water heater with insulation and wrap all the hot water pipes with pipe foam (wherever you can reach). This helps keep the water in the hot water tank warmer for longer.
Turn on the hot water heater only once a day
Heat up the water in the hot water tank right before you shower. Depending on how hot you like your water, you can turn the hot water heater off before it turns off on its own. We shower in the afternoon which gives us hot water for washing the dinner dishes. When the overnight lows stay above about 40 degrees, we still have warm water in the morning for breakfast dishes.
Heat Water on the Stove
If you need to heat water just to wash dishes, rather than heating the whole hot water tank, put a quart or half gallon of water on the stove and heat it for a minute until it’s the right temperature for you. If you use the hot water faucet to fill the pot and there is still warm water in the hot water tank, doing this will skim off the cold water that was in the RVs pipes. You’ll then have warm water from the tank to rinse the dishes without having to let it run first.
When cooking, put a lid on the pot. Things cook faster when covered. Of course if the recipe says to simmer uncovered, it’s more important to put food on the table that’s cooked right than to mess it up just to save some propane!
COMMUNICATIONS – INTERNET and PHONE ACCESS
There are many techniques for maintaining contact via internet and phone when you are out in the boonies. For more info, visit our page: RV Communications – internet and phone access on the road.
SAFETY
Return to top
Camping on your own without the company of other RVers or a camp host may seem like it might be fraught with danger. From theft to bears, questions about the safety of boondocking are among the most frequent queries we receive.

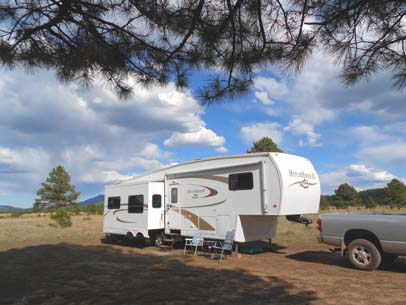
I dunno, does this look safe to you?
Crime
People in this world are nicer than they get credit for, and we have not had any bad encounters.
That being said, we weren’t born yesterday, and we are cautious. For starters, we travel to places that are not crime-ridden, and we seek out places to stay overnight that feel safe. We follow our hunches, and if a place doesn’t have a good vibe, we don’t stay.
Once we set up camp, we pay attention to our surroundings. Mark, in particular, is very attuned to the goings-on around us, and he is quick to notice a car that has driven by twice or to recognize a person that he saw in the area three days ago.
Theft
Everything in the bed of our truck is locked to the truck with a cable lock. The bikes are covered and locked to the bike rack on our trailer. The bike rack itself is locked to the trailer as well. (Learn more about our bike rack here).
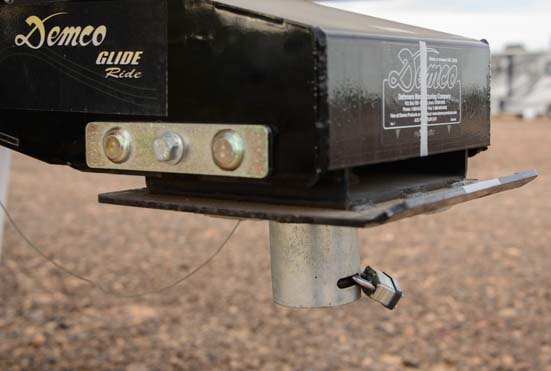
A king pin lock prevents the trailer from being stolen.
We also use a king pin lock so no one can tow the trailer away while we’re gone.
When we leave our campsite, if we have the barbecue out, we lock it to a fifth wheel leg with a cable lock. The bikes are covered and locked to the bike rack. If we need to use the generator in an area where there are other people around, we lock it to a fifth wheel landing leg with a cable lock.
However, if we are out on our own with no one around, which is usually the case, we are much more relaxed about these things.
Guns
For the first ten years of our travels we never carried a gun. Mark used to love target shooting as a boy and often commented that he wished he had something with him for target practice as a pastime. In our eleventh year of travel he picked up a .22 rifle and now gets a lot of pleasure out of plinking.
We’ve never felt remotely threatened by anything. Most people we meet are very friendly and wild animals don’t approach our trailer.
Bears
We have camped in bear country quite a bit, but we have never seen or heard a bear while boondocking. In general, if you keep your campsite clean (no tempting food scraps lying around), bears will leave you alone.
The Good Stuff
We find that living off the grid — boondocking and free camping in our RV — is the most fulfilling, beautiful and satisfying lifestyle we have ever tried.
Rather than being frightened in our rig, we have been enchanted.
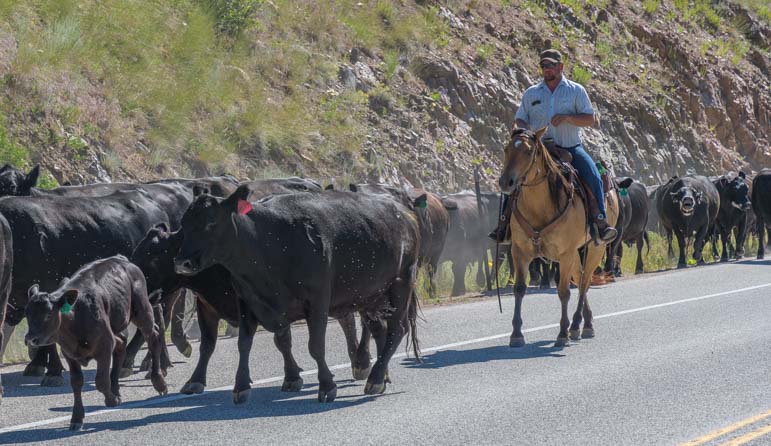
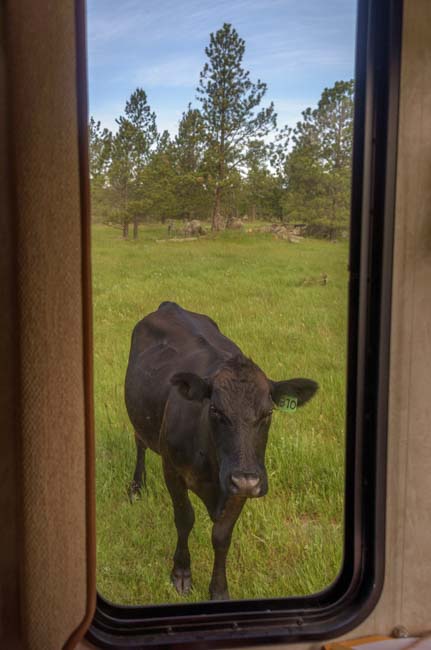
We have been woken up in the middle of the night by the sounds of elks bugling as they ran past, by coyotes howling, owls hooting, wild horses whinnying, cattle mooing, and on our boat, by whales singing.
To us, that is the beauty of living out in nature, and that is why we choose to live this way.
Subscribe
Never miss a post — it’s free!
Below are some of our most POPULAR POSTS (also in the MENUS above)
Buddy - A Journey in Spirit - The story of an event that changed our lives forever.
ARTICLE INDEXES
- RV Tech Tips Articles - A one page index of links to all our RV Tech Tips, RV Upgrades & RV Maintenance articles.
- RV Lifestyle Tip Articles - An index of links to all our RV Lifestyle Tips (finances, boondocking, major repairs, work/jobs, etc.)
- Solar Power Articles - Overview and tutorial articles for how to design and install solar power on an RV or boat
- Product Reviews - An index of links to all of our Product Reviews
RV UPGRADES, SYSTEMS & TIPS
MONEY
FULL-TIME RV LIFESTYLE
- RV Boondocking - Tips for how to live in an RV off the grid
- Which RV Is Best for Full-Time Living? - Transitioning from a house to an RV - Which RV makes the best home?
- Truck Camper Pros and Cons - The GOOD, the BAD and the UGLY!
- Full-time RV Lifestyle Tips - Full-time RVing Logistics - Mail, Domicile, Insurance, Warranties, Saving Money at RV Parks
- Toy Hauler Life - What's it like to live in an OPEN BOX Toy Hauler?
- What are the MOST IMPORTANT FEATURES in a Full-time Fifth Wheel? - For anyone planning to live in an RV!
- Internet & Phone Access for RVers - An inexpensive, minimalist solution for internet access on the road
- RV Dump Stations & Composting Toilets - How to do the dirty deed at the RV dump PLUS RV Composting Toilet tips
- Choosing a Trailer for Full-time RVing - Why the payload capacity is so important
- Learn RVing the Fun Way!! - Go Cheap, Go Small, Go NOW and have a blast in little RV!
- Free RV Campsites - Resources for locating campsites for boondocking
- Glimpses of the Full-time RV Life - Anecdotes from the road and essays about living the RV dream.
- Travel Photography Tips! - All the cameras, gear, books, blogs and tools we used to learn to take great pics!
GEAR STORE
- Gear Store - A list of the goodies, equipment and gear we've found useful in our RV lifestyle!
More tips for boondocking:
Our most recent posts:






























































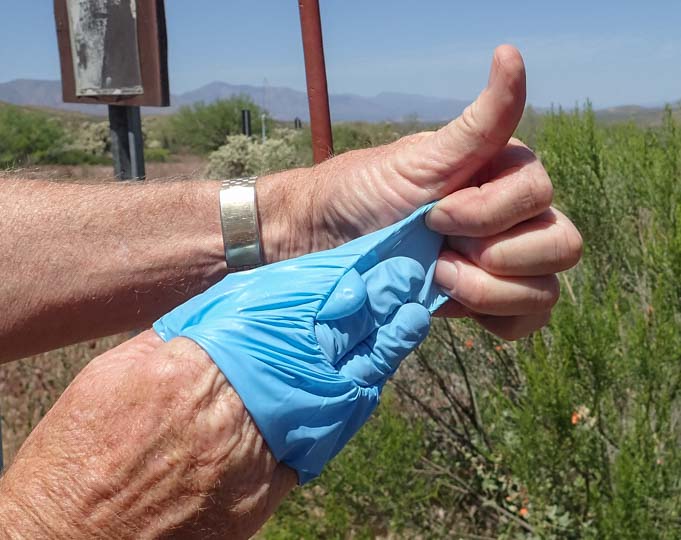

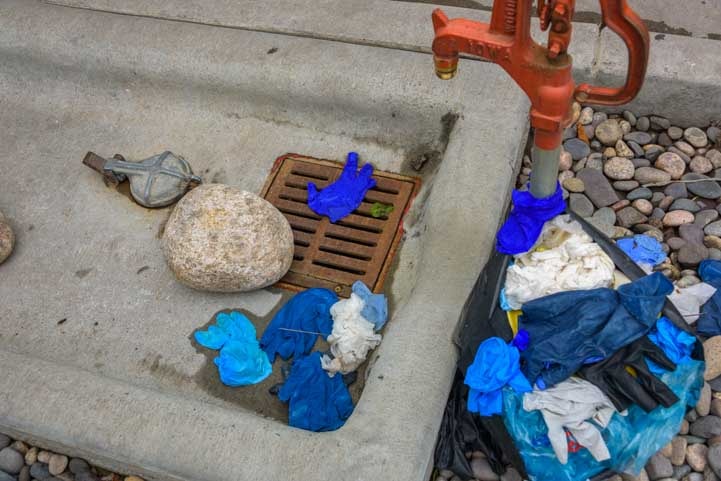


 As responsible RVers, I think it is in all of our best interests if we use chemicals that won’t pollute our ground water supply.


