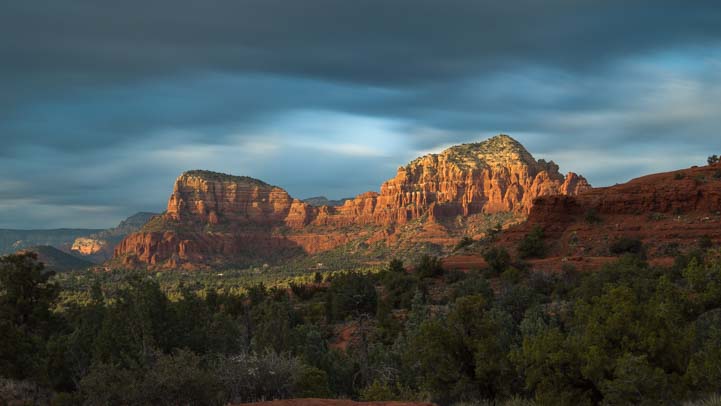
March 2016 – Canyonlands National Park is a stunning and massive National Park full of red rock hoodoos and towering red rock cliffs and wonderful hikes.

We’d often heard about Canyonlands National Park and were excited to get here at last.
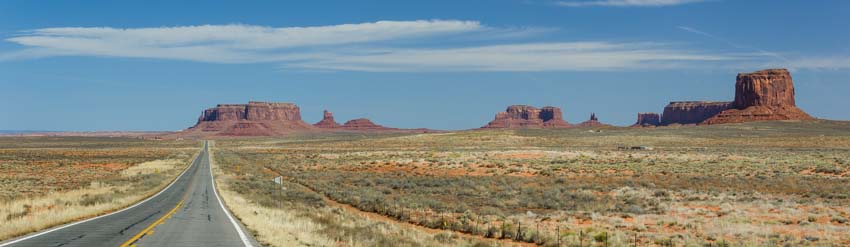
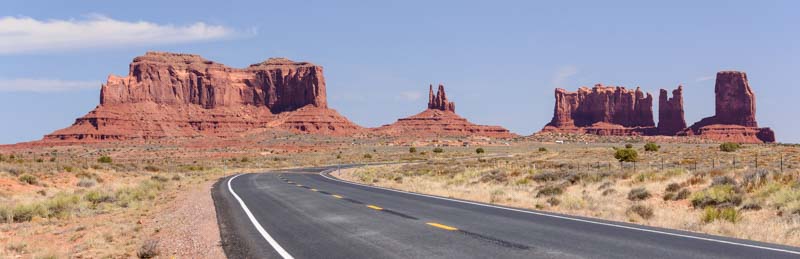
There are three districts within the Park, two of which can be accessed by car on a paved road: the Needles District in the south and the Island in the Sky District a 100 mile drive around the park to the north. After our brief stop at Newspaper Rock outside Monticello, Utah, we continued on the same road about 25 miles further north to the Canyonlands southern entrance at the Needles District.

Just standing in the parking lot at the trailhead our cameras began to click!
As we stopped at the entrance station to flash our pass and get maps, Mark joked with the attendant who had been making change and issuing passes to a line of cars all day long.
“So, this is what a degree in Forestry gets you…” Mark winked. “You might as well be working at fast food joint!”
The ranger gave him a wry smile. “Actually, it’s even better than that.” He said. “I have a master’s degree in Geology.”
We both got a chuckle out of that, but we understood exactly what he meant when went on, “All my colleagues are in Houston making six figures. But guess who’s jealous of whom?!”

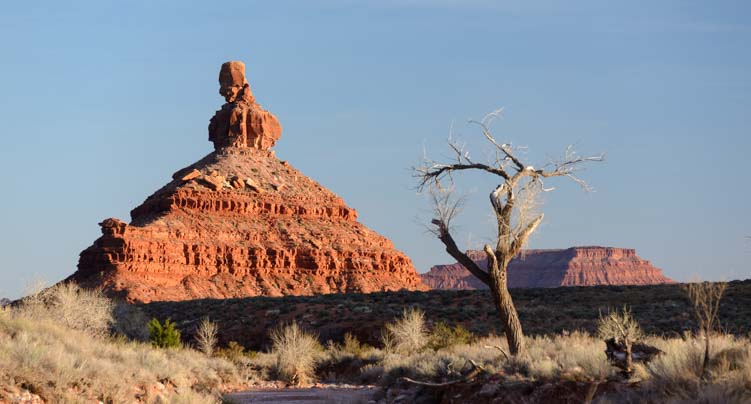
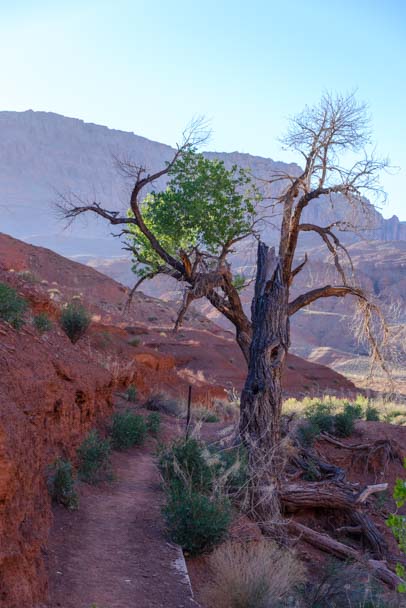
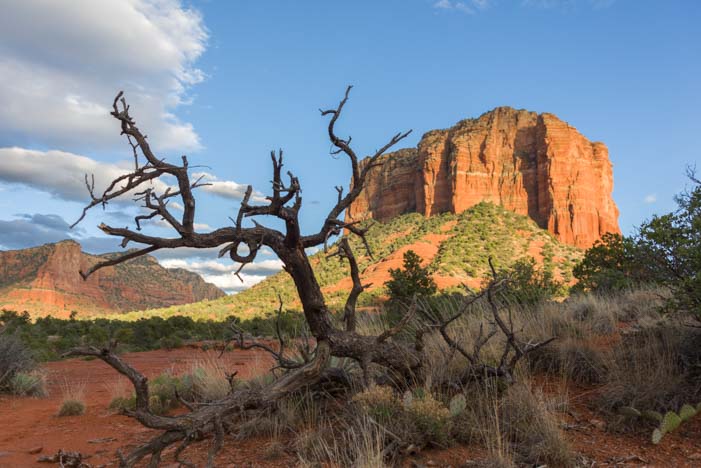
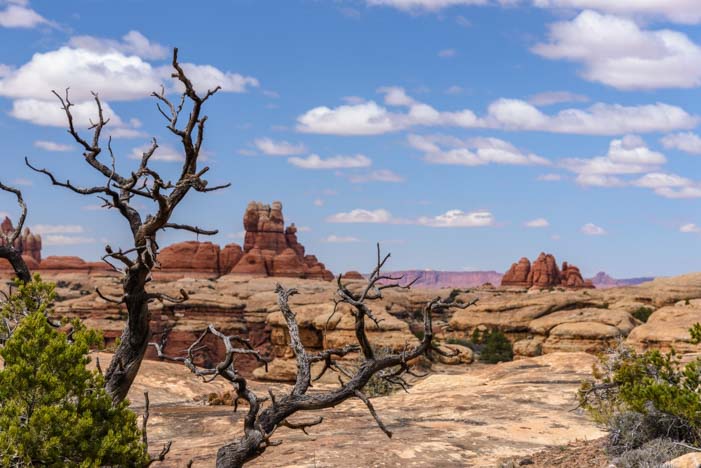
All along the trail there were fabulous gnarled limbs and logs that were bleached by the sun.
We found out later that this ranger does a Night Sky lecture that is really awesome, but we were there for a daytime hike. He recommended we do the Chesler Park hike, and before we even got the truck parked at the trailhead, we were already immersed in red rock beauty.
This is a 6 miles out-and-back hike that is loaded with fabulous scenery right off the bat, so whether you go the whole distance or do just a small bit, it is really rewarding.
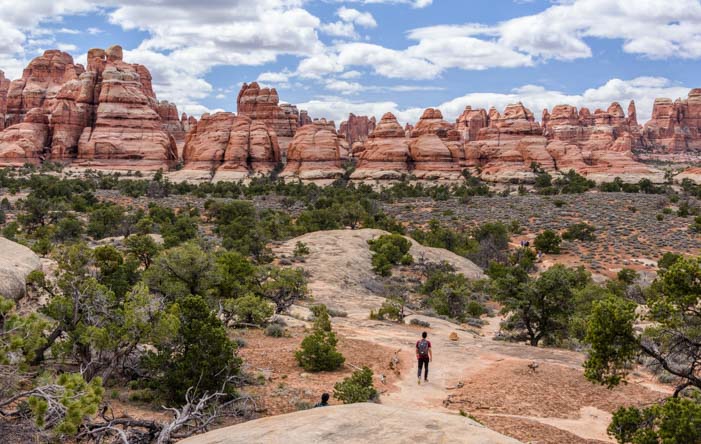
On the Chesler Park hike, the scenery is awe-inspiring as soon as you begin.
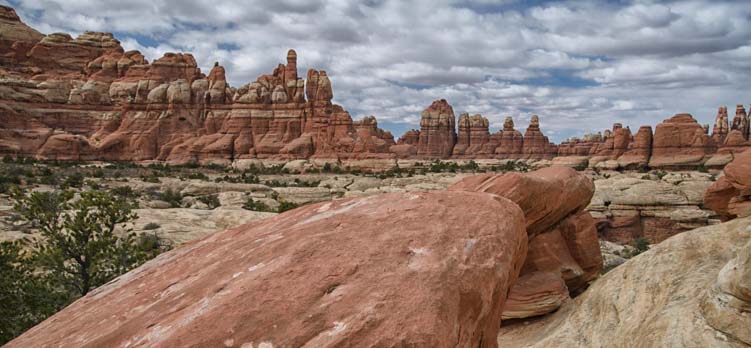
Right from the get go, after a fairly steep bit of climbing, we were within range of the “needles” red rock formations that give this area its name. Along with the spiky needles, we were surrounded by cool rock formations of all kinds, and it was really tempting to stop hiking and just play in the rocks.

So many cool rock formations lured us off the trail, we found it impossible to stay on the trail!
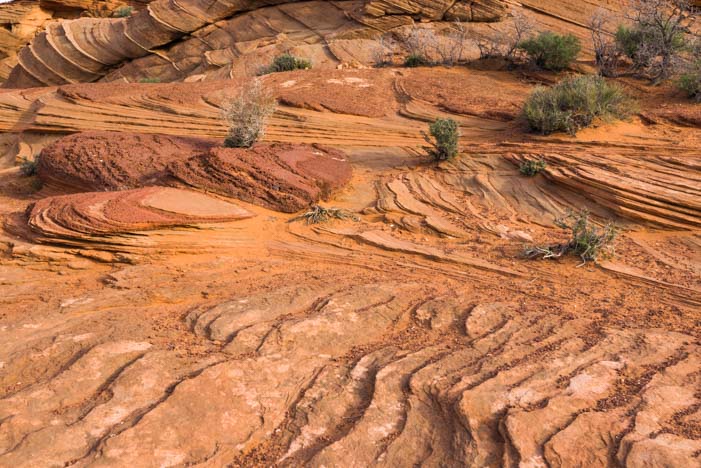
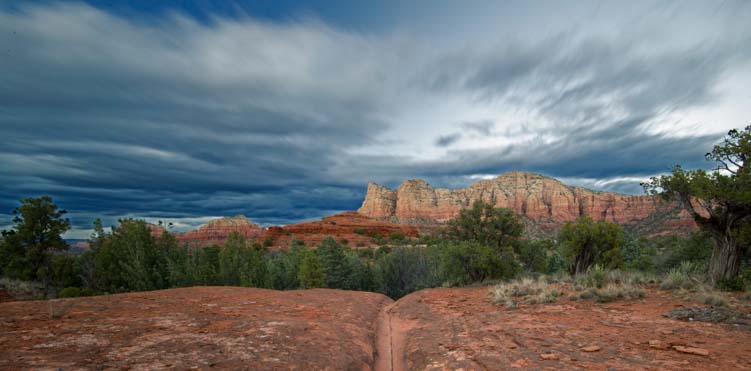
The sandy dirt trail is very clear and easy to find in spots.

In places the trail was a thin ribbon of sand.
But in other places it wanders off across vast flat rocks. Fortunately it is very well marked with little rock pile cairns.
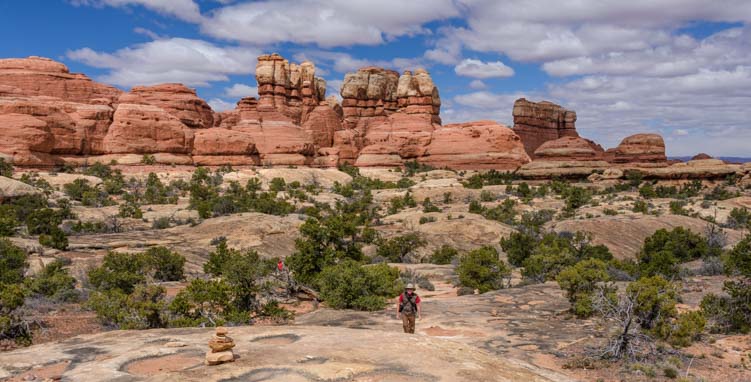
The trail wandered off over the boulders, kept in check only by the rock cairns rangers had built for hikers.
The fun thing is that there are hundreds of places to sneak off the trail and explore.
The views were inspiring in every direction.
As we followed the trail, continuously tempted by things that were off the trail, it occurred to me that you could do this hike a dozen times and have a totally difference experience each time.

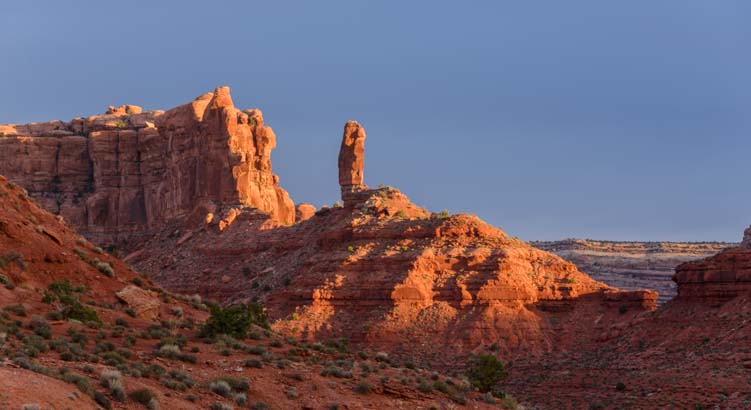
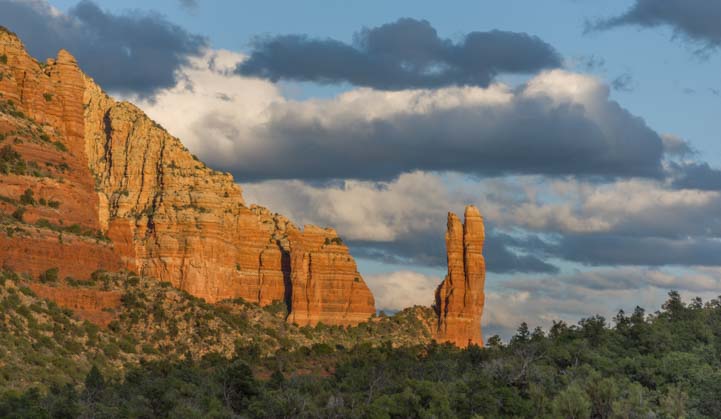
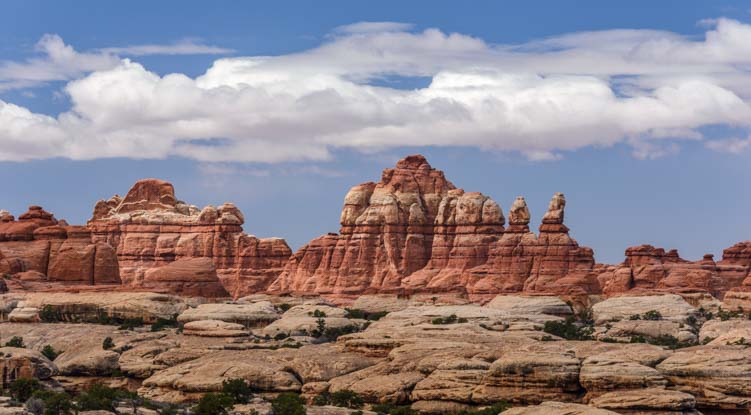
Some rock formations resembled spires.
The “needles” stand in neat rows, and some rows are more needle-like than others.
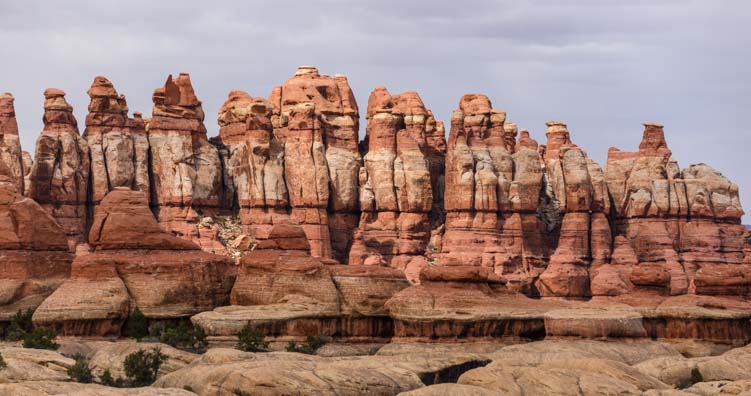
Suddenly we found ourselves standing among the needles themselves.

The needles rose up hundreds of feet in the air.
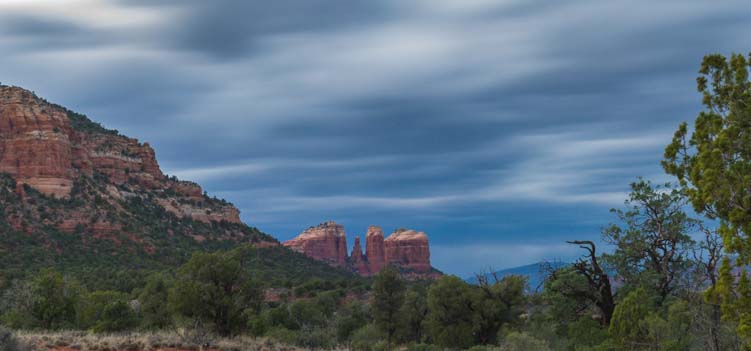
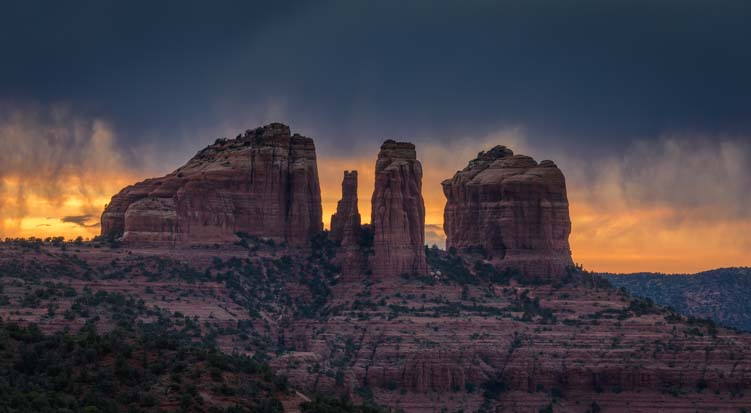
The sky was filled with clouds, and the sun played with the rock formations, alternately shading them and lightening them up.

The entrance to Nature’s Cathedral…

.
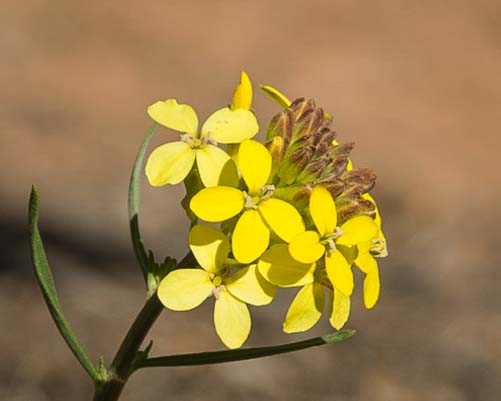
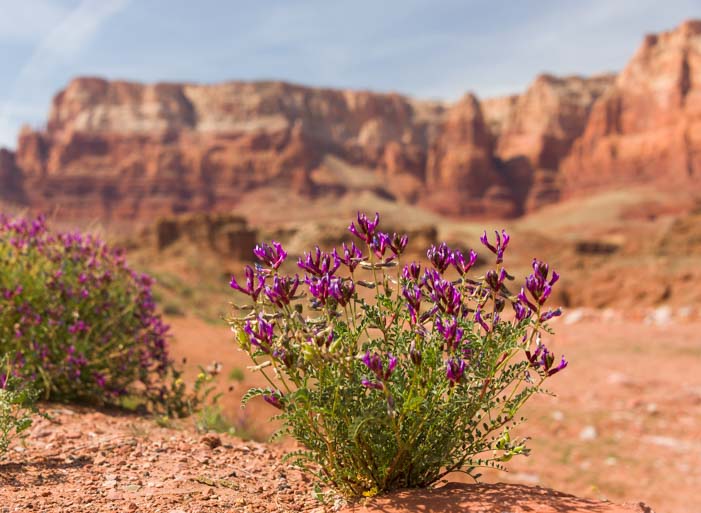
I was caught up by the incredible vistas of rock formations standing all around us, but Mark looked down at his feet and noticed some beautiful wildflowers.

While I gazed at the mammoth rock faces, Mark noticed the little smiling faces of wildflowers at his feet.
We had been enjoying all kinds of different scrambles here and there as the trail wandered in and around the rock formations. Then, suddenly, the trail descended into a slot.
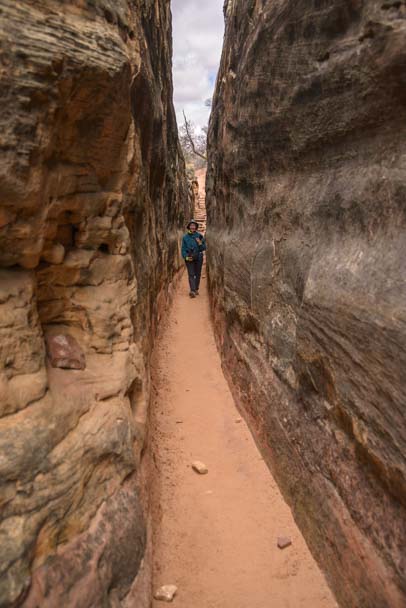
We shimmied through a skinny slot.
It was just wide enough to fit a person. We love little slots like this.

This was fun!
It wasn’t very long, though, and soon we were out at the other end. We took a break under an overhang.
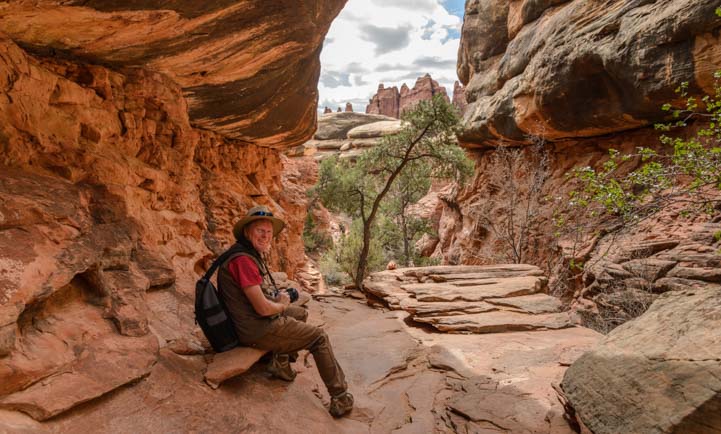
At the other end of the slot a huge rock overhang stretched over us.
We were both going crazy taking photos. Back in the rig, Mark played with one of his in black and white. Cool!

.
We turned around to retrace our steps and saw the needles from another vantage point. What a spectacular area.
.
This is a popular hike, and as we walked back we saw dozens of people of all kinds starting out. It’s a great hike for all ages. Lots of families had brought little kids who ran around on the trail, and older couples came with hiking sticks. We even saw a young couple doing the hike as a trail run. Wow!

Hikers of all ages love the Needles!
When we passed a woman carrying a little while pooch with pink and purple ears, we knew we’d seen it all.

Even stylish pooches enjoy an outing on this red rock trail.
The Needles District of Canyonlands is stunning, and there are hikes galore. Lots of families were camping there for Spring Break (and more than a few mentioned having been caught in the snow in their tents a few nights back like we were).
The Needles District is said to be the more beautiful and less touristy side of Canyonlands National Park.
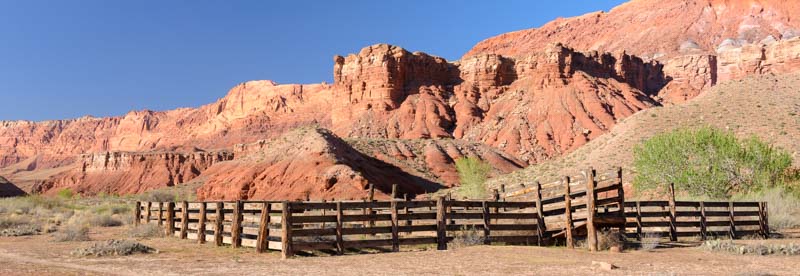
On the way in and out of Canyonlands National Park, there is a tiny homestead on the west side of the road that begs for exploration.

We found an abandoned cabin just outside the park. Our “tiny house” on wheels is bigger than this!!!
This little cabin couldn’t have been much more than 250 square feet. We couldn’t resist poking around for a bit.

I could barely stand up straight inside!
“Tiny houses” are very popular these days, and lots of people want to downsize into minimal square feet, whether on a foundation or on wheels. Imagine living in this wee cabin, miles from nowhere, during the winter. To stay cool in summertime, it even had an outdoor fireplace!

The summertime fireplace was just beyond the front door.
If your RV travels take you through southeastern Utah, it is well worth the detour to visit both Newspaper Rock and Canyonlands, to check out the intriguing sites in between, and especially to do the Chesler Park hike into the Needles red rock formations!
More info and links below.
Subscribe
Never miss a post — it’s free!
More info about Canyonlands National Park:
- Canyonlands National Park – Needles District – National Park Service Website
- Canyonlands National Park Map
- Canyonlands Needles District Hike Descriptions
- Location of Canyonlands National Park North and South Entrances, Moab and Newspaper Rock
Other blog posts from our RV travels in Southeastern Utah:
- Heavenly Theatrics in Utah’s Red Rocks 10/04/19
- Mexican Hat, Utah – A Special Hoodoo in the Red Rocks 04/05/19
- Traces of Antiquity and the Not-So-Ancient in Utah! 03/29/19
- SE Utah – A Mars Colony, Wide-Angle Photography & Snowy Mountains! 03/22/19
- Monument Valley & Hite Scenic Overlook – Stone Towers from Below & Above! 03/15/19
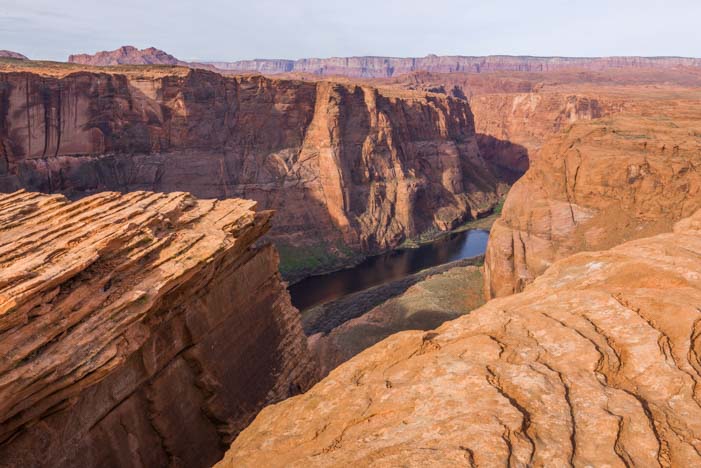
- Canyon Country Highlights – Lake Powell, Horseshoe Bend & More! 02/01/19
- Goblin Valley State Park Utah – One Gigantic Playground! 04/20/18
- Utah Scenic Byway 24 RV Trip – Capitol Reef National Park 04/16/18
- Canyonlands National Park UT – Island in the Sky (and Night Skies!) 04/28/16
- Dead Horse Point State Park, Utah – Magical Sunrises! 04/23/16
- Arches National Park Utah – A Playground of Soaring Red Rock Bridges! 04/21/16
- Moab Utah – Red Rocks and Snowcapped Mountains 04/14/16
- Canyonlands National Park Utah – Hiking in the Needles District! 04/12/16
- Newspaper Rock Utah – Petroglyphs and Rock Art from the Ancients 04/06/16
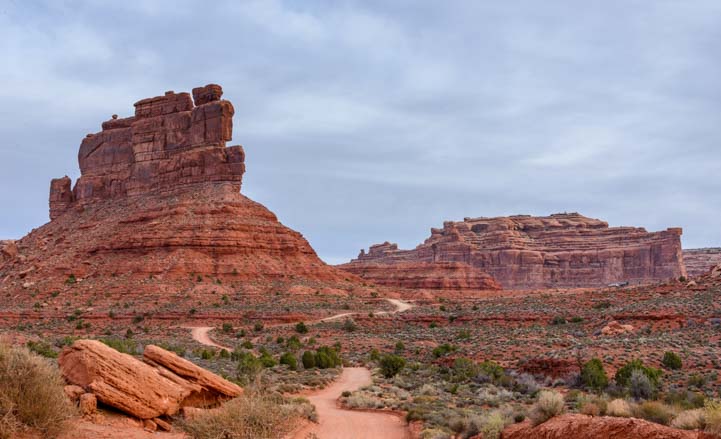
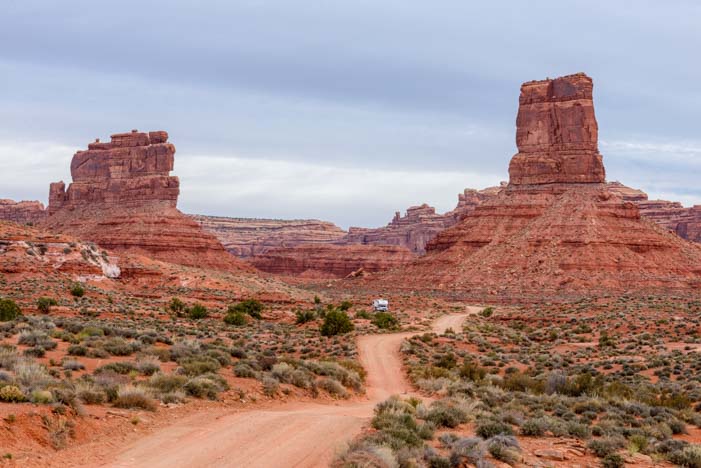
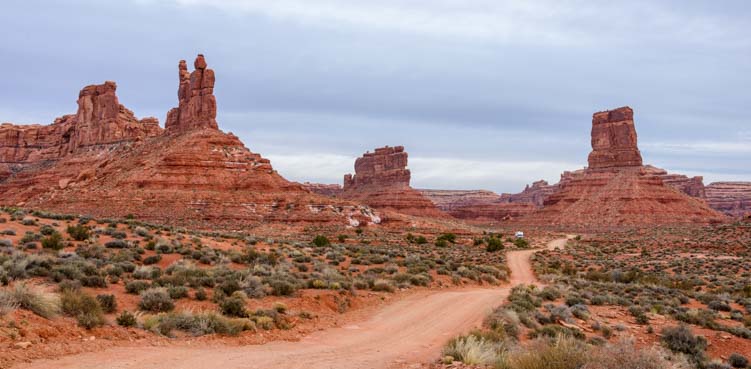
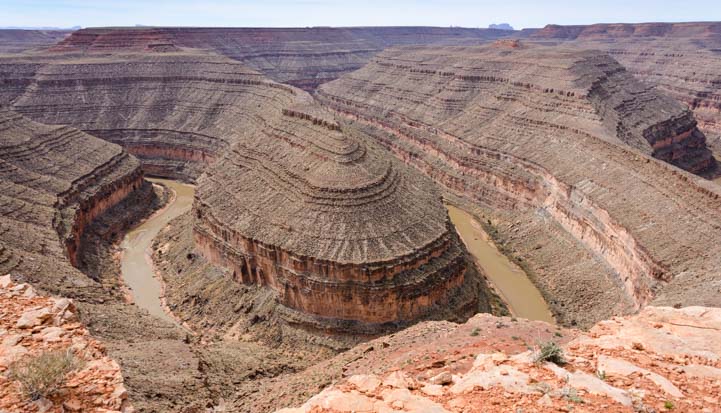
- Valley of the Gods & Goosenecks State Park, Utah – Beautiful! 04/04/16
- Paria Rimrocks “Toadstools” Hike to A Hidden Canyon! 05/25/14
- Wire Pass Trail – Slot Canyon Hiking! 05/22/14
- Natural Bridges National Monument & Utah’s Bicentennial Highway 06/15/12
- Goblin Valley, UT – Where the Ghosts Are 10/16/07
- San Rafael Swell, UT – Pictographs & Dinosaur Prints 10/12/07
Our most recent posts:
- Buckskin Mountain State Park – Fun on the Colorado River! 01/31/26
- How to Install Starlink Gen 3 in an RV? Use the Speedmount! 08/07/25
- Escape to Paradise – Rocky Mountain Magic! 08/01/25
- Is Forest River a Good RV? Well Built? Here’s Our Experience 06/20/25
- Sunset Crater Nat’l Monument – Lava & Camels at Bonito CG! 06/06/25
More of our Latest Posts are in the MENU above.
<-Previous || Next->