May 2024 – Sometimes in life you do a 180 and end up heading off on a whole new trajectory even though that was the last thing on your mind just moments before!

.
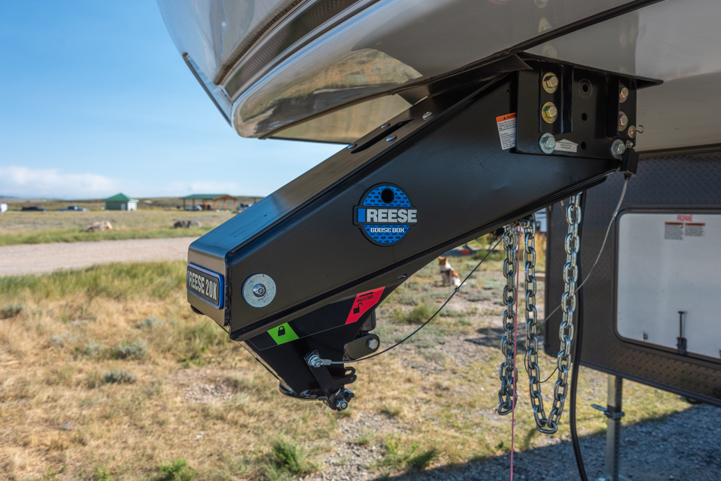
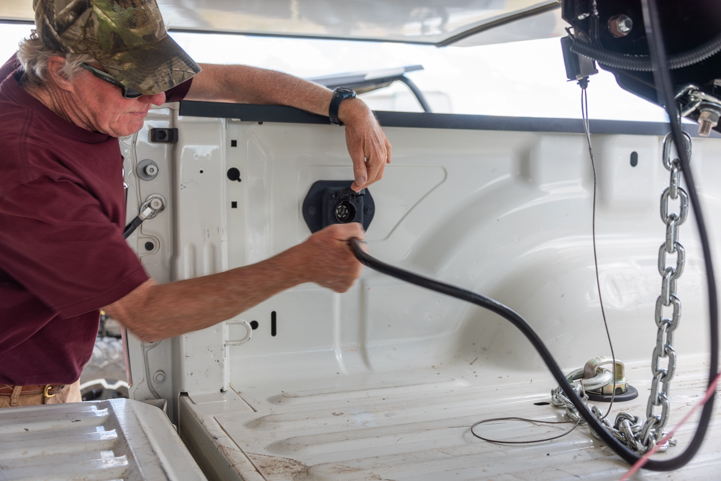
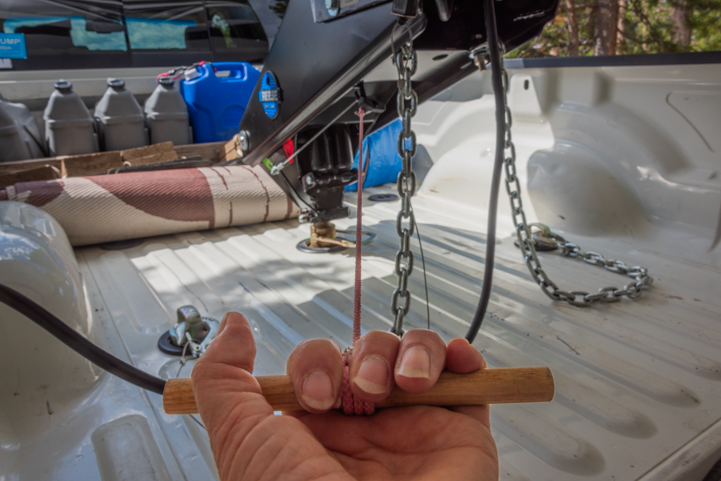
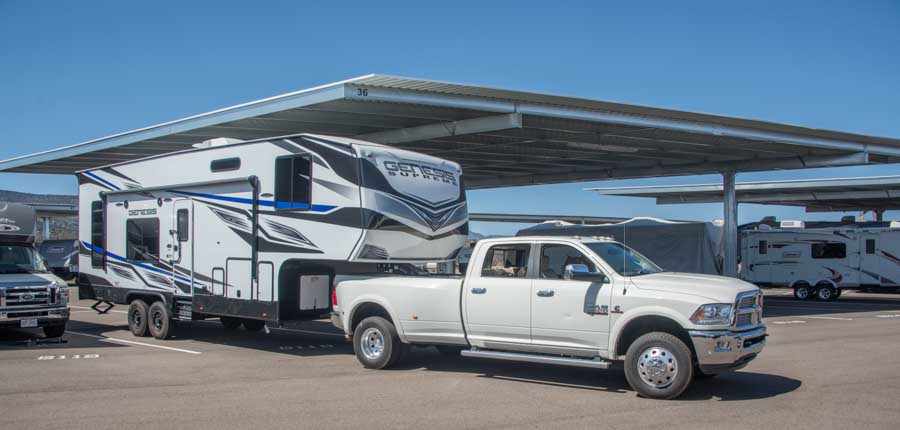
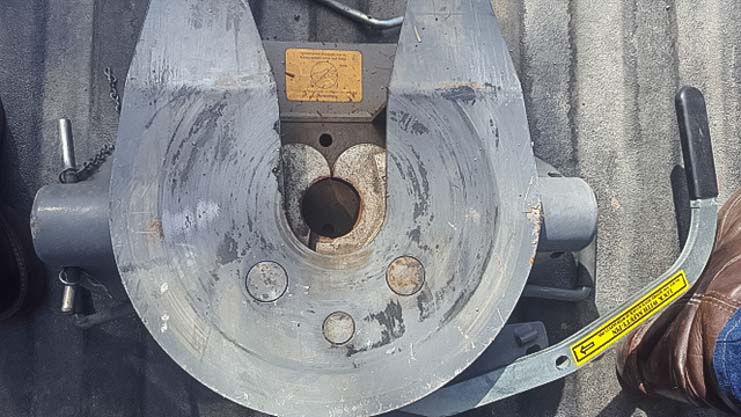
Right before we hitched our fifth wheel toy hauler to our big diesel truck for our Spring shakedown cruise to Utah, Mark reached into the trailer’s kingpin box for the power cord…and his fingers touched a little bird’s nest tucked deep inside.
He gingerly pulled the nest out to look at it and saw several newly hatched chicks with wide open mouths peeping inside. Oh no!!

Mark found a nest of brand new baby chicks in our fifth wheel king pin box!!
“Em…look!” He yelled. I came running and he showed me the nest and my heart sank. I love birds very much, but where on earth could we put the nest so the parents would know where it was and be able to take care of their babies? We certainly couldn’t leave it in the kingpin!
We were all packed up and just minutes from leaving on a 3 week long journey…
The desert southwest springtime winds had already kicked in, and our entire house and yard were being buffeted by 25 to 50 mph winds every afternoon for hours on end. There wasn’t a single square inch anywhere that wasn’t completely windswept!
I searched everywhere for a suitable place for the nest and came up with nothing. In the end, I placed it on a log in a corner where it was protected from the wind by walls on two sides. It was high enough to be out of reach of predators yet still accessible to the parents. It wasn’t great, but it was the best place around.
As we towed the trailer down the driveway, all I could think was that this was a terrible omen for the start of our long anticipated RV trip.
Even though it was a trip we very much wanted to take, the timing was off in many ways. We both had things we wanted to do at home, and we’d had a hard time tearing ourselves away.
However, the moderate temperatures of Spring were quickly disappearing and Summer’s oven baking temps loomed ahead. If we didn’t go now, we’d embark on our summer travels in a month or so without having tested anything on the rig, especially the truck.
The previous summer we’d spent 4 weeks holed up outside of Buena Vista, Colorado getting our 2016 Ram diesel dually truck repaired. The exhaust manifold had warped and broken two of the six studs that held it in place, and the turbo had become totally gummed up and had to be replaced too. All to the tune of over $6,600. Ugh!
We’d driven the truck a fair bit over the winter and had towed the trailer about 1,500 miles too (here, here and here). But we were still uneasy about whether the repair had truly fixed the underlying problem or was going to hold up over time.
I wanted to trade the truck in for a newer diesel truck, but Mark liked the way it drove and towed the trailer. Also, it was paid for, and had only 89,000 miles on it.
Surely, that big breakdown last summer wouldn’t happen again!
Yet we’d gotten a blast of diesel exhaust in the truck cab a few weeks earlier, and that was not a good sign at all. During the big repair we’d learned that that smell was a telltale sign of exhaust leaks and broken parts in the engine compartment! However, the exhaust manifold studs we could see were still intact, so we hoped for the best.
Before long we were driving between the exquisite canyon walls that line US-89 in northern Arizona.

The scenery on Route 89 in Arizona is out of this world!

We snaked our way between glorious canyon walls!
We set up camp near Page, Arizona, and had a marvelous time exploring Lake Powell and the Beehive Trail.
A few days later we broke camp to head up the road to the shores of Lake Powell at Lone Rock. To our chagrin, as we pulled onto US-89, the “Check Engine” light came on and the truck began throwing error codes. I frantically checked my notes from last summer, and they were the exact same codes that we’d seen in Colorado 8 months earlier!
To make matters worse, by the time we got to Lone Rock, the truck was making the most horrific screeching sound we’d ever heard. The ranger who greeted us at the entrance gate covered his ears when we pulled up! There was an RV dump station right inside the gate, so we decided to dump the tanks while we weighed our options.
Mark cleared the engine codes, turned off the truck, and gave me a long dark look as we set about doing the dirty deed at the dump station. The bright blue water of Lake Powell sparkled invitingly just over his shoulder, but we both knew that with a serious truck problem like this unfolding, there was no way we could ever enjoy ourselves at that gorgeous spot.
Unfortunately, finding a qualified diesel mechanic anywhere outside of a major Arizona city would be a challenge, and we were far from any big cities. Who knows how long the repair might take or what it might cost. Fortunately, we were only a few hundred miles from home. So, by the time the trailer’s tanks were empty, we’d decided to limp home if we could make it.
Miraculously, when Mark started the truck up again, there was no screeching noise and no new error codes on the display. We had an Edge engine tuner which showed the error codes and made it possible to clear them.
The trip home was mostly downhill, so Mark coasted as much as possible and drove very cautiously. We made it home with no mishaps. But a big black cloud hung over us!
As if symbolic of this whole experience, when we checked the nest of baby birds we’d found in the toy hauler’s kingpin before we left, not one of them had survived, and it appeared the parents had never returned to the nest.
This wasn’t a surprise, but it made that big black cloud over us even bigger.

We loved our stay by the Beehive Trail at Lake Powell, but moving to our next campsite proved disastrous.
Over the next two weeks we debated what to do. The problem might be very simple and a mechanic might fix it in an hour.
However, the diesel mechanic who was 30 minutes away wanted $180 to evaluate the problem before beginning to fix it, and he charged $175/hour once he took on the project. The mechanic who seemed better qualified and cheaper was 2 hours away wanted $95 to evaluate the problem before beginning to fix it and charged $150/hour for labor.
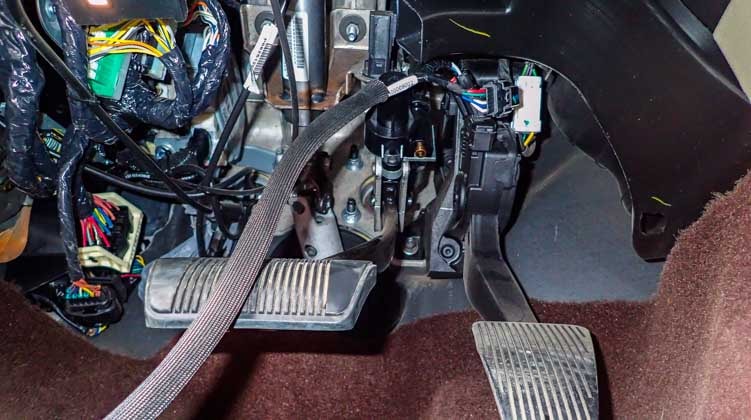
Ugh! How many hundreds or thousands of dollars should we put into a truck that had already cost us thousands in repairs? The exhaust leaks weren’t the truck’s only problems either. The main wiring harness sported soldered wires due to mice chewing through them!
We’d found that the smell of mice in the engine compartment couldn’t be scrubbed away completely, no matter what solvents we used, and that smell always attracted more mice, chipmunks and even stoats into our truck anywhere we parked.
We relied on the liberal use of the most effective deterrent on the market, packets of Fresh Cab. We refreshed the packets periodically with Balsam Fir oil which seemed to keep the mice out, but we knew our truck was more of a target for mice than most because of the impossible-to-remove mouse smell they could detect.
We sure didn’t want to throw good money after bad at this point…
So, we thought about trading the truck in for a different diesel truck and we went to several dealerships to test drive all three brands of diesel trucks. Our dually was the second Ram diesel we’d had, and both had exhibited the same problem of stinky exhaust fumes in the truck cab starting at about 75,000 miles. So, we weren’t keen on getting another Ram. Between Chevy/GMC and Ford, we were leaning more towards Chevy/GMC.
But did we really want to get another diesel truck? Since 2007, there have been significant government mandates requiring diesel truck designers to reduce exhaust emissions, and compliance has come at a massive cost in performance, functionality, reliability and longevity for all diesel trucks.
Diesel engines need a lot of air to breathe and run properly, and unfortunately the air flow in post-2007 diesel trucks has been so vastly restricted that they can’t breathe or operate properly. Consequently, engine components break prematurely.
What’s worse, there’s so much additional equipment surrounding the engine to modify the air flow that any repair takes a long time to complete because all that stuff has to be pulled out of the engine first and then put back in again after the repair is done. Half of our repair bill the previous summer had been labor, even though the actual parts replacement took just a tiny fraction of the overall time.
So, even though we loved the idea of trading in our diesel truck for a different one, we decided it was just too much risk for us to invest in another diesel truck at this stage of the game. If we were still full-timing, we might have felt differently. But as seasonal travelers, we knew we could have a wonderful time traveling with a variety of setups, none of which would require a diesel pickup.
Of course, not owning a diesel truck would mean that our big beautiful toy hauler would have to go too!! It weighed 15,000 lbs loaded, and the only pickup that could tow it was a one ton diesel truck. That trailer was our ticket to freedom on the road, and we had all kinds of fun RVing plans for the summer…starting in a month or so!
What awful timing!! The last thing we wanted to do was stay home for the next few months. Good grief!
So, suddenly our diesel truck problem morphed into a meltdown of our summer travel plans as well as the looming ordeal of getting rid of both the truck and trailer. What a mess!
Totally dejected, we went about our business at home and ignored the truck and the trailer for a while. It was all too overwhelming. I know you’re probably thinking, “C’mon…just trade in the truck — there’s thousands of them on the road and they’re fine!” All I can say is when you’ve been hit with a super expensive unexpected repair once, you’re not eager to flirt with fate a second time.
So, the search was on for a reliable gas vehicle.

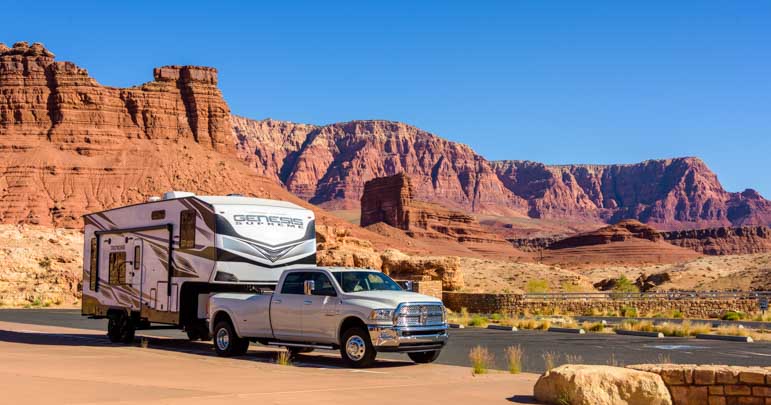
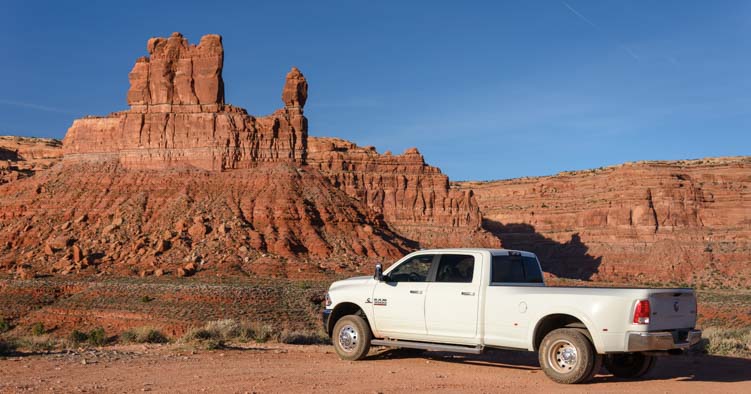
Little did we know that this pic we snapped of our Ram dually was the last one we’d ever take!
Ironically, during the winter and spring, Mark had been reading back issues of Arizona Highways Magazine we’d picked up at a flea market. They were from the 1960s, 80s and early 2000s. Each issue had an article that described a back road adventure in Arizona’s hinterlands, something that involved going down a rugged 4×4 dirt road.
These stories really inspired him, and he’d begun talking about getting a Toyota 4Runner, which was considered to be one of the best off-road vehicles, so we could do some long distance off-road exploring with a tent. Our beloved Polaris RZR side-by-side was fabulous for short distances, but it couldn’t carry much gear, was very dusty underway, and had a range of just 100 miles unless we carried gas with us.
So, in the months before our Ram dually died, we’d amused ourselves by doing a test drive of a Toyota 4Runner. Our immediate impression was that it was basically a truck. We already owned a big beautiful diesel dually truck — why would we buy an additional truck?
The big beast of a dually wasn’t really as suited to rugged 4×4 roads as a nimble little 4×4 SUV would be. But we put the whole idea on the back burner because it didn’t really make sense for the two of us to own so many vehicles.
However, now that we were suddenly planning to get rid of our big diesel truck, the lure of taking a rugged 4×4 gas vehicle down those rough back roads came alive again.
We test drove the Subaru Forester and an older Nissan Xterra and tried the Toyota 4Runner again (much better off-road with Toyota Tacoma lift kits). But none of them seemed right. And besides, we realized we might want to tow a small trailer someday, and none of those could tow anything much bigger than a popup tent trailer!
Finally, we decided that a Toyota Tundra would be the way to go. It is known for reliability, can handle rugged off-road driving, and heck, we used to own one (a 2004 model)! The only reason we’d gotten rid of that Tundra was because it wasn’t strong enough to tow the 27’ travel trailer that we purchased to begin our full-time RV adventures. We’d replaced it with our first 2007 Ram diesel truck. We have a summary of the various trucks and trailers we’ve owned here.
In our research, we discovered that Toyota had built the last of its legendary 5.7 liter engines in 2021, and that engine had been what gave the Toyota Tundra its legendary status for reliability and durability.
Again, Toyota’s decision to replace this rock solid engine with a different design was due to government intervention, this time relating to carbon footprints (something Sasquatch leaves behind?) and fossil fuels (fossils are fuel powered?).
So, the hunt was on for a 2021 Toyota Tundra with the renowned 5.7 liter engine and as few miles on it as possible. In addition, we wanted a silver exterior, cloth seats, a bench seat in the front, a basic SLT model (not the TRD) and the tow package so we could tow a small trailer.
Hmmmm…. That was quite a tall order!
To our astonishment, after lots of searching, we found that exact model with only 16k miles on it at a dealership about an hour away!
In the blink of an eye, all our truck problems vanished when we dropped the Ram dually off at the dealership and drove home in a beautiful new-to-us 2021 Toyota Tundra! (We still use Fresh Cab packets in the engine compartment and the interior!)

2021 Toyota Tundra SLT pickup
By now it was mid-May, though, and central Arizona’s summertime furnace was quickly approaching peak temps. What to do? We didn’t want to buy another trailer until we’d sold the toy hauler, and we weren’t in the mood to shop for one anyway, yet we wanted to escape to cooler temps.

Our new Tundra looks pretty comfortable in the woods!
So, we began shopping for a tent!
Yes — a TENT!
We hadn’t tent camped in 20 years, but we were game to give it a try. If we were going to sample those awesome Arizona 4×4 roads, we’d be tent camping along the way, and we’d have to assemble some tent camping gear. So, now was as good a time as any to get started looking at tents, sleeping bags and pads, etc!
One day while taking the Tundra on a little drive to check out local mountaintop tent-oriented campgrounds, we came across a most unusual tent. It looked like a small cabin! The campers who owned it happily told us all about it and showed us the inside. It was very cool!

We came across this cute portable cabin in the woods!
It was a Panda inflatable tent that was erected like a bouncy house for kids. Inflatable tube arches formed the structure rather than conventional tent poles, and the whole roof and one end open up with wonderful huge mesh skylights and windows.
The owners were very experienced tent campers who went camping almost every weekend. They said that after they’d had to throw out several conventional tents that fell apart after repeated use, they splurged and bought this high end tent. How much of a splurge was it? $1,600!! Holy smokes!!
We loved the idea of the Panda tent, though, and tucked it away for future consideration. For now, however, we decided to get one of those “disposable” types of conventional tents: a Coleman Evanston 8-person tent that was on sale for $115.
Turns out — we love it!! What a great tent!
Sure, it’s a bit delicate. We had to replace the bungee in one of the tent poles after the first time out and we’re very careful with the zippers. But the tent is really well designed and lots of fun.
The best part is it has a screened in porch and a huge mesh window that’s almost the entire back wall of the tent.

Our new digs — what a fun change of pace!
Who would’ve thought a screened in porch was a good idea in a tent? But it’s actually a fantastic place to leave your shoes and jackets without worrying about bugs getting into them, and it’s a nice “breezeway” that keeps the dirt out of the tent and plenty of cozy cleanliness inside the tent.
It’s also Buddy’s favorite nighttime hangout. He’ll get up in the middle of the night and wander out there to sit for a while and listen to the night sounds and watch for nighttime action. Fortunately, he’s not the type to paw at the mesh, so it lets him be outside while actually being inside. He also loves going out there just before sunrise to watch the wild world of nature wake up. We love that he enjoys his morning hour out there because it keeps him occupied while we catch a few extra zzzzz’s.

Buddy LOVES the tent and especially the screened in porch.
The main room of the tent is like a typical 10×10 dome tent, but because of the porch we can keep a lot of items out there instead of cluttering up the main room, giving us more floor space around our sleeping bags. We both can stand up to full height everywhere in the main room except the outer edges of the floor.

The screen porch is Buddy’s favorite!
Besides the porch, the other super cool thing is the mesh wall at the back. Lying in bed at night we can look up at the stars. Sometimes the stars are so bright they seem jump right out of the sky. Early in the morning we can watch the changing dawn light on the trees and sky above us.

Our view when lying in bed!
Of course, during the day, we have to be a little careful changing clothes if the mesh wall is facing any other campers because it doesn’t have it’s own zipper cover like the other windows do (fortunately, the rainfly covers it completely, although we’ve used the rainfly only once so far).

Looking out of the interior of the tent through the screen porch to the front door.
We’ve been out boondocking with the tent a few times and we’ve been to a few campgrounds too. It is so cool to pull into a campground and find that all the RV sites have been booked for ages, but there are still some fantastic tent sites available!

Home sweet home.
We’ve slowly figured out what we need to tent camp comfortably and have gradually acquired these things. They fill the truck to the brim, both the back seat AND the truck bed under the tonneau cover, but they make our camping experiences comfortable!
- Folding table and camping chairs
- Teton cotton flannel sleeping bags with a rugged exterior
- Cotton flannel blankets to use as inserts inside the bags
- Teton XXL Outfitter sleeping pads to go under the sleeping bags
- Pillows + Buddy’s dog bed
- GasOne camp stove + pot, pan and dishware
- 55 quart Lifetime cooler for cold foods
- 52 quart Coleman cooler for dry foods
- 5 gallon Lifetime cooler with a spigot for drinking water.
- Aqua-tainer 7 gallon water jug with a spigot for washing water
- 2.5 gallon solar shower bag
We’ve also adjusted to eating outside, and each trip gets easier as we sort out what works and what doesn’t.

One huge difference from RV life is that we eat our meals outside.
Buddy doesn’t mind one bit!
Tent camping is definitely roughing it compared to the luxurious RVing and boating lifestyles we’ve enjoyed before. But it’s also a really fun change of pace.
The Toyota Tundra is a dream to drive, and one thing that really surprised us was Buddy’s reaction to it.
Weirdly, back in 2018 when we were still full-timing, after Buddy had happily traveled around with us in our Ram dually for the first 8 months he was with us, suddenly, out of the blue, he was absolutely petrified of the truck and hated to be in it for any length of time.
We tried everything we could think of over the next six years to make him comfortable in the truck, but he hated it with a passion. He would shake and pant and drool and be miserable the whole time he was in it.
To our utter amazement, he loves the Toyota Tundra! It’s quieter and smoother than the Ram, and he has his own place between us in a dog bucket seat that’s buckled into the bench seat.

We hadn’t tent camped in 20 years, but it has been really fun to get back to it.
Fortunately, Buddy is happy in the new truck too!
In hindsight, we now think the Ram truck developed its first exhaust leak back in 2018 and started making a high pitched sound that only Buddy could hear. We were oblivious to this noise, but it drove him crazy!
As proof of how much he likes Tundra-and-tent travel, one day after patiently watching us pack the truck all morning long through a bedroom window, he came barreling out of the house and jumped into Mark’s lap in the driver’s seat the moment Mark put the key in the ignition to warm it up.
“Don’t forget about me!” he seemed to be saying. With the dually, we would have had to drag him out of a hiding place somewhere and carry him to the truck while he shook frantically in our arms!
So, it’s all worked out, although it was quite a detour from our original plans.

Here’s a happy camper with his new tent.
So, what happened to the toy hauler? Ironically, speaking of buying a truck that makes our beloved pup happy, the people who bought our toy hauler wanted to replace their motorhome because their dog hated it! Fortunately for them and for us, their dog ran up the stairs of the toy hauler and said, “I like this!” We made a deal right away!
This isn’t the end of the story, though, and our traveling lives have taken more twists and turns since last summer. So stay tuned!

Never miss a post -- it's free!
Related blog posts:
- B&W Companion Hitch Performance in a Fifth Wheel Trailer Rollover Accident
- B&W Companion OEM Fifth Wheel Hitch Installation – Easy!
- Basic RV Tool Kit – Essential Tools & Supplies for Rvers
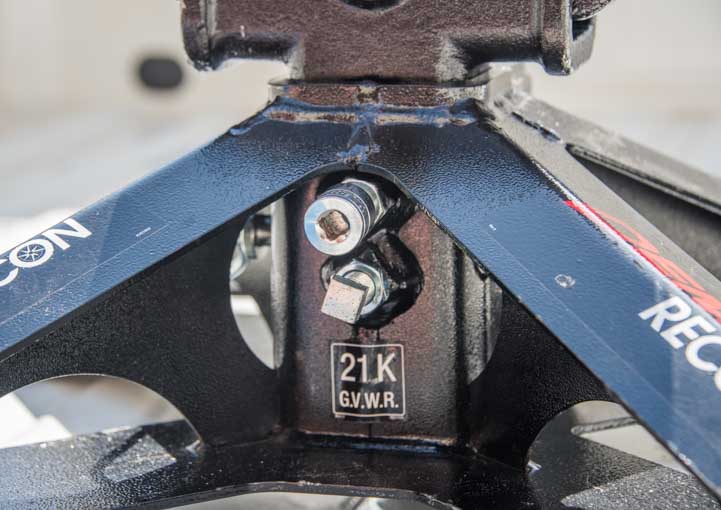
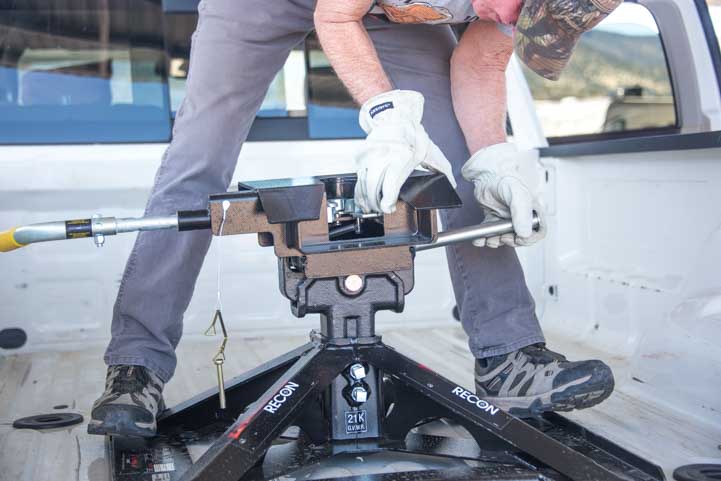
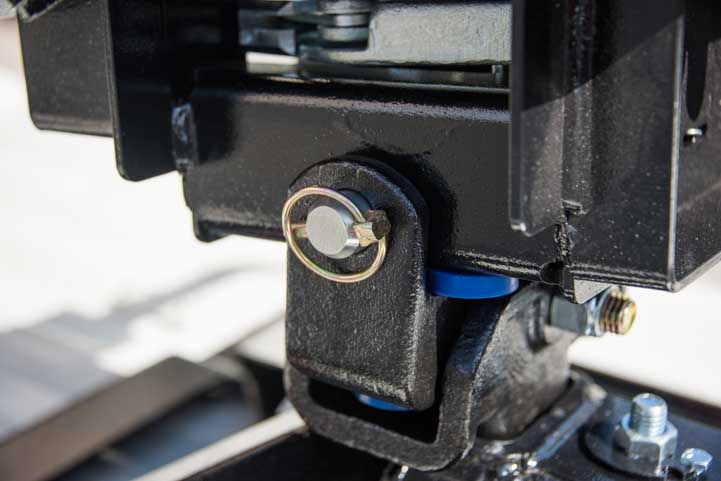
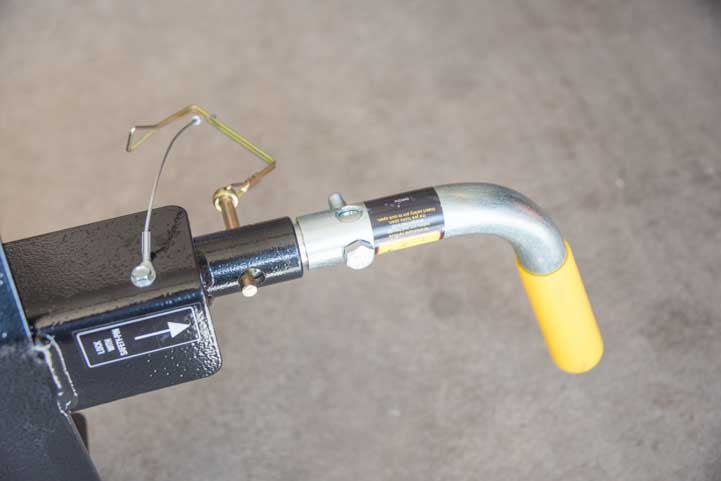
- Demco 21K Recon Fifth Wheel Hitch Review and Installation
- Dodge Ram 3500 Dually Truck – Best RV Fifth Wheel Trailer Towing
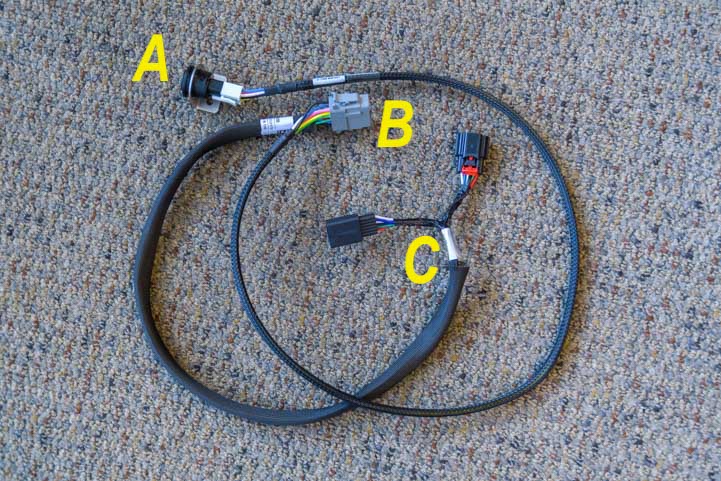
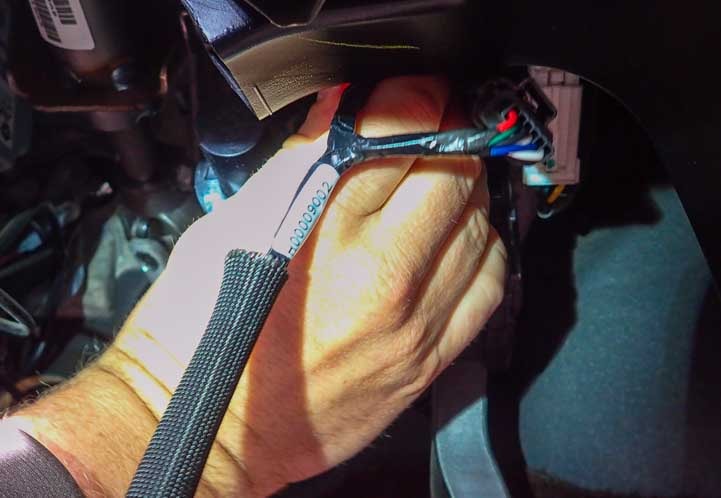
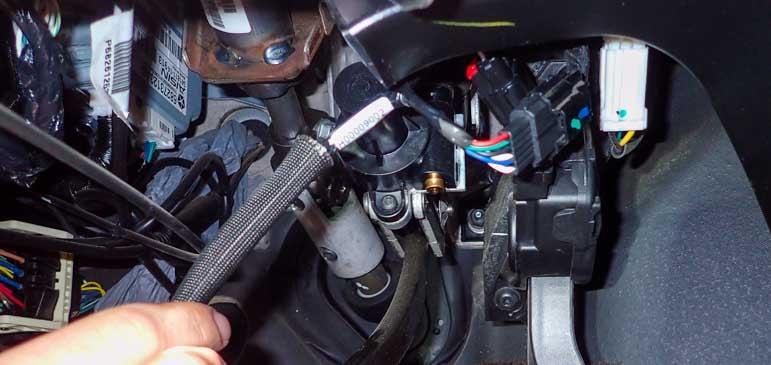
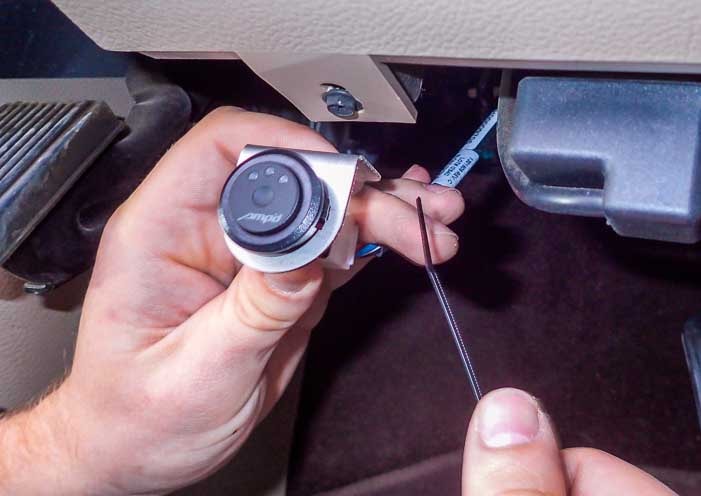
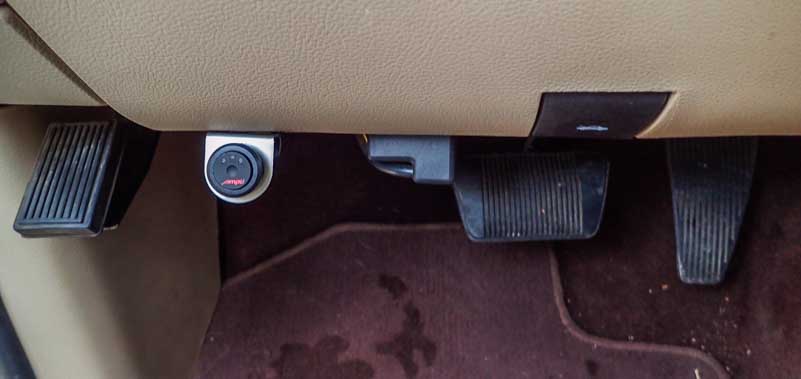
- Edge Amp’d Throttle Booster Installation and Review
- Edge Engine Tuner => Max Truck Power!! (Escapees Mag Feature!)
- Edge Evolution CS Tuner Review – Peak Truck Performance!
- How To Change The Inner Rear Tire on a Dually Truck
- How to Fix a Car or Truck Key Fob in Minutes!
- How to Put DEF (Diesel Exhaust Fluid) in a Truck & Which is Cheapest?
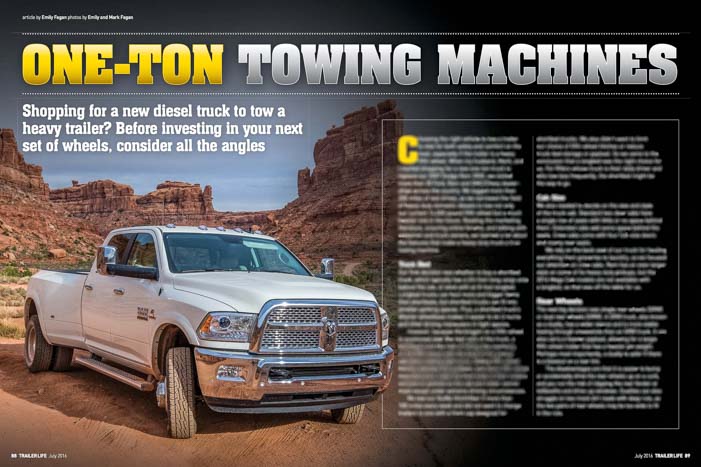
- One Ton Towing Machines and 75 Years of Trailer Life
- Out with the Ram Diesel truck and In with a…??
- Reese Goose Box Review: 20K Gen 3 TESTED + How to Hitch
- RV Mountain Driving: How to drive your RV safely on mountain roads
Our most recent posts:
- Buckskin Mountain State Park – Fun on the Colorado River! 01/31/26
- How to Install Starlink Gen 3 in an RV? Use the Speedmount! 08/07/25
- Escape to Paradise – Rocky Mountain Magic! 08/01/25
- Is Forest River a Good RV? Well Built? Here’s Our Experience 06/20/25
- Sunset Crater Nat’l Monument – Lava & Camels at Bonito CG! 06/06/25
More of our Latest Posts are in the MENU.
New to this site?
Visit RVers Start Here to find where we keep all the good stuff. Also check out our COOL NEW GEAR STORE!! *** CLICK HERE *** to see it!
<-Previous || Next->