Winter RVing is loads of fun, but figuring out how to stay warm in an RV on those chilly winter mornings and long cold dark evenings makes all the difference between having a great time and wishing you were in a house. Going to a southern state is a good start, but it may not always fit with your overall full-time RVing itinerary. You might get caught in an early winter storm, like we did in one year in Colorado’s Rocky Mountains. Or you might get whipped by a blizzard on your way south, as has happened to some of our snowbirding friends who wanted to celebrate the holidays at home in Montana before trekking south to Arizona in January.
Here are some tips for ways we’ve found to stay warm in our RV in winter…
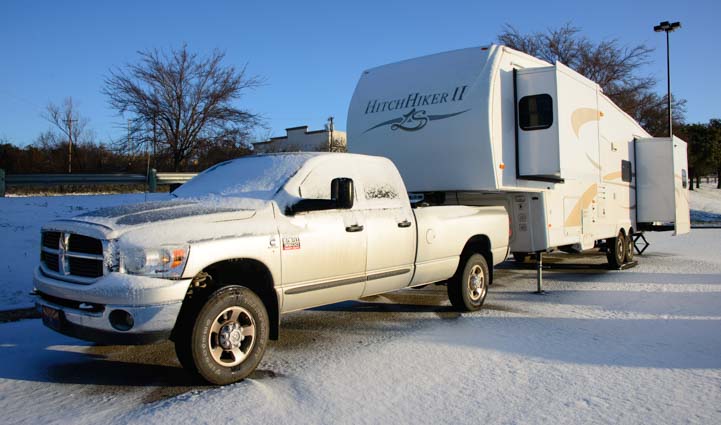
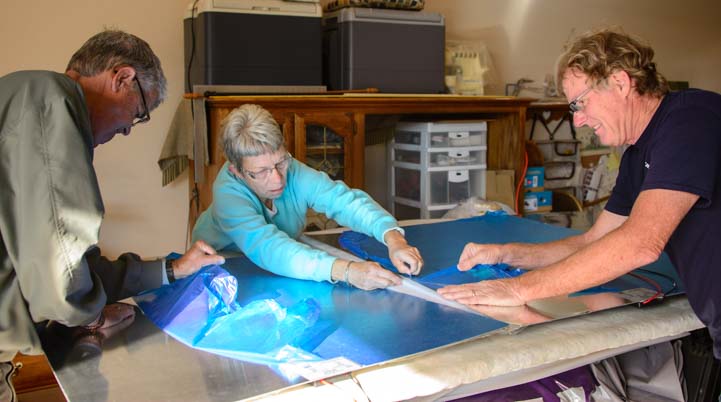
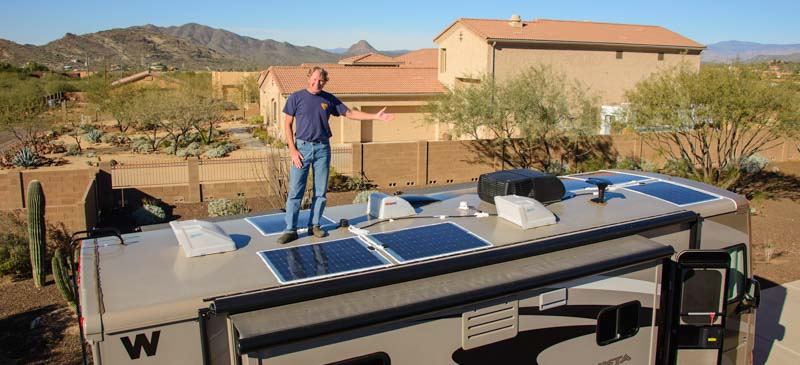
Brrr…How do you stay warm inside of this??
WINTER RV TIP #1 – STAY IN BED UNDER THE COVERS TIL SPRING!
One winter RVing tip is to go to bed and stay in bed until the spring wildflowers begin to bloom. Our two little RV companions, Chrissy the cockatoo and Weazie the ferret (named for former beloved pets) seem to have decided to go that route this year.
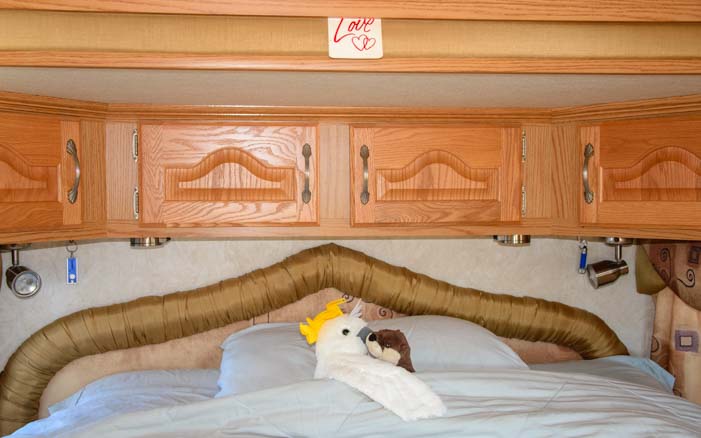
One solution – jump under the covers and stay there until Spring!!
WINTER RV TIP #2 – GET AN EFFICIENT SPACE HEATER!
A better option is to get a good and efficient heater. The factory installed propane furnaces that come with most RVs is very inefficient. The blower uses a lot of electricity. What’s worse, the heater goes through a lot of propane, because much of the hot air is exhausted outside the RV (just go outside on a cold day and put your hands by the RV furnace vent — they’ll be warm in a jiffy!).
If you will be plugging into electric hookups a lot, and staying for just a few days at a time in most of the places you travel to (with no metering on the electricity and unlimited power built into the overnight camping fee), then it makes sense to get a really great electric space heater.
WINTER RV TIP #3 – INSTALL A VENT-FREE PROPANE HEATER!
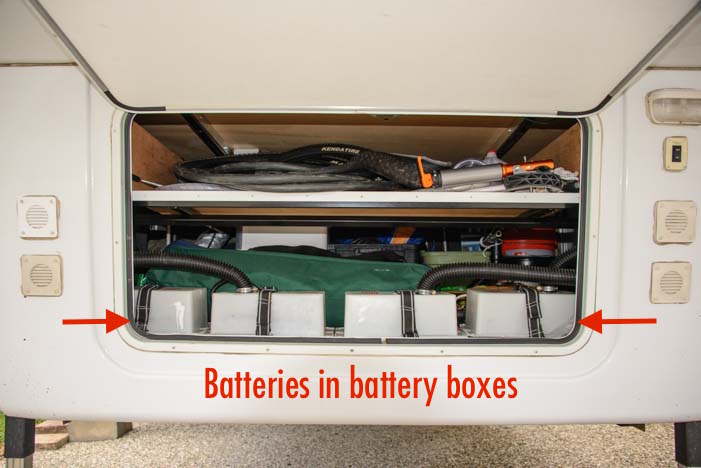
If you are going to be boondocking (or dry camping), out in the southwestern deserts — or even in Florida or Texas — then you will need an RV heater that is efficient both in its use of electricity and its use of propane. The best option is a vent-free propane heater.

We LOVE our vent-free propane heater.
We have been using ours since Mark installed it in 2008, both during the winter and the summer, and we love it. We have a whole blog post explaining how this kind of heater works, what the technologies are behind the different styles of vent-free propane heaters on the market, what kind of heat each type of heater produces, and how to install one here:
Choosing and Installing a Vent-Free Propane Heater in an RV
We have used this heater from sea level to 10,000′ altitude year round, and we share some tips for heating strategies we’ve used when we’ve camped on a lofty mountaintop as temps plummeted and a snowstorm rolled in:
How to Heat an RV in Cold Weather and Winter Snowstorms
WINTER RV TIP #4 – GET A PORTABLE VENT-FREE PROPANE HEATER!

A portable vent-free propane heater is an easy way to go.
If you love the idea of using an efficient propane heater that doesn’t use any electricity, but you’re not keen on doing a permanent installation, another great option is to get a portable propane heater.
WINTER RV TIP #5 – INSTALL A VENT-FREE PROPANE FIREPLACE!
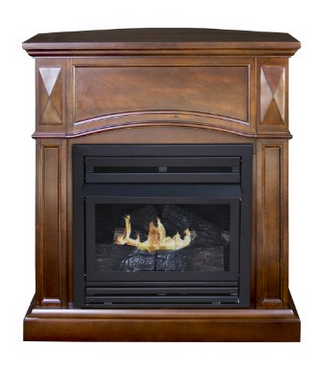
How about a vent-free propane FIREPLACE?!!
On the other hand, if you are outfitting the RV of your dreams for a life of full-time RV travel or of winter snowbirding RV adventures, then you might consider installing a vent-free propane fireplace that is built into an elegant mantel. These heaters give off the same incredible heat as the more industrial looking vent-free propane heaters, but they have the cozy and inviting appearance of a fireplace and produce a beautiful (and mesmerizing) flame. What a great addition to an RV!!
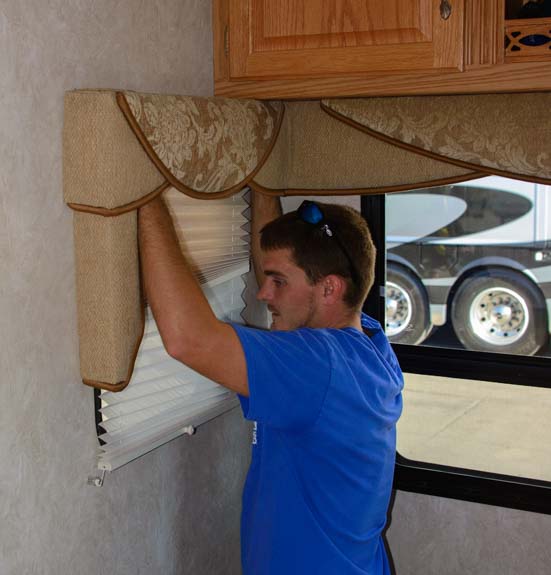
WINTER RV TIP #6 – SHRINK-WRAP YOUR RV SCREEN DOOR!
One of the easiest ways to winterize an RV is to shrink-wrap the screen door. By covering the screen door with a thin layer of plastic, you can keep the big RV door open all day long, close the screen door, and let the sunshine fill your rig with light and warmth. It is really surprising that just a thin layer of plastic on the door is all it takes to keep the cold air out and let the warm air in (if you aren’t in sub-freezing temps!!).

Shrink-wrapping our RV screen door keeps the cold air out and lets the sun shine in!
We learned this trick from our RVing mentors, Bob and Donna Lea, in our first winter of RVing back in 2007-08. The beauty is that the installation of the shrink-wrap is less than a one hour job, and you can remove it in the springtime in just a few minutes.

Window shrink-film kit
We love having shrink-wrap on our screen door so much that we’ve gone through quite a few summers without removing it. Up in the mountains, it can be chilly in the summertime, with a brisk breeze blowing into the rig in the mornings, so the shrink-wrap can work its magic there too, and it also keeps the dust out.
This year, however, we took the shrink-wrap off our screen door when we got into the heat and humidity of the northeastern states in August, so we had to reinstall it just a few weeks ago.
To get started, all you need is
- Pair of scissors
- Razor blade (or boxcutter or sharp knife)
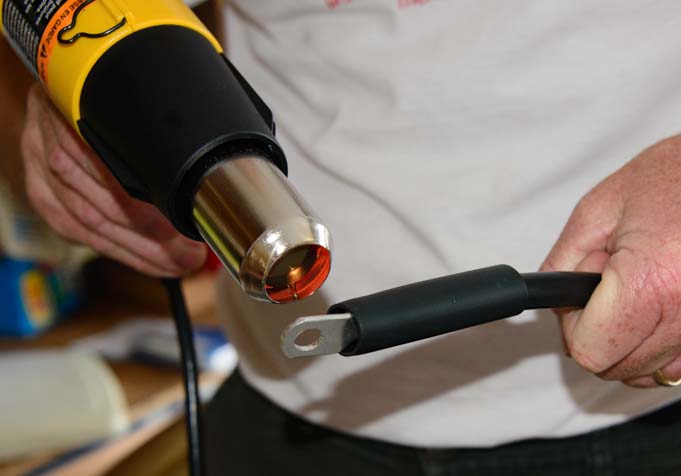
- Hair Dryer
- Window Shrink Film kit

All the tools we used to shrink-wrap our screen door.
The window shrink film kit comes with double-sided tape, and all you have to do is outline the door with the tape, remove the backing, press the plastic onto the tape, trim off the excess and then heat it up with a hair dryer to make the plastic taught. It is best to clean the frame of the door with alcohol or film remover first so the tape adheres well.

Press the double-sided tape along the frame of the door, going around the plastic sliding insert
by the door handle.
Go around the little slider opening for the door handle, because you need to be able to slide this open and closed (the shrink-wrap is covering only the screened parts of the door!). Then peel the backing off the tape all the way around the door.

Remove the backing from the tape.
Press the plastic onto the sticky tape around the door frame.

Hang the shrink wrap around the door frame.
Then use a razor blade to trim off the excess all the way around the door. Get the plastic as taught as you can. It doesn’t have to be perfect, though, because all the wrinkles will be taken care of in the next step.
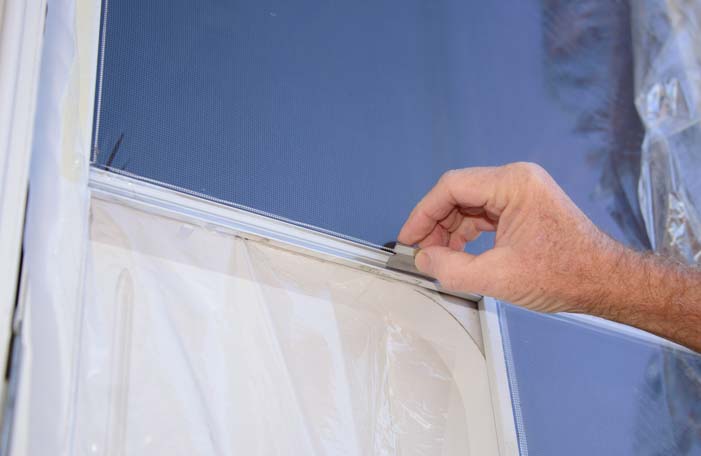
Use a razor blade or box cutters to trim off the excess plastic.
Using the hair dryer on the high setting, wave it gently back and forth over the edges of the door. The plastic will miraculously shrink up and become taught.
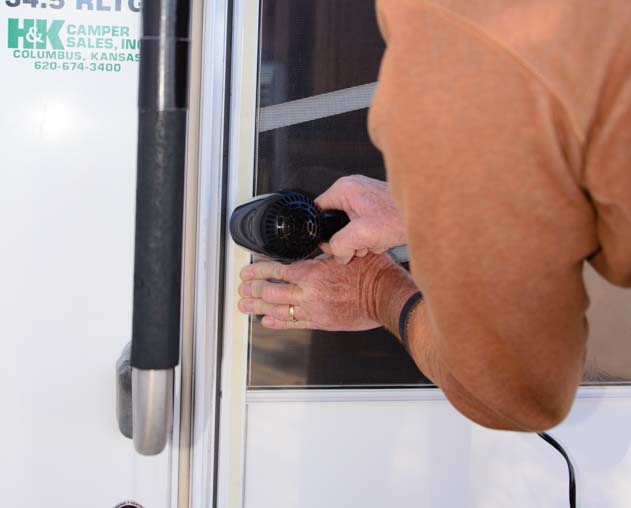
Use a hair dryer on the high setting to shrink up the plastic along the door frame.
Once you’ve gone around the frame of the door, wave the hair dryer across the middle to tighten that up too. Keep the hair dryer moving so it doesn’t melt the plastic in one spot.

Keep the hair dryer moving and wave it across the plastic to tighten it up.
If it’s cold out, you can always give yourself a blow dry too!

.
Once it is done, open the outer RV door open and close the screen door. The warm sun will pour in, but the cool breezes will stay outside!
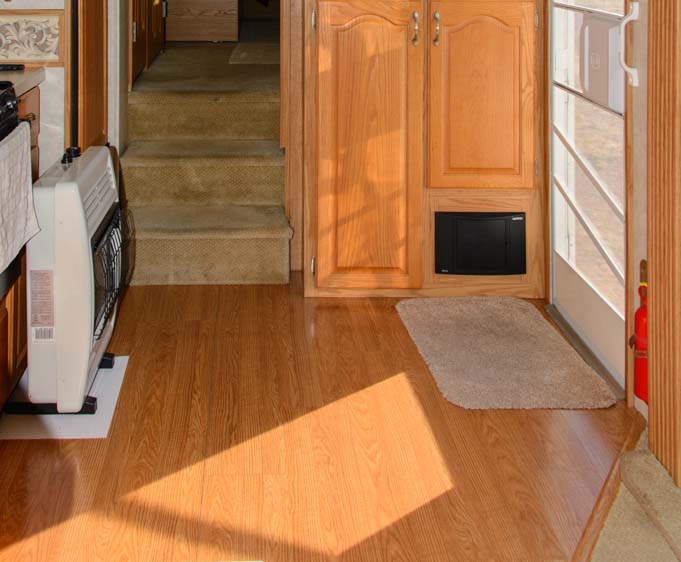
Morning sunshine fills our kitchen
Note: Since publishing this post, we have refined our shrink-wrap system even further. We have found that it is easy to make this into a Dual Pane system but adding a second layer of shrink-wrap film on the INSIDE of the RV door. What a world of difference this second layer makes!!
WINTER RV TIP #7 – ORIENT THE RV WINDOWS (and DOOR) TOWARDS THE SUN
Every RV floorplan is different, with the largest windows and the door placed in various locations, depending on how long it is and whether it’s a trailer or a motorhome. Take a look at where your biggest windows are, and try to orient the rig so those windows are in the sun for most of the day.
Our biggest windows are in a big slideout on the curb side (passenger side) of the trailer and also in the rear of the coach. So, in the wintertime we are best off orienting our rig with the truck headed northeast. This places our biggest windows towards the southeast and southwest.
In the summertime, the opposite is true as we try to avoid having our windows facing the sun. Our best orientation in the summertime is for the truck to be headed northwest. This way, although we get blasted with some sun in the morning, our biggest windows are blissfully shaded during the long hours of blazing hot sun as it shines from the south and sets in the northwest.
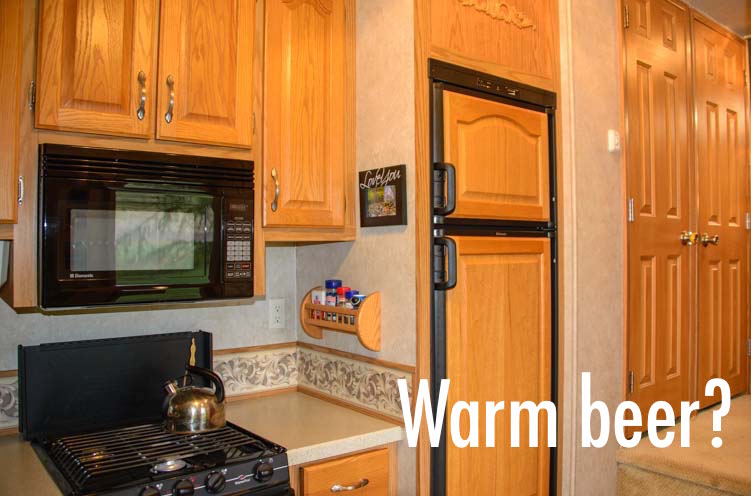
This does place our RV refrigerator in direct sunlight during the hottest hours of the day in the summer, but we’ve never had trouble keeping our food cold with the fridge on the highest setting during those hot months (of course, our fridge died recently, but we discovered that that was to be expected because of its age!).

For our rig, it’s best to orient the truck to the northwest in summer and the northeast in winter.
Note that the sun doesn’t travel the same arc in the sky in the summer months as it does in the winter, as shown by the orange arrows in the graphic above.
In the dead of summer, the sun rises in the northeast and sets in the northwest. During the day it is high in the sky, almost directly overhead. In mid-winter, the sun rises in the southeast and sets in the southwest, traversing a very low arc in the sky. At its highest, the sun is only halfway up the sky. These low angles are advantageous for keeping an RV warm in winter, however, as the sun shines directly in the windows into the center of the coach.
WINTER RV TIP #8 – INSULATE THE HATCH VENTS
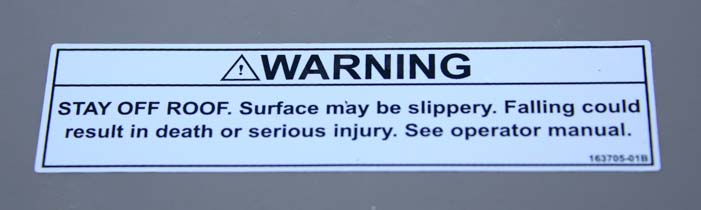
The RV roof may have some fabulously high R-rating that the manufacturer proudly touted when you bought it, but that applies only to the parts of the roof that are solid. Most RV vent hatch covers are thin pieces of plastic, and they don’t have much of an R-factor at all.
You can give the vent hatch covers a hand by using a hatch vent insulator. These have reflective insulation on one side to make them even more effective.

A hatch vent insulator really helps!.
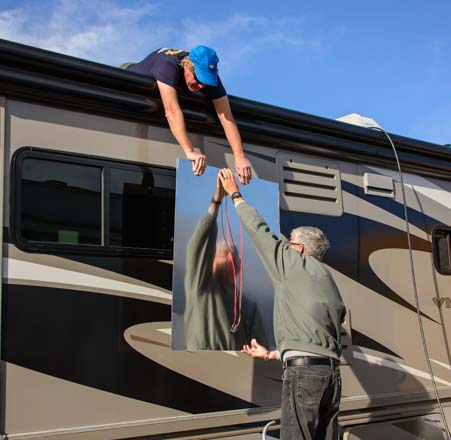
Another option is to cut styrofoam to the exact dimensions of the hatches. When we bought our fifth wheel trailer from the manufacturer NuWa Industries, we asked them to cut four pieces of the Blue Dow insulating styrofoam that they used in the walls to the exact dimensions of our four roof hatches.
The great thing about having insulation on the hatches is that they work both summer and winter. We often use ours in the summertime when we leave the rig for the daytime hours.
Another helpful benefit is that they block out all light. So, if you are parked under a bright light or there is a full moon that wakes you up as it shines right in your eyes, you can block out the light with an insulator in the bedroom hatch.

We use Blue Dow foam from the fifth wheel walls cut to the dimension of our hatches
WINTER RV TIP #9 – DEALING WITH CONDENSATION!
One of the biggest annoyances in cold, winter weather in an RV, is condensation. If you run a vent-free propane heater while boondocking, whether it’s a portable heater or one that is permanently installed, condensation will build up on the insides of the windows when the dew point is at a certain level.
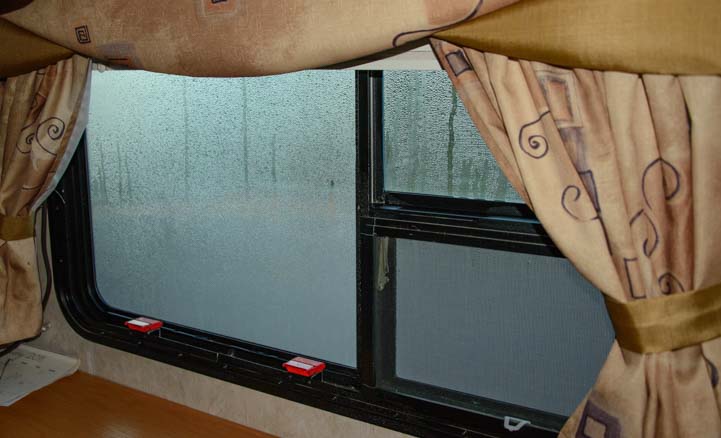
Insulation on our windows – ugh!
You can minimize the condensation build-up by running the RV furnace for a while to blow out the moist air. You can also open a window a crack, or open the RV door for a bit.

Absorber towels sop up moisture with ease.
The fastest way to deal with the condensation is simply to wipe it off with an Absorber towel. As the name implies, these towels are incredibly absorbant. They are most effective when they are damp, so they come with a little plastic container that will keep them damp for months.
Simply wipe the window and then wring out the towel. And repeat. Once the window is dry, give it a final swipe with a soft microfiber towel. This gets rid of any streaks.
To make your life easier during the winter condensation season, remove the window screens and put them in a closet. This way, you aren’t fighting with the screens every time you wipe down the insides of the windows.
How much do we love our Absorber towels? We have two — blue for him and red for me!
WINTER RV TIP #10 – INSULATE THE WINDOWS AT NIGHT
Like the big roof insulation R-factor that doesn’t account for the hatch vents, the well advertised high R-factor in the walls doesn’t account for the windows, which is where much of the heat in a rig escapes, especially at night. Closing the blinds makes a difference. When we’re in a remote area with no one around, we prefer to keep the blinds open so the first light of morning fills the rig. But we can’t do this in the wintertime unless we want to wake up to a rig that is 5 degrees cooler than it could be.
Likewise, on the worst of the cold winter nights, covering the windows with Reflectix insulation makes a big difference. This aluminum foil insulation comes in a big roll, and you can cut it to the exact dimensions of each window. Just use a marker to write on each one which window it’s for.
To put one of these window insulators in place, simply hold it against the glass and then lower the blinds over it. In the case of our biggest one in the back of the rig, we rest the bottom of it on a spare pillow so it doesn’t slip down.

The window-sized piece of Reflectix Insulation is held in place by the window shade.
We keep all of them rolled up together in a closet and use them both summer and winter. In the summertime, they help immensely with keeping the heat out during the day.
WINTER RV TIP #11 – USE THE OVEN
One of our favorite ways of warming up the inside of our buggy is by baking. Mark is the Resident Baker in our household, and there is nothing like a batch of yummy muffins or a fresh loaf of banana bread coming out of the oven to warm us up inside and out!

On a brisk morning, there’s nothing like a fresh loaf of banana bread coming out of the oven!
After the baking is done and the oven is off, we keep the oven door open for a while so we can enjoy the residual warmth as it cools down. By the way, we recently discovered Chiquita banana bread mix, which is absolutely delicious and tastes just like a loaf made from scratch. It requires two bananas, and lately Mark has been adding raisins to it too.
On a cold afternoon, we’ll bake something in the oven for dinner. The longer it takes, the warmer the buggy will get during the baking process! Anything from frozen pot pies or lasagna to a whole chicken does the trick nicely.
WINTER RV TIP #12 – DO SOME EXERCISES
As soon as we wake up in the morning, we do some modest exercises. We might be shivering when we first turn on the vent-free heater, but a quickie round of 25 sit-ups and pushups always gets the blood flowing, and by the time we get in a few rounds with the hand weights, we’re sweating and turning the heater off!
This is also a great way to work off those extra calories from the tasty muffins, sweet breads and pies that keep coming out of our oven!

One way to take the chill off — do a set of sit-ups. Still cold? Roll over and do a set of push-ups!
WINTER RV TIP #13 – PLAY THE FIREPLACE DVD

Fireplace video.
This may sound a little goofy, but a video of a fire burning in a fireplace is really fun and makes the rig cozy. The video simply shows logs in a fireplace burning down to embers, accompanied by the crackling sound a fire makes. It is surprisingly realistic, and quite funky. The crazy thing is that whenever we play it, the person sitting in the recliner closest to the TV always feels a little warm on the side by the fire!
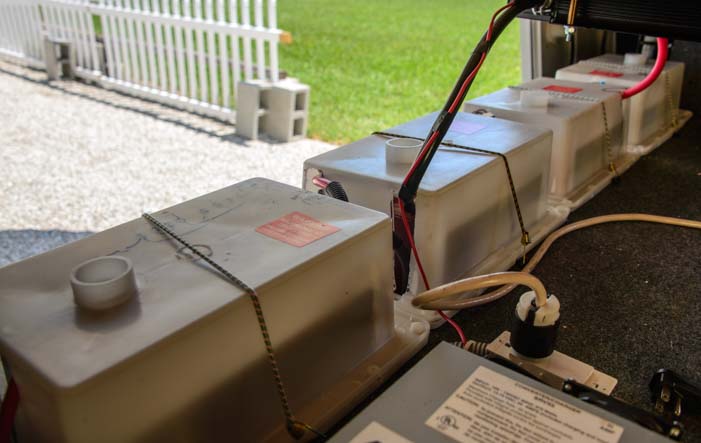
WINTER RV TIP #14 – INSULATE THE HOT WATER HEATER and HOT WATER PIPES
To conserve propane, we always heat the water just once a day, right before we take our showers. After we’re done, we have warm water for dishes, etc. By insulating the hot water heater, the water stays warmer longer. We also put insulating pipe foam on the hot water pipes that run from the heater to the shower and the vanity and kitchen sinks.
Taking a shower in an RV in the winter can be a numbing experience if temps got to freezing the night before, no matter how hot the water is in the hot water heater, because the cold water has to run through the pipes before the hot water reaches you in the shower.
If we are conserving water, we’ll bring a small cooking pot into the shower and run the cold water into it. Then we’ll warm that water up on the stove later for dishes or whatever. Even though it’s less than a quart of water, this way it’s not wasted on our bodies as we hop around in the shower shouting expletives and soaping up our goose bumps!

For more tips on heating an RV, see these articles:
How to Heat an RV in Snow Storms and at High Elevations
How to Install a Vent-Free Propane Heater in an RV
Thank you for using any of our links to Amazon to shop online. When you access Amazon this way, anything you put in your shopping cart right after that results in a small commission to us at no cost to you (no matter what you buy) and helps us keep our site online.
It’s a true win-win — THANKS!
Below are some of our most POPULAR POSTS (also in the MENUS above)
Buddy - A Journey in Spirit - The story of an event that changed our lives forever. ARTICLE INDEXES- RV Tech Tips Articles - A one page index of links to all our RV Tech Tips, RV Upgrades & RV Maintenance articles.
- RV Lifestyle Tip Articles - An index of links to all our RV Lifestyle Tips (finances, boondocking, major repairs, work/jobs, etc.)
- Solar Power Articles - Overview and tutorial articles for how to design and install solar power on an RV or boat
- Product Reviews - An index of links to all of our Product Reviews
- Basic RV Tool Kit - What tools do RVers need? Here's a list of essentials, from tire changing to electricity, plumbing & more
- RVing Tips & Tricks - Tips and tricks to make RVing easy
- Reese Goose Box - Reclaim your TRUCK BED with air ride smooth towing + How to hitch and unhitch!
- RV Heater Installation - Step-by-step guide for how to select and install a vent-free propane heater
- CargoBuckle Ratchet Straps - These retractable straps make it a CINCH to tie down a side-by-side, motorcycle or ATV
- How to change a dually truck's inner rear tire - Tips for changing the inner rear tire on a dually truck.
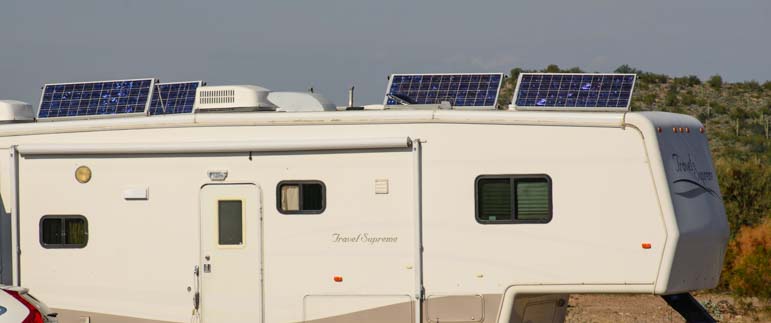
- EASY SOLAR POWER UPGRADE - We TRIPLED our factory installed solar power output for CHEAP
- B&W Fifth Wheel Hitch - Why we chose this hitch for our fiver plus an easy 5th Wheel Hitch Installation Guide.
- Demco 21k Recon Fifth Wheel Hitch - This fifth wheel hitch mounts on a gooseneck ball in the truck bed!
- Increase Your RV Storage Space - Add precious storage space at the RV dinette with storage benches!
- Buying a Truck - Which options turn an ordinary diesel pickup into a massive TOWING MACHINE?
- Battery Charging Primer - The low-down on RV and marine batteries and how to charge them effectively.
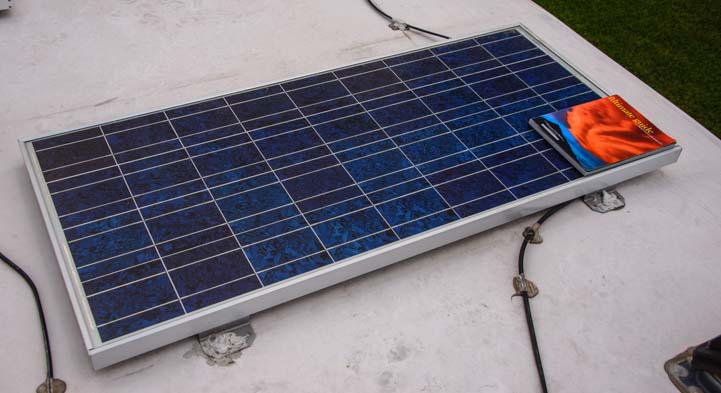
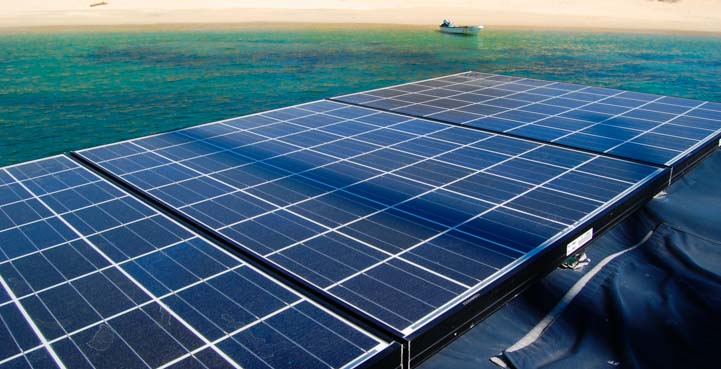
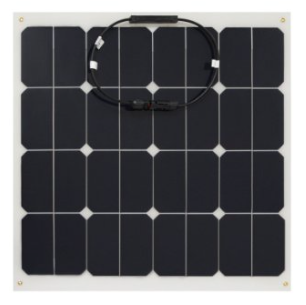
- Which Solar Panels are Best? - Which is better: FLEXIBLE or RIGID?? 12 or 24 volt?? monocrystalline or polycrystalline???
- RV Solar Power Made Simple - An overview of how solar power works on an RV
- Trailer Disc Brake Conversion - Massively improve trailer stopping power with electric over hydraulic disc brakes
- Truck Engine Upgrade - How we improved performance, towing power and fuel economy with an engine tuner
- How to Defrost an RV Refrigerator in 20 Minutes - It is actually a cinch to defrost an RV fridge!
- Solar Charge Controllers - Understand and OPTIMIZE your RV / marine battery solar charging
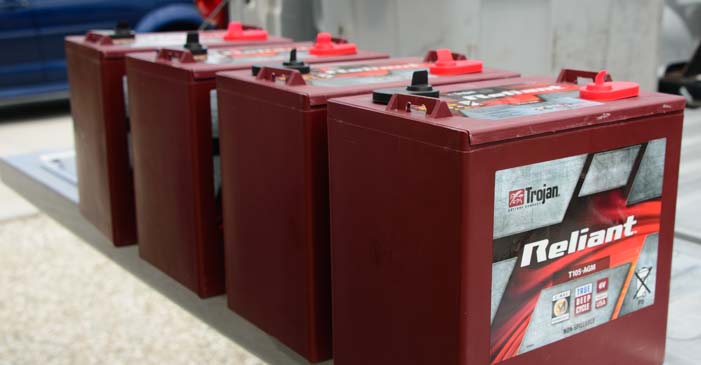
- Wet Cell vs. AGM Batteries - Which is better, why we upgraded, PLUS wiring tips to optimize battery life
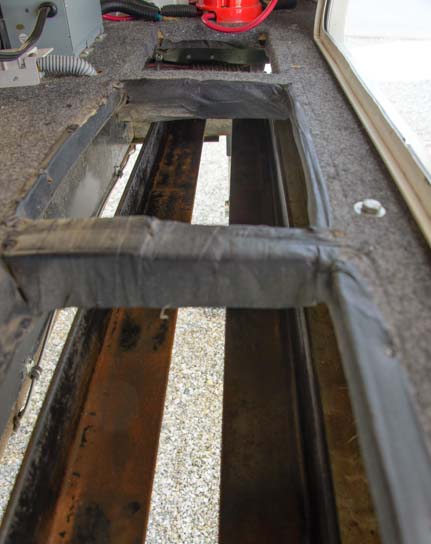
- Suspension Overhaul on a 5th Wheel - A Total Re-design for our Suspension: Hangers, springs, shocks & more!
- Can you run SOLAR POWER and SHORE POWER together? - What happens when you're on solar and you plug in?
- Converters, Inverter/Chargers and Engine Alternators - How do these battery charging systems REALLY work?
- RV Budget, Costs and Expenses - A detailed analysis of RVing expenses over 7 years of RVing full-time
- RV Extended Warranties - Is an RV warranty a good investment or a waste of money? Our personal case history.
- Working and Living on the Road - How do you make money on the road and who lives this nomadic lifestyle?
- Sell or Lease the House? - Is it better to SELL or LEASE your house when you start a life on the road?
- Mexican Dentists - Are the Dentists in Mexico any good? Just how cheap are they? Here are our PERSONAL experiences.
- How An RV Warranty Saved Our Bacon - Literally! - One repair on our RV practically paid for our RV Extended Warranty
- Still Smiling After 3 Days at the RV Repair Shop - Why? Our RV Warranty put us $2,000 ahead of the game!
- 5th Wheel Suspension Replacement - When our trailer's suspension failed, we $aved $$$ Thousands getting it replaced.
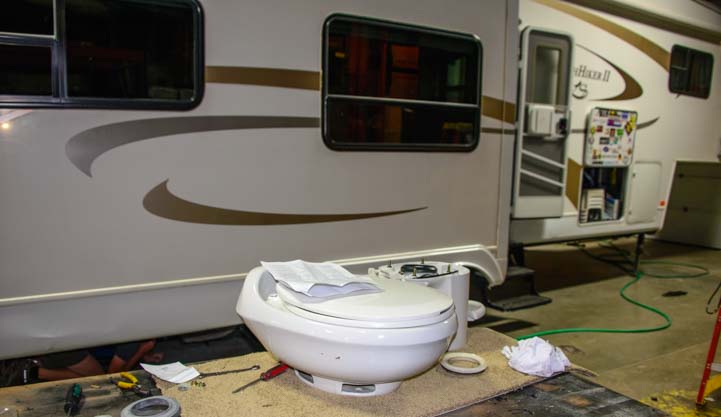
- RV Toilet Replacement - Our RV toilet quit flushing (ugh!) but our RV warranty saved us again. Now we're $6,700 ahead!
- RV Boondocking - Tips for how to live in an RV off the grid
- Which RV Is Best for Full-Time Living? - Transitioning from a house to an RV - Which RV makes the best home?
- Truck Camper Pros and Cons - The GOOD, the BAD and the UGLY!
- Full-time RV Lifestyle Tips - Full-time RVing Logistics - Mail, Domicile, Insurance, Warranties, Saving Money at RV Parks
- Toy Hauler Life - What's it like to live in an OPEN BOX Toy Hauler?
- What are the MOST IMPORTANT FEATURES in a Full-time Fifth Wheel? - For anyone planning to live in an RV!
- Internet & Phone Access for RVers - An inexpensive, minimalist solution for internet access on the road
- RV Dump Stations & Composting Toilets - How to do the dirty deed at the RV dump PLUS RV Composting Toilet tips
- Choosing a Trailer for Full-time RVing - Why the payload capacity is so important
- Learn RVing the Fun Way!! - Go Cheap, Go Small, Go NOW and have a blast in little RV!
- Free RV Campsites - Resources for locating campsites for boondocking
- Glimpses of the Full-time RV Life - Anecdotes from the road and essays about living the RV dream.
- Travel Photography Tips! - All the cameras, gear, books, blogs and tools we used to learn to take great pics!
- Gear Store - A list of the goodies, equipment and gear we've found useful in our RV lifestyle!
Subscribe
Never miss a post — it’s free!
Our most recent posts:
- Buckskin Mountain State Park – Fun on the Colorado River! 01/31/26
- How to Install Starlink Gen 3 in an RV? Use the Speedmount! 08/07/25
- Escape to Paradise – Rocky Mountain Magic! 08/01/25
- Is Forest River a Good RV? Well Built? Here’s Our Experience 06/20/25
- Sunset Crater Nat’l Monument – Lava & Camels at Bonito CG! 06/06/25