This page is the first in a series of four posts that explain the nitty gritty details of RV (and sailboat) solar power. The intention is to demystify the subject of marine and RV solar power and make it understandable for all, regardless of how technical you are or how much you know about electricity. The pages are linked together with arrows at the bottom of each page.
Since we started traveling full-time in 2007, we have been living almost exclusively on solar power, first in a travel trailer, then a fifth wheel trailer and also in a sailboat. We don’t stay in RV parks or campgrounds or marinas, and on the rare occasions that we do, we don’t hook up to shore power. As of June 2019, we’ve spent over 4,000 nights living off the grid without electrical hookups in our rolling and floating homes.
A solar power installation in an RV gives you the freedom to have full electrical power anywhere and at any time: at a rest area, in a parking lot, or at a National Forest campground. Likewise on a boat, you can anchor out for an unlimited time in bays and coves. Solar power runs without using any gas, is silent, doesn’t smell, and doesn’t require any setup (those shore power cords are mighty ungainly). Although we do have a gas generator in our trailer, we use it only when we want to run our 15,000 btu air conditioner, not for charging the batteries. It is a Yamaha 2400i.
Wrapping your brain around solar power for a rolling or floating home can be confusing, but it is actually quite straight forward. Here’s the whole thing in a nutshell (wherever it says “RV” you can also think “sailboat,” as the principles are the same).

Mark finishes three days of installing our fifth wheel’s solar power system while boondocked in Flagstaff, AZ.
There are 2 functions that your rig needs to have if you want to live without electrical hookups:
- A system to charge the batteries
- A system to create AC power for the rig so you can watch TV and use a vacuum
There are 3 components (or “parts”) used in an RV solar power installation to accomplish the two objectives listed above:
Now put it all together…
- To charge the batteries you need: Solar Panels and a Charge Controller
- To use your batteries to generate AC power for your TV, computer, etc., you need: An Inverter
That’s it!! Very simple. To flush it all out a little, here it is in more depth:
Solar Power Function #1 – Charging the Batteries
When an RV comes from the dealership, it usually has either a Converter or an Inverter/Charger in it so it can charge the batteries when it is plugged into shore power (via “hookups” or gas generator). Converters are cheaper and are factory installed on most trailers. Inverter/Chargers are expensive (because they are dual-purpose, see below) and are factory installed on higher-end motorhomes.
These appliances take the AC power coming in from the external source (hookups/generator) and use it to charge the batteries. They usually have a 3-stage charge cycle that charges the batteries quickly at first and then drops to a trickle charge once the batteries are close to fully charged.

A $45 charge controller for a small solar power installation
How do you charge the batteries when you don’t have shore power? That is where solar power comes in.
When you install a solar power system in an RV, you add two things: Solar Panels and a Charge Controller. The solar panels are installed on the roof and they gather energy from the sun and pump it down to the charge controller. The charge controller keeps an eye on the batteries and takes only as much power coming from the solar panels as the batteries can handle.

A $500 charge controller for a big solar power installation
Early in the day, the batteries are hungry and the charge controller passes everything it can to the batteries. As the day wears on, the batteries become more fully charged and require less and less power. By afternoon, if the system is sized right for the way the RV is being used, the batteries throw up their hands and say, “No More!!” and the charge controller puts them into “Float” mode, a fancy term for a trickle charge.
None of this has anything to do with running your TV or computer. It is only about charging the batteries up after they become depleted from use the night before.
The solar panels will charge the batteries no matter where your RV is parked. If you are out hiking, or shopping at Walmart, or taking a nap inside, the batteries will be getting charged all day long. If you are at an RV park or marina with metered electricity, you can save a few dollars by not plugging in!!
If you park under a tree, and the panels are shaded, you will get dramatically less power from the sun. A tiny bit of shade results in a huge decrease in how much the charge the batteries can get. We always park in full sun.
Sailboats have a terrible time with unwanted shade from the mast and boom. When at anchor, pulling the boom over with the traveler and forcing it further out with a preventer helps a lot, but the mast is always a problem when the sun comes from forward of the beam. If you are sailing and heeled away from the sun or the panels are shaded by the sails, too bad!! So, on a sailboat, install more solar panels (more total watts) than you think you’ll need!
RV and Marine Battery Charging Basics – A 4-Part Primer
Which Solar Panels Are Best for an RV or Marine Solar Installation?

A 100 watt portable inverter ($15). Plugs into a cigarette lighter and has one AC outlet
Solar Power Function #2 — Generating AC Power to run the TV
When an RV comes from the dealership, it usually has a shore power cable so you can plug the rig into electrical hookups or into a gas generator. The shore power cable takes the AC power from the source (“hookups” or generator) and passes it straight through to your AC outlets.
In other words, when the rig is plugged in like this, all the AC outlets, including “built-ins” like the microwave, become “live,” and you can run your AC appliances like the TV, computer, toothbrush charger, electric razor, hair dryer, vacuum, etc.
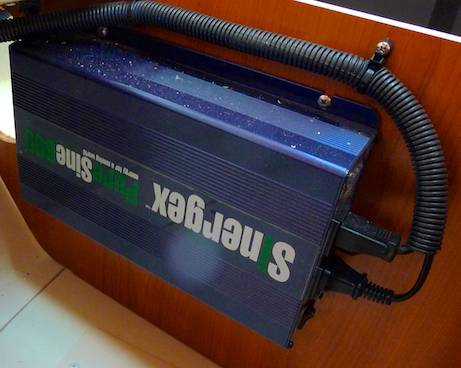
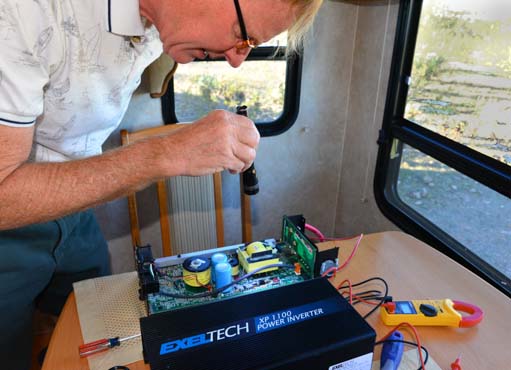
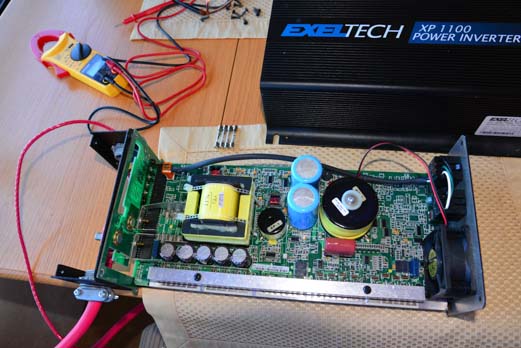
If you want to have AC power without plugging into shore power, you have to have an Inverter. An Inverter converts the DC power that is stored in the batteries into AC power so you can run your AC appliances like the TV and computer.
However, the Inverter is not technically part of the RV solar power installation. That is, it doesn’t connect to the solar panels in any way. You can use an inverter and not have any solar panels installed. However, unless you plug into shore power, your batteries will get run down by watching all that TV! That is why Inverters are lumped into the overall notion of RV solar power installations. They are a vital component if you want to dry camp.
You can buy small, portable inverters for under $25 that will run your laptop from a cigarette lighter. These work on the cigarette lighters inside an RV just the same as they work on the cigarette lighter in a car. No difference. If you are puzzled by all this, get a little power inverter and try it out. I was totally enlightened the first time I turned on a small inverter in a car and saw the “charging” light on my laptop light up.

A 300 watt portable inverter ($20) with cigarette lighter plug and 2 AC outlets
A small 300 watt portable Inverters can run small 19″ LED TV too. Anywhere from 300-500 watts is fine for pretty much everything in an RV except the microwave, hair dryer, vacuum and air conditioner. You need an inverter of 1000 watts or more to run a small microwave, hair dryer or vacuum. You can’t run an air conditioning unit from an inverter unless you have a boatload of batteries, something that few RVs can support because of the weight. To run our air conditioning, we use a Yamaha 2400i generator.
A 2000 watt inverter is fine for most things you might use. You just can’t run the big appliances (microwave, vacuum and hair dryer) simultaneously. If you are content using these appliances one at a time, don’t bother with an inverter larger than 2000 watts. We power everything on the boat except the microwave with a 600 watt inverter. We power everything in the fifth wheel, including the microwave, with a 2000 watt inverter.
Some higher end motorhomes come with an Inverter/Charger (see above), so they don’t need to have an Inverter installed – they already have one. Turn on the Inverter/Charger, and shazam – all the AC outlets in the rig are “live.”

A converter – this was factory installed on our fifth wheel
Most trailers do not come with an Inverter/Charger. They come with a Converter instead. So if you have a trailer, you will need to get an Inverter to watch TV.
This terminology is unfortunate, as “Inverter” and “Converter” sound so much the same. However, they are almost the opposite of each other.
- A Converter charges the batteries, i.e., it takes AC power from an external source — hookups or generator — and puts that energy into the DC batteries to charge them up.
- An Inverter takes the DC power from the batteries and creates AC power so you can watch TV.
Wait, what was all that, again??
So, to recap: when you install Solar Power in your RV, you are tackling two problems: ( 1 ) Charging the batteries, and ( 2 ) Generating AC power from your DC batteries so you can watch TV, surf the internet, and charge your camera batteries.
You need three types of components or “parts” to do all this:
- Solar panels and a Charge Controller to charge your batteries all day every day.
- An Inverter to create AC power out of the DC power that is stored in your batteries so you can use the TV and computer. You can use little portable ones that plug into cigarette lighter outlets and/or you can install a big one.
If your rig came with an Inverter/Charger, you are halfway there and need only to add the components for charging the batteries (Solar Panels and Charge Controller).
Next Up: What you need for a small RV solar installation that’s good enough for summer weekends, vacations, and simple living on an extended tour.
Solar Tutorial Part II – A “Starter” Installation –>
FURTHER READING and RELATED ARTICLES
SOLAR POWER OVERVIEW and TUTORIAL
- RV (and Marine) Solar Power Made Simple - An overview of how solar power works on an RV or boat
- Which Solar Panels To Buy? - What's Best: Flexible or Rigid Panels? 12 or 24 volt? Mono- or Polycrystalline? And WHY?
- Is RV Solar Power Affordable? - 3 solar power solutions for RVs and boats, including parts lists and actual costs
- Installing Solar Power on a Sailboat - How to overcome the unique challenges of solar power on a sailboat
- RV Solar UPGRADE that TRIPLED our Power - An EASY upgrade to a factory-installed baseline RV solar power system that TRIPLED the power output
- Solar Power Tutorial 1 - Basics - What makes up a solar power system and how does it work?
- Solar Power Tutorial 2 - Weekend/Vacation Systems - Everything needed for small "Weekending" and "Vacation" systems
- Solar Power Tutorial 3 - Full-time Systems - Describes the design of a "Full-time" system
- Solar Power Tutorial 4 - Solar Panel Selection & Wiring - Design considerations for choosing solar panels PLUS wiring tips
BATTERIES and BATTERY CHARGING SYSTEMS
- RV and Marine Battery Charging Basics - How do batteries get charged and what is the best charging method?
- Converters, Inverter/Chargers and Engine Alternators - No two battery charging systems do the job the same way.
- Solar Charge Controllers - How to optimize battery charging from the sun
- Solar Power and Shore Power Combined! - What happens when you're on solar and you plug into shore power?
- Wet Cell vs. AGM Batteries in an RV or Boat - Why we upgraded our RV house battery bank from flooded to AGM!
LIVING ON 12 VOLTS
- Inverter Selection & Installation - Choosing and installing the best inverter to support all our lifestyle's 120 volt AC needs
- RV Electrical System Upgrade - Which converter, inverter and batteries we upgraded to after 8 years off the grid, and WHY!
- How Much Inverter is Enough? - What happened when we accidentally killed our big inverter
- Clean Technica: Solar Power Installation on Sailboat Groovy - An analysis of our boat's solar power setup
- Kyocera Solar Showcases our Sailboat's Solar Power Setup - Sailing Groovy on Kyocera Solar Power!
Most of the components for an RV or marine solar power installation can be purchased at Amazon.
Shown here is a complete "weekender/vacationer" kit (far left), a small charge controller (middle) and a small inverter (right). More comprehensive listings of each component type can be found at the following links:
- RV Solar Power Kits
- 10 Amp Charge Controllers (for small systems)
- Modified Sine Wave Inverters (for "small" systems)
Purchases at any of our Amazon links help keep us going. But don't buy anything yet. Finish the tutorial first!
Subscribe
Never miss a post — it’s free!
Our most recent posts:
- Buckskin Mountain State Park – Fun on the Colorado River! 01/31/26
- How to Install Starlink Gen 3 in an RV? Use the Speedmount! 08/07/25
- Escape to Paradise – Rocky Mountain Magic! 08/01/25
- Is Forest River a Good RV? Well Built? Here’s Our Experience 06/20/25
- Sunset Crater Nat’l Monument – Lava & Camels at Bonito CG! 06/06/25