
We have recently made two upgrades to our RV screen door. Combined with our annual screen door shrink-wrapping project (explained here), that makes for three easy DIY RV screen door modifications we’ve done. Who knew you could do so much to a silly screen door??
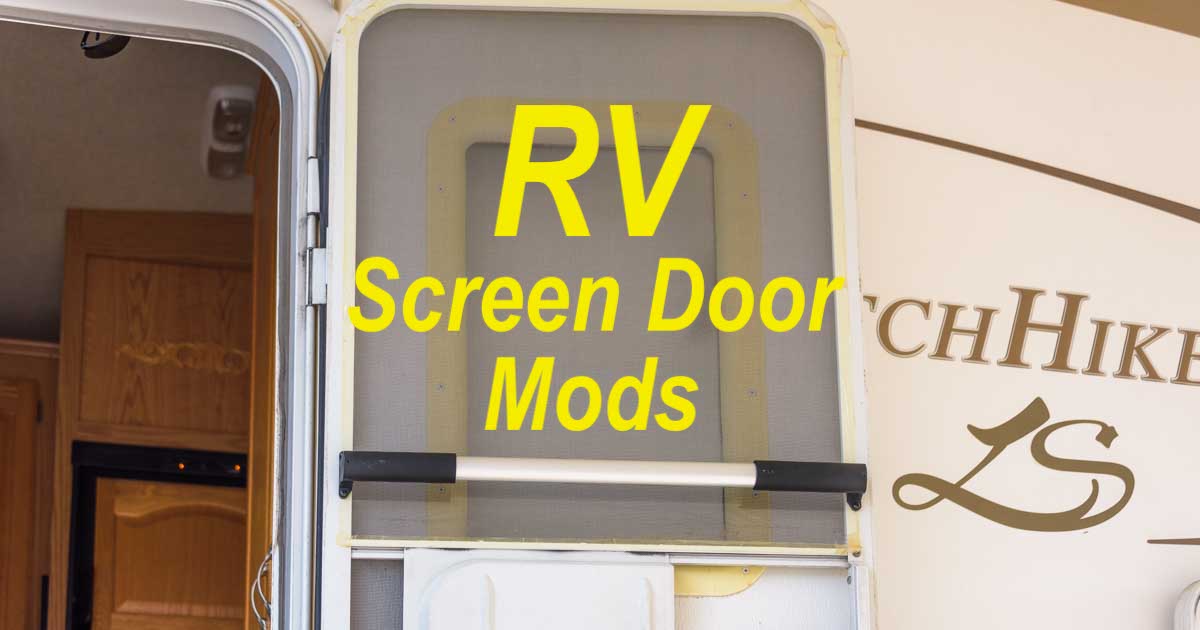
RV Screen Door Modifications and Upgrades
INSTALLING A GRAB RAIL ON AN RV SCREEN DOOR
Although we’ve been in and out of our RV door countless thousands of times over the last decade of traveling full-time, we had never installed one of those handy grab handles that crosses the door’s mid-section. Until this week!
Grabbing the screen door when it’s being whipped out of your hands by the wind is nearly impossible without one of these grab bars, and when we saw one of these handles on a friend’s fifth wheel trailer, we just had to have one.
Our screen door is 24″ wide (skinny by today’s standards) but these handles are variable in length. The instructions that came with the handle involved drawing templates and other complicated things, so Mark went with his instincts and got it mounted just fine. Here’s what he did:
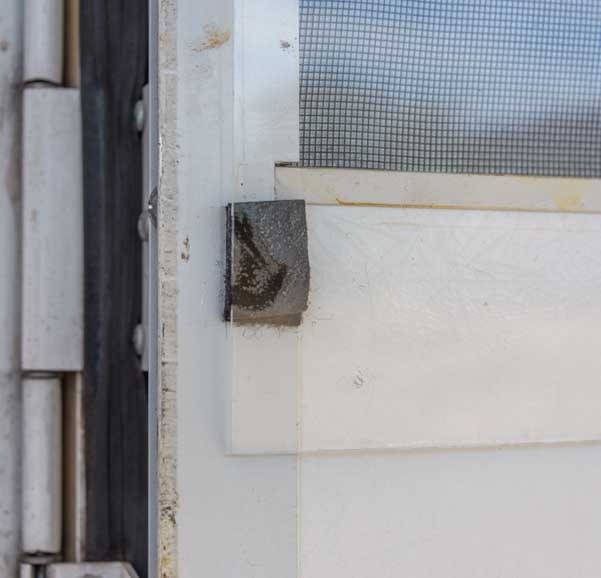
First, after holding the handle up to the door at various heights to decide where to mount it, he drilled a hole in the RV screen door frame and then screwed one end of the handle into the door frame.
Drill a hole in the door frame to hold the handle in place.

Screw the handle to the door with just one screw at first.
Then he held the handle in place on the other side of the door frame and put a level on it to ensure it was level. Then he used a fine pointed Sharpie pen to mark the location on the door where the handle would be screwed in.
Position the other end of the handle so it is level and mark the door frame where the hole must be drilled.
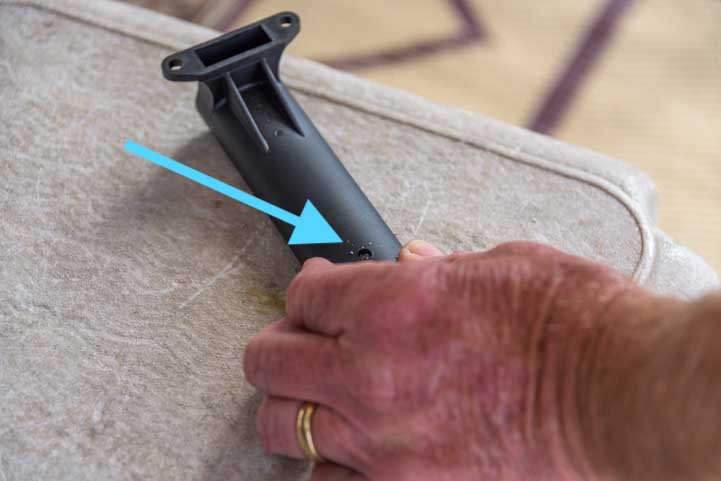
The grab handle expands and contracts to fit the width of various RV screen doors, so he adjusted both ends of it to get it to the proper width and also have an equal amount of the aluminum center part extending into the two plastic ends (rather than having it shoved far into one plastic end and barely dangling in the other).
Once he had it positioned correctly, he marked the aluminum center part with a pencil mark at each end where the plastic ends would be permanently screwed in.

Expand the handle and center the aluminum centerpiece between the ends. Then mark the aluminum with a pencil.
The handle can be extended and retracted, so this step centers the aluminum between the ends and marks where the ends should be permanently positioned.
Then he unscrewed the one screw that was holding the handle to the door frame and removed the handle from the frame so he could screw in the two handle ends.
On the back of each plastic end of the handle there is a pre-drilled hole so the plastic ends can be screwed to the aluminum center piece.
On the back of the handle each plastic end has a hole in it.
With the aluminum piece in the proper position according to the pencil marks he had made, he drilled a hole in the aluminum and then screwed the plastic end piece on. He did this at each end. Now the handle was fixed at the proper length to span the width of our door.

Drill the aluminum strip so the end cap can be screwed into it permanently.
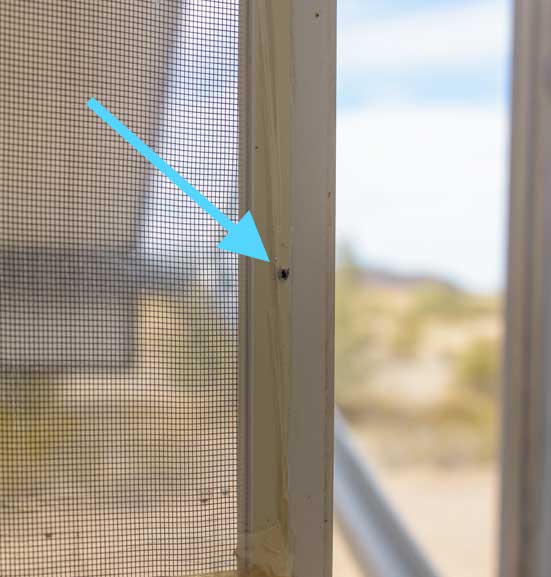
Next, he drilled a hole in the door frame where he had made the mark with the fine pointed Sharpie.
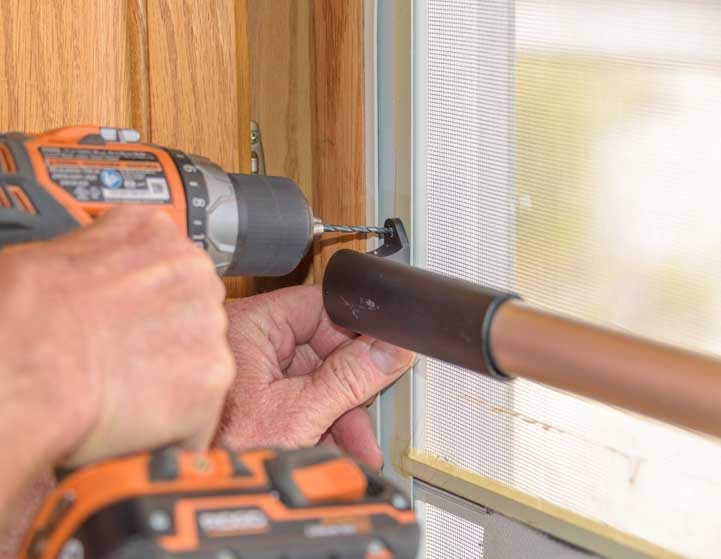
Drill the hole in the frame where you put the Sharpie mark.
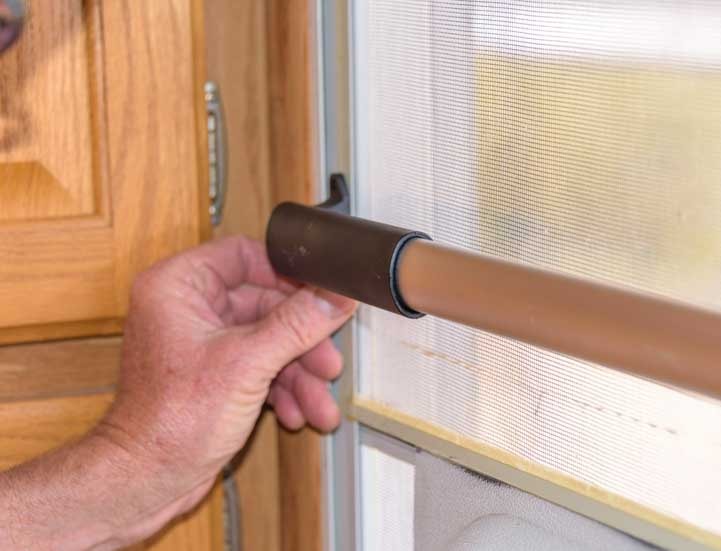
Then he screwed the handle to the door frame and then repeated the process for the lower hole on each side.
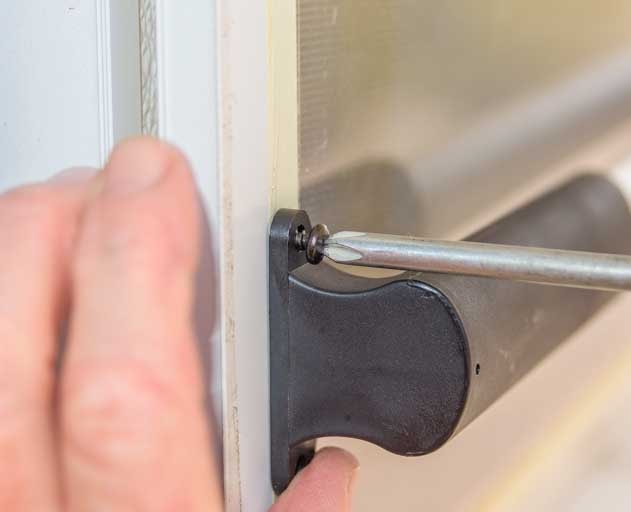
Screw the handle onto the door frame.

There are upper and lower holes in each endcap.
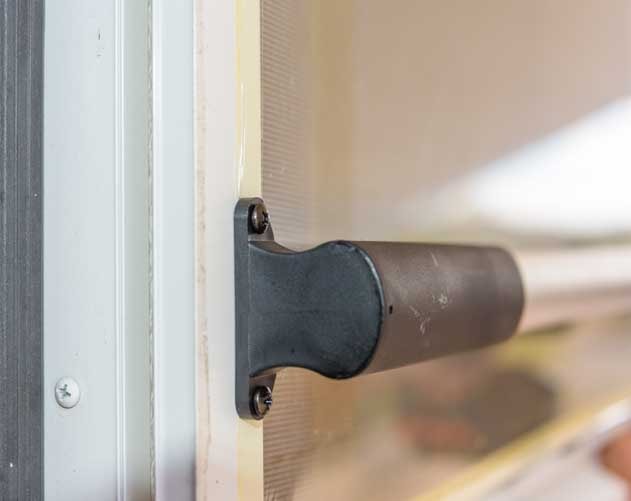
Done!
We’re really happy with this new grab handle. It strengthens the flimsy door a bit and is great to grab onto when opening and closing the door!

.

.
Goodies needed to install a grab handle on an RV screen door:
- RV screen door handle
- Carpenter’s level
- Fine point Sharpie pen
- Cordless drill
- 1/8″ Drill Bit
- #2 Phillips Screw Driver
INSTALLING A PLEXIGLASS PROTECTOR ON AN RV SCREEN DOOR
The other mini-project we did recently on our RV screen door was to replace the lower shrink-wrap film with a sheet of 1/8″ plexiglass.
We recently acquired an adorable puppy, and all it took was one swipe of his paw at the door to rip the shrink-wrap film we’d had on there for months.
So Mark got a big sheet of 1/8″ clear plexiglass and cut it to fit the screen door.
Of course, Buddy insisted on supervising this project.

The back of this chair says “Supervisor.”
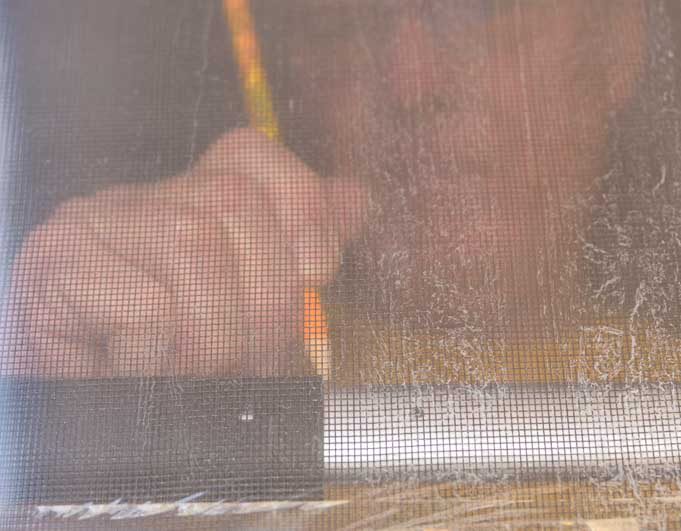
Mark used a straight edge and a utility razor blade to score the plexiglass. Then he bent it along the edge of a table to snap it.
Then he took short strips of industrial strength velcro tape and placed the hooked half on the plexiglass and the matching fuzzy half on the door frame so the hooks wouldn’t grab things as we go in and out of the door when we remove the plexiglass later.

The lower half of the door has a clear plexiglass sheet mounted on the frame with velcro. You can see our patio reflected in it. Hey, where’s the Supervisor?!
Cut short strips of velcro and put the matching halves on the plexiglass and door frame.
The beauty of using velcro to mount the plexiglass on the door frame is that once the warm weather of summer rolls around we can remove it and let the cool breezes flow through the door. Or, perhaps we’ll just leave it up in case Buddy decides to paw at the screen. We can remove the shrink-wrap from the upper half of the door and enjoy the cool breezes up there and leave the plexiglass on the bottom to protect the screen from the mighty Watch Dog.

Ta Da! Our original shrink-wrap is still on the top half, the nifty grab handle is in the middle and the puppy-proof plexiglass is on the bottom half.
In hindsight, rather than shrink-wrapping an RV screen door for cold weather, another option would be to use plexiglass sheets and velcro. Certainly the installation each Fall would be a lot easier. Or, drill holes in the corners of the plexiglass and use sheet metal screws to attach it to the door. Every Spring and Fall the plexiglass could be screwed to or unscrewed from the door frame. However, the plexiglass sheets would have to be stored somewhere during the warm season…

When the project was finished the Supervisor reappeared.
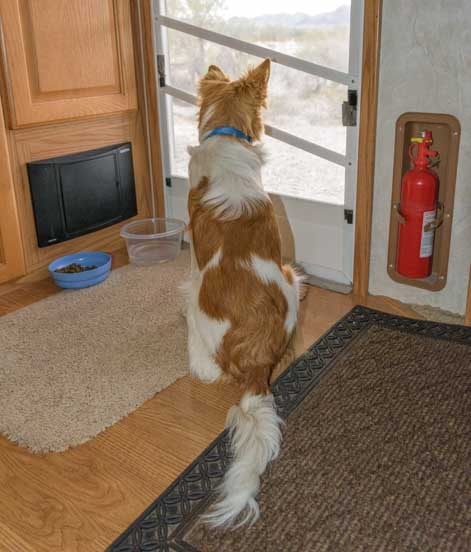
Buddy loves his new plexiglass window in the door!
Goodies needed to install a plexiglass protector on an RV screen door:

The details of our screen door shrink-wrapping are shown here:
How To Shrink-wrap An RV Screen Door
Goodies needed to shrink-wrap an RV Screen Door:
Subscribe
Never miss a post — it’s free!
More helpful articles:
Our most recent posts:
- Buckskin Mountain State Park – Fun on the Colorado River! 01/31/26
- How to Install Starlink Gen 3 in an RV? Use the Speedmount! 08/07/25
- Escape to Paradise – Rocky Mountain Magic! 08/01/25
- Is Forest River a Good RV? Well Built? Here’s Our Experience 06/20/25
- Sunset Crater Nat’l Monument – Lava & Camels at Bonito CG! 06/06/25
Buddy is so darn ADORABLE!
We are head over heels about him, Mary. Such an unexpected bundle of joy in our lives!!!
Looked to me like the “supervisor” was sleeping on the job! I bet the plexiglass will be better in the cold than the shrink wrap too. This is a great upgrade…..
Buddy definitely snuck off for a quick snooze when we weren’t watching!! The plexiglass is an excellent upgrade and I’m sure it provides more insulation than the shrink-wrap, even though we double wrapped the door (shrink-wrap on the inside of the door and on the outside too!).
Fortunate you have such an attentive Supervisor ! You sure he isn’t THE BOSS ??????
He’s been campaigning for a promotion, but since we caught him sleeping on the job it may have to wait a bit… 🙂