When we told a friend we’d just bought a 2024 Forest River travel trailer (an Arctic Wolf 17CB), he excitedly forwarded us an email he’d received from Warren Buffet’s company, Berkshire Hathaway, that told the story of their acquisition of Forest River.
Forest River sounded like a very special company. Obviously we’d made a great choice with this trailer!
But when we told another friend about our purchase, he exclaimed in horror, “I can’t believe you bought a Forest River! Don’t you know those things are junk? The fresh water tanks fall out of them as you’re driving down the road!”
So, which is it? Are Forest River RVs any good? Are they well made? Are they worth the money?
Here’s our experience with our brand new rig.

Are Forest River RVs Well Built? Here are our thoughts!
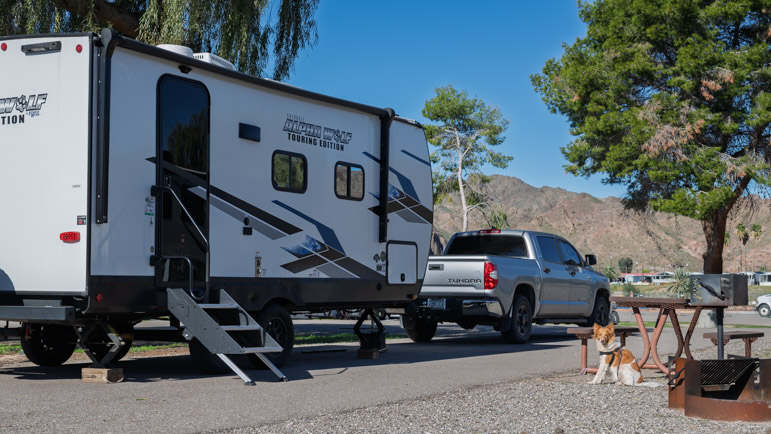
2024 Forest River Alpha Wolf 17CB travel trailer
Our trailer purchase was unique because we bought a brand new never used trailer from a private owner. He’d traded in his $200k motorhome for the cheapest trailer on an RV dealership lot so he could get his cash out of his motorhome. Then he immediately put his new little trailer up for sale.
When we bought this trailer, we paid a fraction of what a brand new unit would have cost because we didn’t get it from a dealership and the seller really wanted to unload it.
However, because he hadn’t ever intended to use the trailer himself, he skipped doing a thorough and detailed Buyer Walkthrough and simply towed it home.
When he showed it to us, it was apparent he’d never done more than poke his head inside. It had sat on the dealer lot for a few months and prospective customers had looked at it, but other than that typical dealer lot exposure before he bought it, it was the same as it had been the day it left the factory.
So, we got to see in depth what a brand new trailer fresh off the Forest River production line is like when it lands at an RV dealership.
Here’s what we experienced in the first five months of use:
1) Fresh Water Tank Can’t Be Filled
Responsible: Forest River Assembly Line Workers
The first day we had the trailer, Mark put a hose into the gravity fill fresh water intake so he could fill the fresh water tank and test the plumbing systems. Instantly, the water spurted back out at him and soaked him completely.

When Mark put a water hose in this fresh water intake, water gushed all over him!
It turned out the fresh water intake hose didn’t go downhill to the tank the way a gravity fill hose should. Instead, it looped upwards for a foot or so and then back down before going to the fresh water tank. The water from the hose in Mark’s hand couldn’t go uphill, so it spurted back out all over him.

The white fresh water intake hose goes up for about a foot from the basement and loops over all the other hoses in the bottom of the vanity before going back down below the flooring to the tank.
Obviously, a properly installed fresh water intake hose goes downhill or horizontally all the way from the intake to the tank and doesn’t go uphill at all.
Was this improper installation due to bad training or incompetence? Why didn’t Quality Control catch this incredibly obvious problem?
The intake hose is located below a rat’s nest of water hoses and other things under the bathroom vanity, and it’s very hard to reach, so it was not an easy repair.
It took Mark nearly a day of work to troubleshoot the problem and then fix it. He cut about a foot off the intake hose line and rerouted it to lie below all the other hoses and lines, making sure it had a downward or horizontal slope the whole way to the tank.

Mark cut off about a foot of the fresh water intake hose so it would lie flat along the trailer floor.

He re-routed the fresh water intake hose underneath the rat’s nest of other hoses instead of on top of it.
2) None of the electrical outlets worked
Responsible: Forest River Assembly Line Workers
The second day we had the trailer, Mark hooked the trailer up to shore power and plugged his electric razor into a wall outlet to see if the outlet worked. Nope!
It turned out NOT ONE of the wall outlets worked!
This was because they were all wired to the GFI outlet in the bathroom, and that outlet had been wired backwards. The Hot went to the Load rather than the Line.

This GFI outlet in the bathroom was wired backwards, so none of the electrical outlets in the trailer worked!
Wow! Had the installer been trained to wire GFI outlets backwards? Or did s/he forget how it’s done? Or was it sabotage by an disgruntled employee? How many RVs did that employee wire backwards? Has that employee learned how to do it correctly yet?
Clearly, Quality Control never bothered to plug something into an electrical outlet in this trailer!
That problem took another few hours for Mark to troubleshoot and fix.
3) Slide-out Adjusted Incorrectly
Responsible: Forest River Assembly Line Workers
Next, we opened the single slide-out for the first time, and just as it finished opening we heard a loud crunch/thud as it jerked into place. Oh dear!
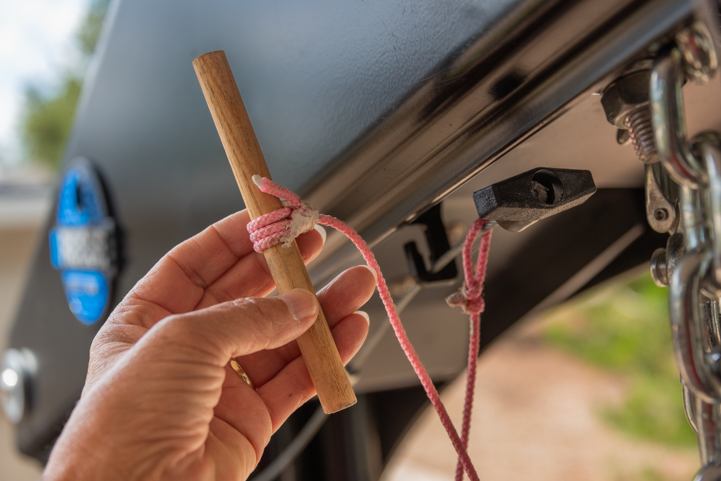
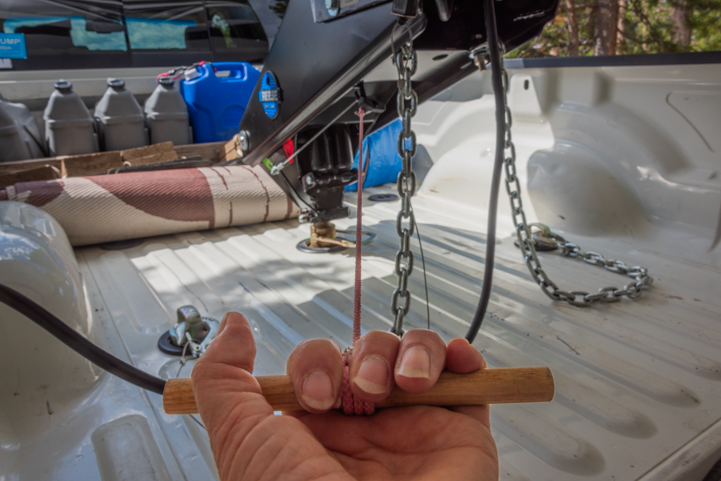
The single slide-out on the trailer uses an Accu-Slide Cable Actuated system that consists of pulleys and chains mounted to the wall above the slide-out behind the fascia board.

The Accu-Slide mechanism is behind the fascia board at the top of the slide-out.
The two pulleys move horizontally along the wall parallel to the road in the direction of travel while the slide-out itself moves in and out perpendicular to that. It is considered very ingenious, or even genius.

Chains with pulleys move horizontally to move the slide in and out.
However, it must be adjusted very precisely. On the outside of the slide-out the cables should have about 1/2 inch to an inch of play in them. Instead, one cable was sagging by two inches and the other was banjo-string-taught.
Clearly, Forest River didn’t adjust the slide-out mechanisms on this trailer before it was shipped to the deal. The Accu-Slide mechanism was fastened to the wall and that was it.
After some research and studying a slew of videos, Mark figured out how to adjust this Accu-Slide cable mechanism.
He did 3 complete adjustments and spent the better part of two days studying, adjusting, testing and sorting it all out until he could repeatedly bring the slide in and out and retain the correct tension on each exterior cable. It is now adjusted properly and it goes in and out with just a small clunk when it reaches the full Out position.

Adjusting this Accu-Slide mechanism was not easy and took three full repeats of the process to be 100%.
4) Camco Shower Wand Leaked
Responsible: Camco
Mark then turned on the water in the shower to test it. The shower wand leaked like crazy all over everything. He tried to fix it to no avail. So we bought a replacement.

When Mark first turned on the shower the shower wand leaked all over the place and couldn’t be repaired so he bought a replacement.
5) Outdoor Shower Leaked
Responsible: Lippert Components
Next up was the outdoor shower which also turned out to have a leak which Mark fixed.

When it was first turned on, the outdoor shower leaked all over the place too.
Forunately, it was repairable.
6) The tankless “instant” hot water is useless unless you have a Sewer Hookup
Reponsible: Forest River Designers
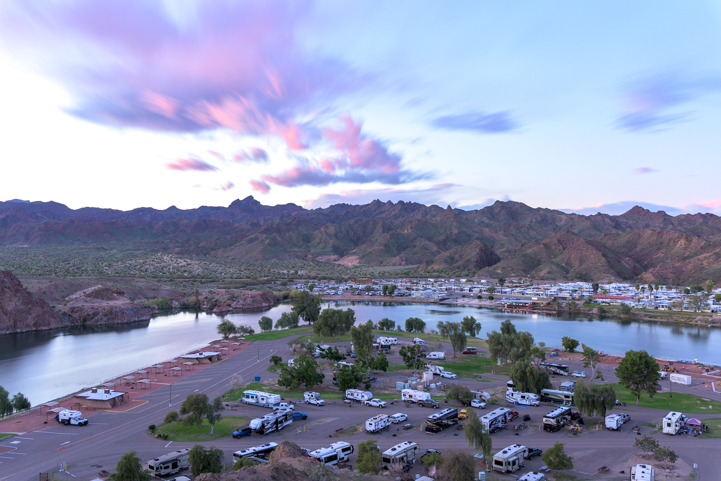
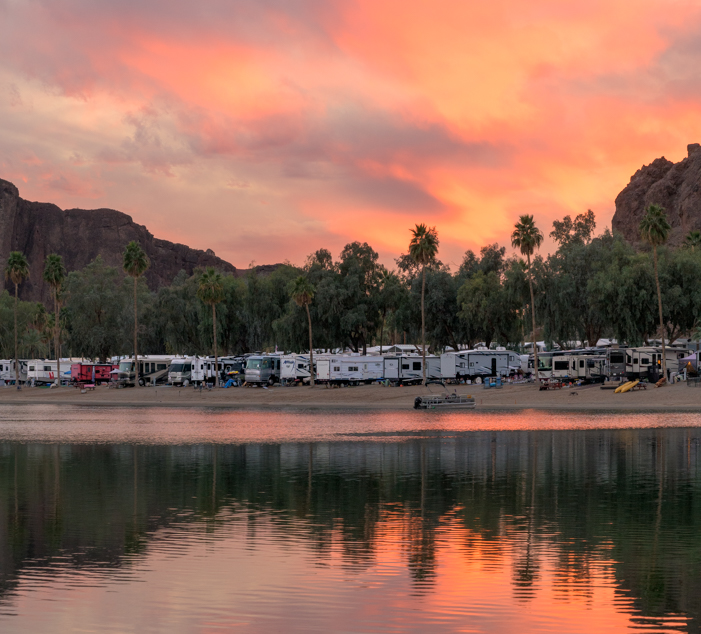
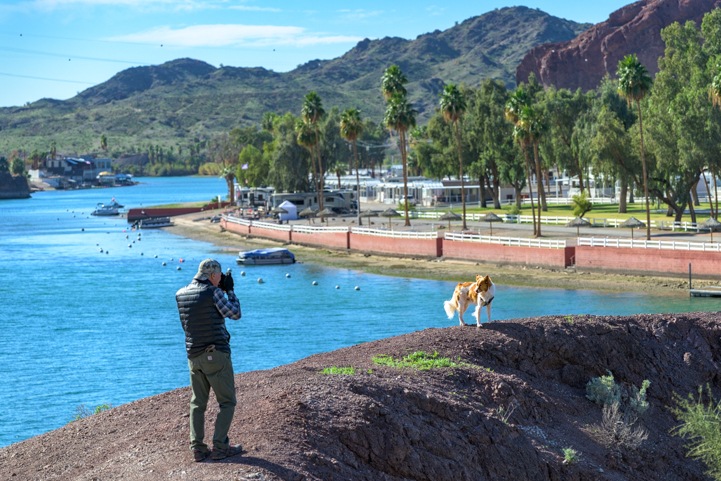
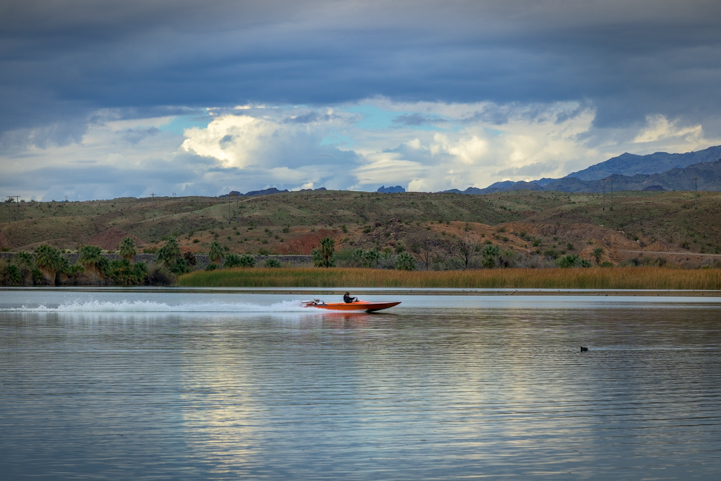
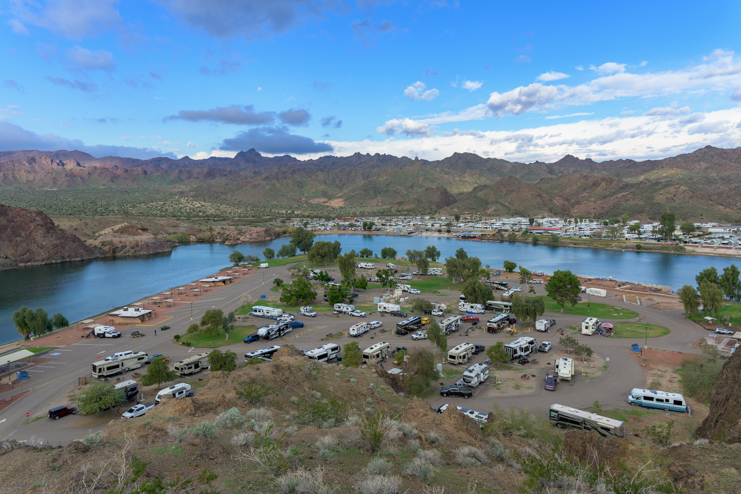
With the basic electrical and plumbing systems finally functional, we took our first weeklong shakedown cruise to a campground at Lake Pleasant, Arizona, that had electrical and water hookups as well as nice bathrooms (just in case!). Our site didn’t have a sewer hookup.
One of the two funky things about this new trailer is it doesn’t have a hot water tank (the other is that it has a 12 volt electric refrigerator). Instead, it has a tankless on-demand “instant” hot water heater.
Rather than heating up a tankful of water before taking a shower or washing dishes, this system heats the water as it flows through the pipe into the sink or shower when you turn on the hot water faucet.
All of our previous RVs had hot water tanks (Fleetwood popup tent trailer, Fleetwood travel trailer, Hitchhiker fifth wheel, Arctic Fox truck camper, Genesis Supreme toy hauler) and they worked just fine.

The Forest River Alpha Wolf travel trailers come with a tankless “instant” hot water heater
Unfortunately, we immediately discovered that the tankless “instant” hot water heater is more accurately described as a tankless “eventually” hot water heater. It is anything but instant! A lot of fresh water has to pass through the tankless hot water heater before it gets hot.
The shower, which is right next to the heater, wastes 2 gallons of fresh water as you wait for the hot water to arrive. The kitchen sink which is about 12 feet away from the heater wastes 5 gallons of water.
That’s 9 gallons a day of wasted water for two people taking showers and doing one load of dishes! Never mind washing your face or hands in hot water at other times during the day!
Worse, if you want consistently hot water to flow, you can’t turn the faucet off at all while showering or washing dishes. If you do, you’ll have to waste the same amount of water all over again when you turn the faucet back on.
Ultimately, the tankless hot water heater sends massive amounts of clean fresh water down the sewer drain, either into the RV park’s plumbing system if you have a sewer hookup or into the RV’s gray tank if you don’t.
So, without a sewer hookup, you fill up the gray tank in no time! And that’s what we experienced.
What’s even more unsettling is that when you’re dry camping, every PINT of fresh water you carry is precious and you don’t waste any. So putting all that good fresh water down the gray tank drain is a colossal waste.
In our over 3 thousands nights of boondocking we developed a simple system for heating and using hot water with our hot water tank. We’d heat the water in the tank for 15 minutes once a day which was sufficient for showers and dishes. In all our rigs the water in the hot water tank stayed hot or warm most of the day.
Before showering, we’d put a small sauce pan in the shower and capture the first quart of water that had been sitting in the pipe between the shower and the hot water tank and was still cold. Later on, we’d heat this water on the stove and put it in the sink for dishes. We’d turn the tap to hot (which flowed cold at first) and fill the sink the rest of the way. As we rinsed the dishes, the water in the tap would be warm and then become hot. Super Easy!
Unfortunately, because of the tankless “eventually” hot water heater, we stopped using hot water all together after the first day of that first shakedown cruise. Ugh!!
But what to do longer term with this new trailer? We certainly weren’t going to travel only to campgrounds that had showers!!
Workaround: ShowerMiser Hot Water Heater Product Saves the Day
Replacing this tankless hot water heater with a tank-based system would have been very difficult due to space constraints.
Fortunately, we found a workaround product that Mark installed when we got home, and we both absolutely love it. It’s a ShowerMiser and we’ll be describing the installation and how it works in a future blog post. It’s a simple concept but tricky installation. Fortunately, some RV brands are now installing them at the factory.
The only problem is that it works for just one faucet. So, we have it on the shower but nowhere else. This means we can take hot showers but we don’t have running hot water anywhere else in the rig.

Installing a ShowerMiser has made it possible to take a shower in our trailer!
But we can’t use hot water at either the bathroom or kitchen sink or at the outdoor shower.
We’d love to install a second ShowerMiser for the kitchen sink and a third one at the bathroom vanity and a fourth one at the outdoor shower so we could have hot water at each of those faucets. But the installations in those locations are prohibitively difficult.
So, we’ll just travel and live with hot water in the shower but nowhere else. We’re okay with it, but what a huge step backwards from every rig we’ve ever owned, including our 2005 popup tent trailer!
In our opinion, any RV with a tankless hot water system MUST HAVE a factory installed ShowerMiser at each faucet that has a hot water tap if it is to perform equivalently to an RV with a hot water heater.
Even for RVers who stay strictly at RV parks with full hookups, just imagine if every RV in the park had a tankless hot water heater. The amount of the park’s fresh water supply that would be going straight into their sewer would be significant.
For now, we have nice hot showers and we heat water in a sauce pan on the stove for dishes. We rinse our dishes in cold water (yucky in the wintertime) and we have no hot water at the bathroom vanity or the outdoor shower.
That’s pretty primitive living for a brand new 2024 RV!
7) Gray Water Dump Hose Handle Fell Off
Responsible: Forest River Assembly Line Workers
At the end of this trip Mark went to dump the gray water tank at the RV dump station and discovered the handle for the gray tank was gone! We’d towed the trailer over a hundred miles, so it must have fallen off while driving. We bought a new one and Mark used Loctite to screw it on securely. While he was at it, he put Loctite on the black tank handle too.
Looking for silver linings in all this frustration, the original two wastewater tank handles were both black but the new gray tank handle is gray. So now the black tank handle is black and the gray tank handle is gray — easy to distinguish!

The Gray tank handle fell off. We replaced it with a Gray colored handled to color code the two tanks.
8) Nowhere to store a dripping wet RV Sewer Hose
Responsible: Forest River Designers
The rear bumper is presumably designed to hold an RV sewer hose. However, it is too small to hold a modern RV sewer hose with a flange on the end for attaching it to the waste tank valve.
Also, the endcaps on this too-small bumper have a tendency to fall out of the ends. So, Mark used a self-tapping sheet metal screw to hold the endcaps in place.

This bumper is too small to hold a sewer hose and the endcaps fall off while driving.
So Mark screwed each one in place.
9) Massive Water Leaks in the Basement
Responsible: Lippert Components, Inc.
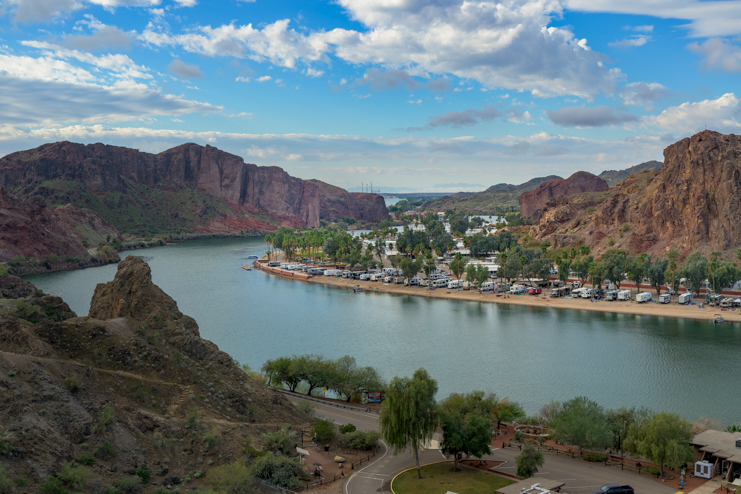
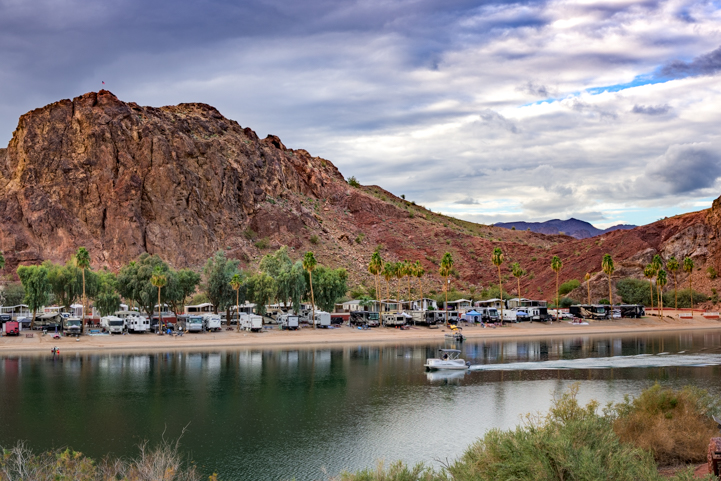
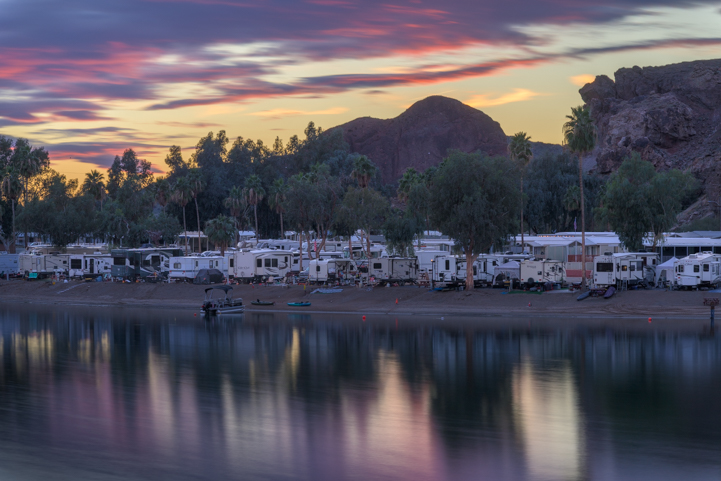
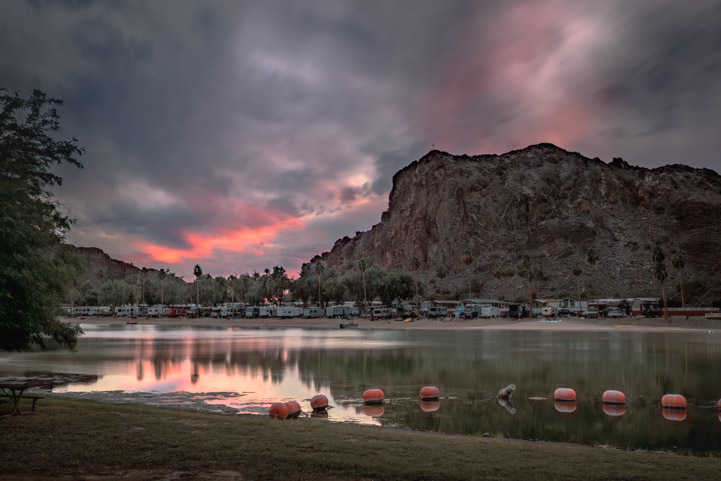
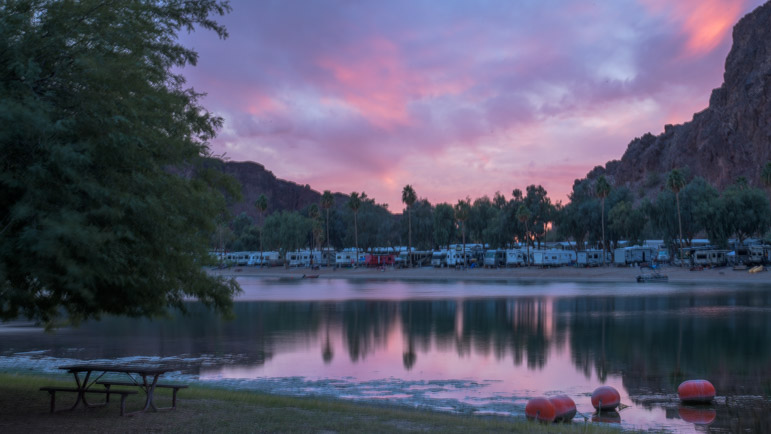
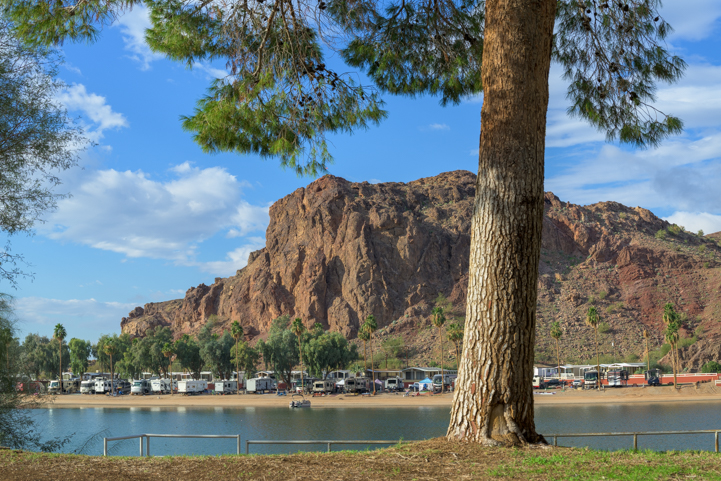
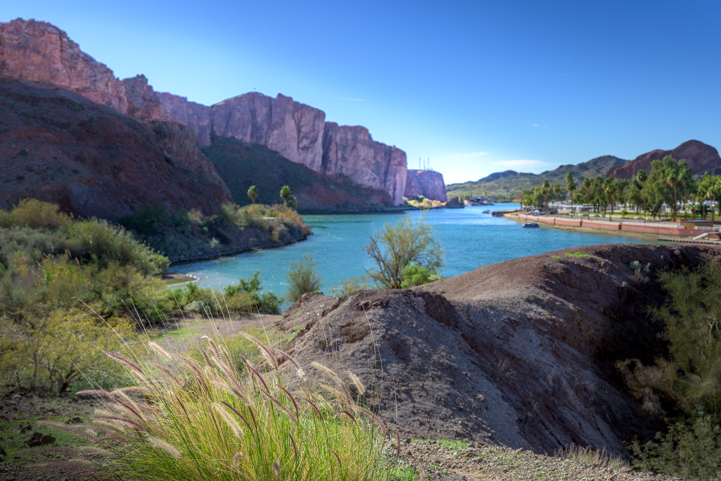
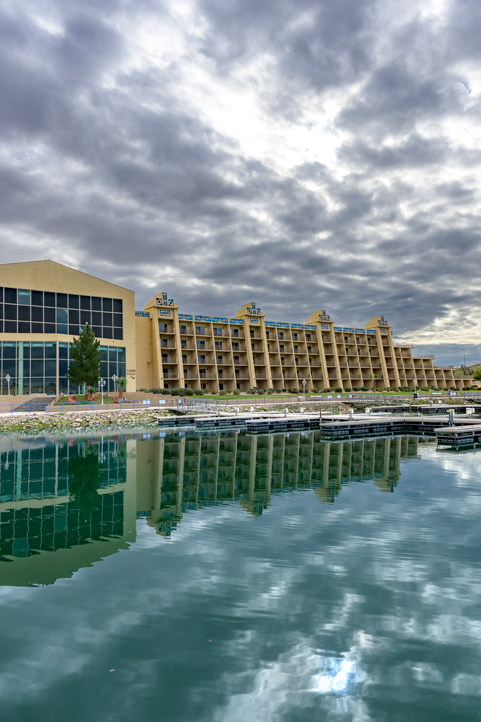
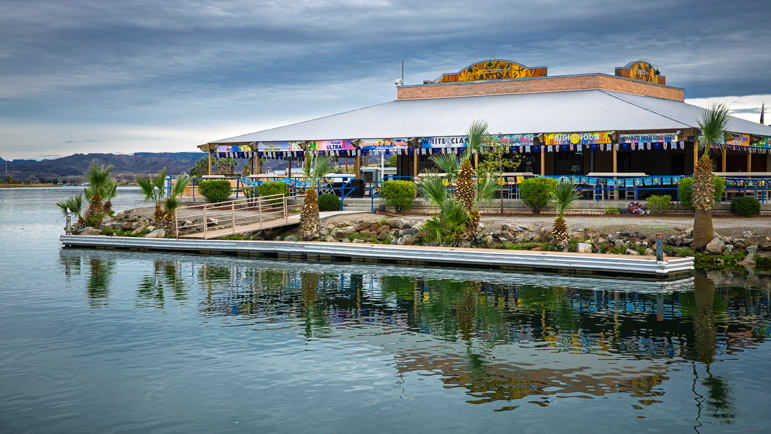
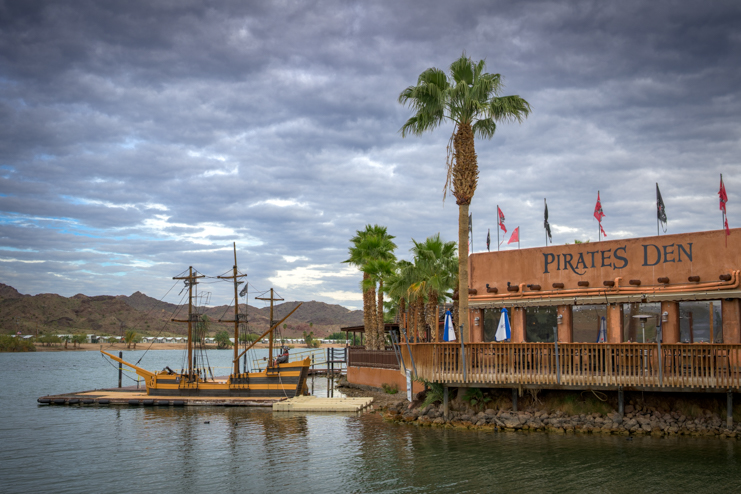
Now that we could use hot water in the trailer, we went on our Second Shakedown Cruise for 5 days at Canyon Lake Marina RV Park near Phoenix. This campground had electric and water hookups but no sewer hookups, so we could test the ShowerMiser.
Before we even tried the ShowerMiser at the campground, Mark filled the fresh water tank because we planned to run off the tank and refill it from the water hookup if necessary.
Suddenly, a puddle of water began to grow on the ground right by the tankless hot water heater. Mark took the cover off, and the basement compartment where the heater was installed was full of water.
After sopping up the mess, he discovered that as long as we had the water pump turned on or were connected to city water, the water heater would flood the floor under the vanity with water. If we turned off the water pump or disconnected from city water the leak stopped.
So… we camped for 3 nights and 2 days without using any water in the rig at all except what we’d brought in drinking water containers. We’d turn the water pump on very briefly to flush the toilet and that was it for water use. We used paper plates and brushed our teeth with bottled water. It was awkward and dirty living for a fancy new RV.
We ended up canceling our final 2 nights at the RV park. Why spend good money on a park when you can’t even rinse out your coffee cup without causing a flood in the bathroom? The campground had a strict no refund policy but we persuaded them to bend the rules a smidge due to our mechanical failure.
The tankless hot water heater is a Lippert product, and once we got home, Mark tried working with Lippert’s Tech Support on the phone. However, after several phone calls and submitting multiple photos of the problem area, he was getting nowhere.
So, we called a local mobile RV tech who got it fixed in a few hours. The problem was two cracked O-rings deep inside the heater. They were impossible to reach without removing the hot water heater from the rig all together.
$220 later along with two perfectly sized O-rings that Mark had in his collection, we could now turn on the water pump or connect to city water and not have water leaks fill the basement with water. Yay!
The RV tech commented that when he’d worked at an RV dealership, they would have replaced the whole hot water heater rather than troubleshoot the problem and find the broken o-rings inside. They would have done this whether the trailer was under warranty or not, and it would have been a very expensive repair.
10) Insufficient Solar Power
Responsible: Forest River Designers
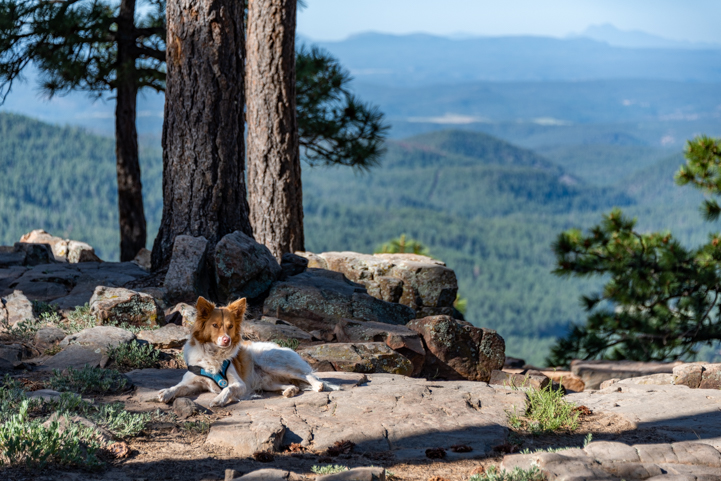
Now that we’d fixed the huge water leak in the hot water heater, we returned to Canyon Lake for our third Shakedown cruise to use the last 2 days of the reservation we’d canceled and then move on to camp at one of our favorite places, Roosevelt Lake, which is all dry camping with no hookups.
This trip went well.
At Roosevelt Lake we used the Honda Generator because the 200 watts of factory installed solar power on the roof wasn’t enough to boondock for more than 24 hours at a time due to the 10 cubic-foot 12 volt refrigerator.

The 200 watts of factory installed solar power are enough to keep the refrigerator working while underway but not enough to live on AND use the fridge for more than a day.
We knew that ahead of time and were pleasantly surprised that using the generator for two hours or so a day gave us plenty of power and supplemented the small solar power system very well.
When we returned home we installed a large solar power system which gave us all the power we need to boondock indefinitely and will describe that installation in a future blog post.
11) Three Water Leaks in the Bathroom
Responsible: Forest River Designers
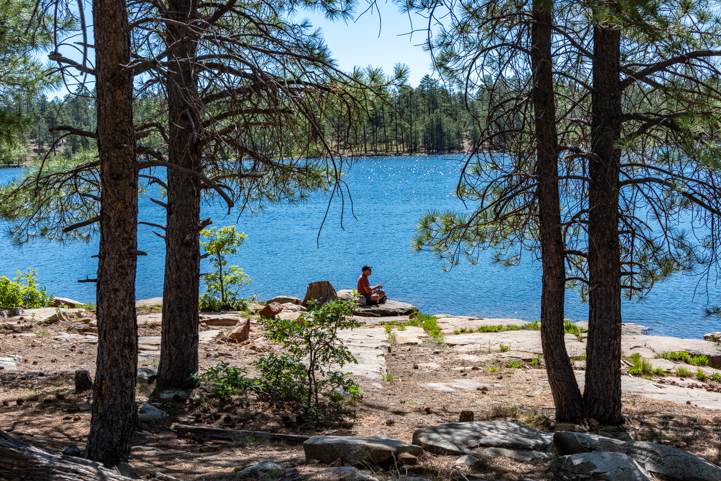
Now that we were fully set up for dry camping, we took our 4th Shakedown Cruise and spent 8 days at one of our favorite spots, a dry camping campground called Bonito Campground outside Flagstaff Arizona. This is where had a wonderful surprise visit by a pair of camels and a guy wearing a Civil War officer’s uniform!!
We wanted to test the solar power system to see if it was sufficient for our off-grid RV lifestyle with that big electric fridge. It worked beautifully even though the panels were shaded for about 3 hours a day. It was late May, a few weeks from the summer solstice, so the days were long and the sun was high in the sky — ideal for solar power.
However, after washing our hands and doing a few dishes on the first day when we got to the campground, we noticed the water pump was “grunting” periodically when no water was running.
We listened to this for a while and determined it wasn’t just the elevation change (3,000’ to 7,500’). It was a water leak somewhere.
It actually turned out to be 3 water leaks!! Each one was at a junction between two water hoses under the bathroom vanity and below the shower.
Forest River uses pex cinch clamp rings to connect water lines together and some of the water lines are joined in places that are impossible to reach after the appliances have been installed.
When RVs are built, all the wiring, plumbing and conduit runs are put in place first before the appliances are installed, so it is common for important things to be in places you can’t reach without extraordinary effort.
If the designers planned ahead for repairs and used higher quality fittings, leaks would be less common and would be easier to fix. Our beloved sailboat had two stainless steel hose clamps on every water pipe junction. You don’t want water leaks when you’re in the middle of the ocean!
The first two leaks were fairly accessible and Mark fixed them within an hour. The third leak was underneath the shower stall in the far back corner. Worse, it was behind the shower drain tube, virtually out of sight and out of reach.
Somehow Mark managed to get his arm under the drain tube and replace the fitting with a hose clamp. But when he tightened it, it began to twist and became impossible to tighten completely.

The leak under the shower pan was below the far back corner. Mark had to squeeze his hand underneath the drain pipe and then blindly feel for the broken connector, replace it and tighten it. No small feat!
So, because he couldn’t tighten it all the way while were out camping, we had a slow leak throughout that shakedown cruise. For a full week we turned on the water pump only when we needed water and turned it off immediately to avoid getting a pool of water under the shower pan. After turning off the water pump, we’d “burp” one of the faucets to make sure there was no pressure on the leaky fitting. This was an inconvenience, but we lived with it.
When we got home Mark put another hour or two into fixing that water leak. He came up with a creative way to make an extension rod that could reach the fitting and fortunately was able to tighten it. So far it seems to be holding. Yay!
12) Entry Stairs Don’t Work on Unlevel Ground
Responsible: Lippert Designers
This trailer came with fold-down entry steps that are now found on most trailers. While these are much more solid underfoot than the older style flip-out stairs of yesteryear, they require some forethought when parking.
There are three stairs on our step system and they stick out enough from the trailer that you have to ensure there’s space by the trailer for them to touch down. When we were camping at Bonito Campground we were in a very narrow site and there was about a one foot drop right in the spot where the stair supports needed to be. We had to stack several blocks under the feet in order to set up the stairs. Ironically, we moved campsites after a few days and had the exact same problem in the second campsite!
They also rattle a lot while traveling. We’ve tried wedging things in to make them stop wiggling but haven’t found the right solution yet.

The stairs could not reach the ground and required several blocks stacked up the feet.
Smaller problems and inconveniences
Responsible: Forest River Designers and Assembly Line Installers
Those were the major problems the trailer has had in its first four trips. However, there were lots of other little things that cropped up too.
– Not enough Dicor was used on the roof skylight installation and there were some big rain water leaks waiting to happen. Mark went over everything on the roof and added a big dollop of Dicor wherever needed
— Forest River has begun leaving certain items off their new trailers. This trailer did not come with a dump hose, a TV or a ladder to the roof even though it has a walk-on roof.
There is a sticker on an interior wall indicating that’s where to hang a TV. There is also a backing plate on the back exterior of the trailer for installing a roof access ladder which Lippert makes.
We bought a dump hose. We don’t watch TV. We’re making do with a household extension ladder at home and taking a telescoping ladder with us on the road. I sure miss the ladder on the back that is permanently attached and is so easy to climb at a moment’s notice.
— The water pump is installed in such a way underneath the rat’s nest of hoses below the vanity that it makes a massive racket whenever it runs. We haven’t yet decided how to dampen the noise.
— All four trailer tires and the spare were low on air. This is to be expected on a unit that sat on the dealer lot for a long time but during a Buyer Walkthrough it is worth insisting the tires be pumped up to spec.
— All the wheel lugs were loose. Again, if the trailer were new from a dealer they should be tightened before you tow it off the lot.
So… Does Forest River Build Quality RVs?
With all the catastrophic failures, it would be easy to call our trailer a lemon, but in reality I think it’s a pretty typical trailer.
I suspect that every Indiana-made RV brand arrives at the dealerships with similar types of problems, and we’ve had plenty of experts who are “in the know” tell us that is the case.
One quipped, “If it’s 80% functional, then it’s ready to ship to the dealer.” So, that’s the goal: 80% operational.
While we were going through all of this, a friend of ours who has a new Airstream told us his trailer was in the shop at that very moment for warranty repairs. Even though his rig probably cost two or three times what ours did, he’d experienced much the same misery.
Crazier still, he had a friend with a new Tiffin motorhome who’d also gone through the wringer with ridiculous numbers of stupid problems even though that motorhome probably cost three times what his Airstream did.
So, the kind of quality we all might hope for when buying a new RV is completely missing across many brands, no matter what the price point.
All the responsibility for getting the unavoidable repairs taken care of falls on the Buyer/Owner, and the best time to get them done is while you’re still a Buyer and not yet an Owner!
When doing a Buyer Walkthrough on a new rig at a dealership, it’s a good idea to insist you see water successfully going into the fresh water tank, make sure the black and gray water handles are attached securely, verify all the electrical outlets work, heat a mug of water in the microwave, put a thermometer in the fridge, test all the faucets and shower wands plus the hot water system, air conditioner, furnace, stove burners, etc., not to mention verifying everything on the roof and the windows are sufficiently sealed from the elements.
The dealership may want to hustle you out the door, but until you sign the papers and transform from a Buyer into an Owner, all the power is in your hands. After that you have to take your turn in line for service and live without your rig while it’s in the shop or tackle the repairs yourself.
Why Are RVs Built So Poorly?
I think it boils down to two things.
1) Speed vs Quality
We’ve toured many RV factories (Fleetwood, Northwood Arctic Fox, KZ Durango, Keystone Raptor, Jayco Highland Ridge, Thor Heartland, NuWa Hitchhiker) and we were told time and again that the trailers are built in 2.5 to 3 days. That’s pretty quick for throwing together a rolling house, and each factory was very proud of their speed.
So, the goal is speed, and assembly line workers (and perhaps the Quality Control inspectors and repair people) are measured by how fast they complete their jobs, not by how well their jobs are done.
We’ve also toured two super high end custom manufacturers (Space Craft and Luxe) as well as a tiny tear drop trailer manufacturer (Escapod) and a tiny travel trailer factory (Casita), and those factory environments were completely different.
Their whole focus was on quality, not speed of manufacture. Things like wiring and plumbing lines were proudly shown off for their tidiness and organization, and at Casita we watched a trailer standing under a torrent of water being tested for water leaks. However, trailers at those first two top-of-the-line brands take weeks to build and they exceed most RVers’ budgets.
And even being super high end, we spoke with customers at both of those plants who’d returned to the factory for warranty repairs. They each had a long list too. Apparently, no RV is immune to that!
2) RV Manufacturers are not RVers
I think the other primary reason RVs are built so poorly is that the manufacturing executives are not RVers themselves.
When I wrote for Trailer Life Magazine, I published three different articles surveying all the toy haulers, full-time quality and weekender quality fifth wheel trailers that were on the market at the time. As part of my research for those articles, we met with executives at several well known RV manufacturers while we were in Indiana.
As a lark, I asked each executive we met, “So what kind of RV do you have?’
I expected they might own the brand they sell so they would know their own product line on an intimate level. Or perhaps they’d own a competitor’s brand for market research purposes. Or perhaps, like NuWa (Hitchhiker) used to do, the company had a few of their own products available for employees to use. They could take these rigs out on weekends for fun and also educate themselves and come home with valuable feedback.
However, only one executive out of half a dozen we met in person and another dozen I spoke to on the phone currently owned an RV…or had ever owned an RV for that matter!
The most common answers I got from these RV executives were:
“My wife doesn’t like RVing.”
“We prefer flying to distant vacation destinations because we don’t have time to drive there.”
“We go overseas (or to the tropics) for all our vacations.”
This explains a lot about the failures in the RV manufacturing industry.
One wonderful exception to all this was an RV designer I corresponded with who worked on the Forest River Cherokee brand (which is the brand our Alpha Wolf is part of).
He was not a top flight executive in the corporate ranks but was the designer of a small toy hauler that I thought was a particularly clever layout. I asked him what kind of RV he owned, and he said he owned that trailer! So, he not only designed it but he went camping with it too.
No wonder it was such a great design!
RV Manufacturers are “Assemblers” more than “Manufacturers”
In the end, RVs are complicated little rolling homes and RV manufacturers are more “assemblers” than true “manufacturers.”
RV manufacturers install a bunch of products made by other companies into a rolling box. The walls, ceilings, ductwork, wiring and plumbing are their purview, but all the appliances and systems we rely on in the RV life are made by third parties.
Interestingly, in most cases, the “other companies” are actually just “one company,” that is, Lippert Components, Inc. Just about everything in an RV, from trailer frames to windows and doors to kitchen and bathroom appliances to climate control systems to entry stairs and toy hauler ramp doors, is made by Lippert.
There are other component manufacturers out there, but Lippert’s products are always cheaper and generally not as good. So, more often than not, RV designers choose Lippert’s products over the competition to save on costs.
Also, if a new company creates a clever new product, Lippert frequently buys the company out and suddenly every RV has one. Then they find shortcuts and material/component alternatives to make the product cheaper to produce.
Lippert can be very aggressive with pushing their products as well. One executive told us they deeply discount their products when sold in bundles, so if the manufacturer wants a specific item, it’s often most cost effective to take the whole bundle even if there are products in the bundle they’d rather not use.
I asked an executive of an RV component company that has all the skills and manufacturing capability to build superior trailer frames why they didn’t get into that business. He said it would be impossible to compete against Lippert which virtually owns the trailer frame market (with a few notable exceptions).
We saw first-hand the strong arm tactics Lippert uses in the industry when we attended a horse trailer dealership owner’s gathering in Oklahoma. A Lippert rep was demonstrating a new landing leg system for horse trailers to a group of dealership owners. One fellow in a cowboy hat said with a casual drawl, “That will never fly with my customers. They wouldn’t like that one bit!” The young and eager rep’s response was, with a laugh, “Just shove it down their throats!”
Fortunately for the deep pocketed buyer, higher end RVs are typically built with fewer Lippert components and the highest end fully custom RVs openly eschew Lippert products all together.
So, to a large extent, all brands of mass market RVs are essentially the same because they are just assemblies of identical components. The difference could be the care with which the components are installed, but if every company measures its assembly line workers by how fast they do the job-because time is money-then they’ll all have the same problems with quality.
Years ago, we traded in our “lower end” year-old Fleetwood travel trailer for a “higher end” Hitchhiker fifth wheel that cost over twice as much.
We were astonished to look around the interior of our new rig and realize that almost all the appliances were the exact same models as the ones we’d had in our cheaper trailer.
So, Are Forest River RVs Well Built?
Given all this, I think the answer is a resounding, “No.”
However, from what we’ve seen at the RV factories, RV dealerships and in talking to other RVers, Forest River trailers aren’t significantly worse…or better…than the competition. No matter how much money you spend on an RV, failures of some kind are pretty much guaranteed.
The bottom line is that if you like traveling by RV, then dealing with failures is just part of the picture. And if you can’t afford a fully custom RV, then generally shoddy construction is to be expected, with few exceptions.
However, people like ourselves who love RVing will continue buying and owning these poorly built mass market rigs because, well, RVing is a great way to travel and explore! And for us, in the end, the fun outweighs the hassle (and Mark can fix almost everything)!

Never miss a post -- it's free!
Related blog posts:
Our most recent posts:
More of our Latest Posts are in the MENU.
New to this site?
Visit RVers Start Here to find where we keep all the good stuff. Also check out our COOL NEW GEAR STORE!! *** CLICK HERE *** to see it!
<-Previous || Next->